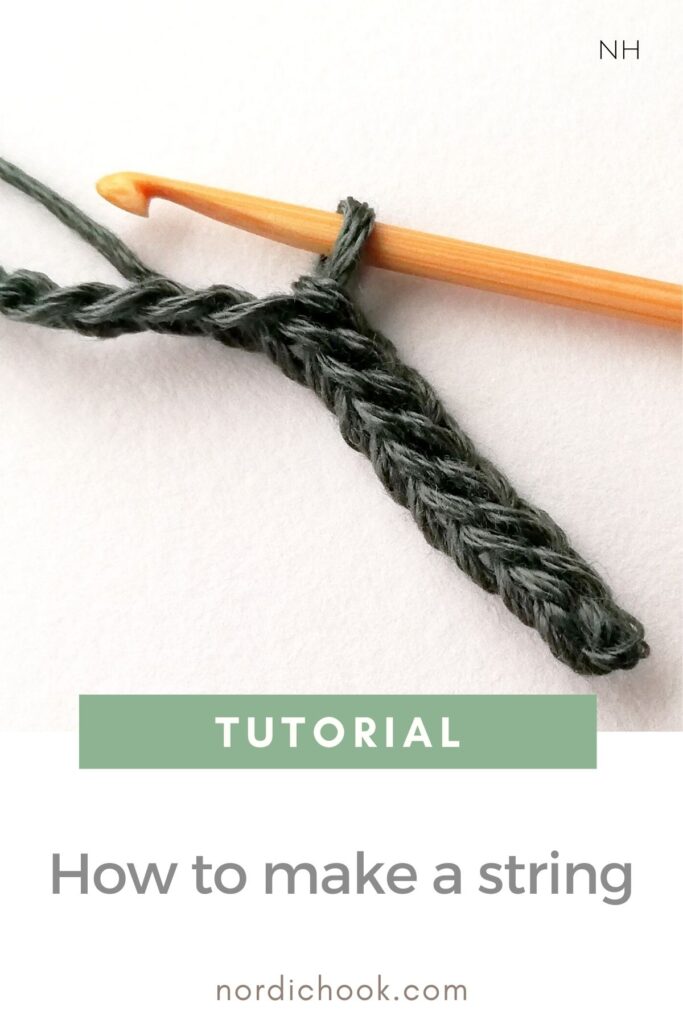
This step-by-step crochet tutorial shows how to make a string for drawstring bags.
Nordic Hook Club
Join Nordic Hook Club and get access to one of the largest crochet stitch libraries! There you will find hundreds of ad-free downloadable crochet stitch tutorials that include detailed step-by-step photo instructions, concise written patterns and member-exclusive charts. Plus, you can download all Nordic Hook patterns, stitches and e-books for free! Read more about all the membership benefits here and sign up today.
Read more and sign up!Photo instructions for how to make a string
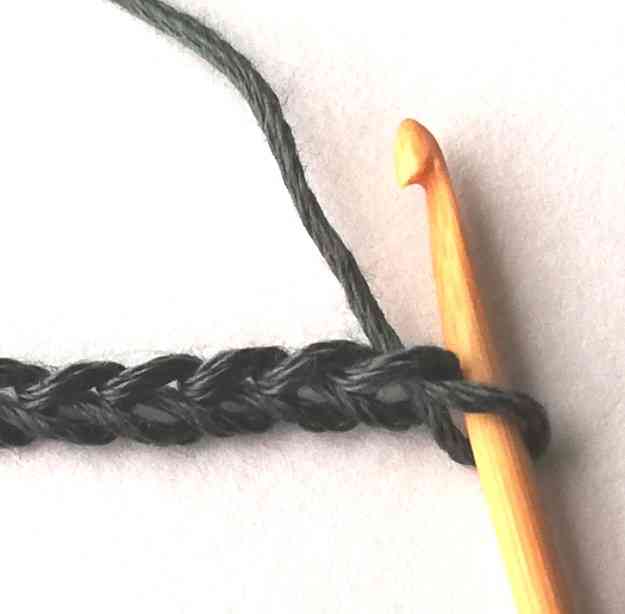
1. Start with a chain. Have in mind that it will be slightly shorter when completed.
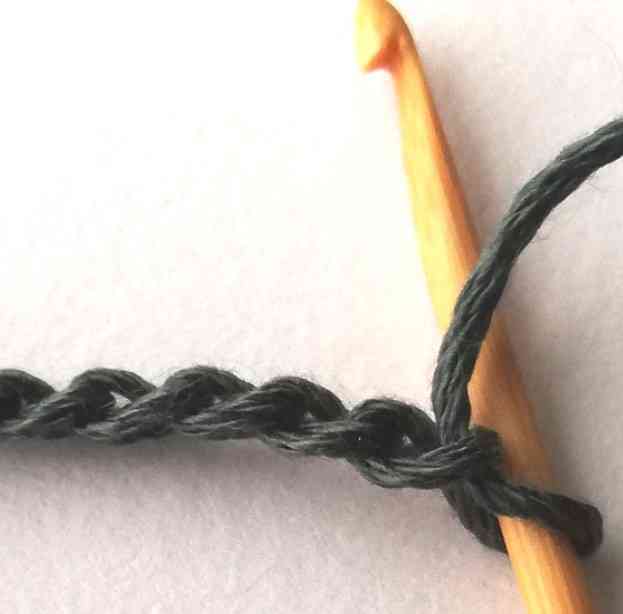
2. Now you will work in the back of the chain (in the third loop of the chain which is behind “v”).
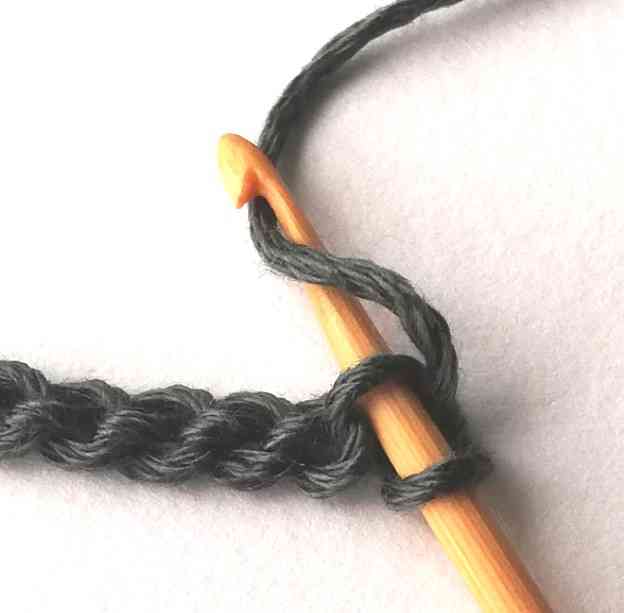
3. So, insert your hook in the back of the chain and yarn over.
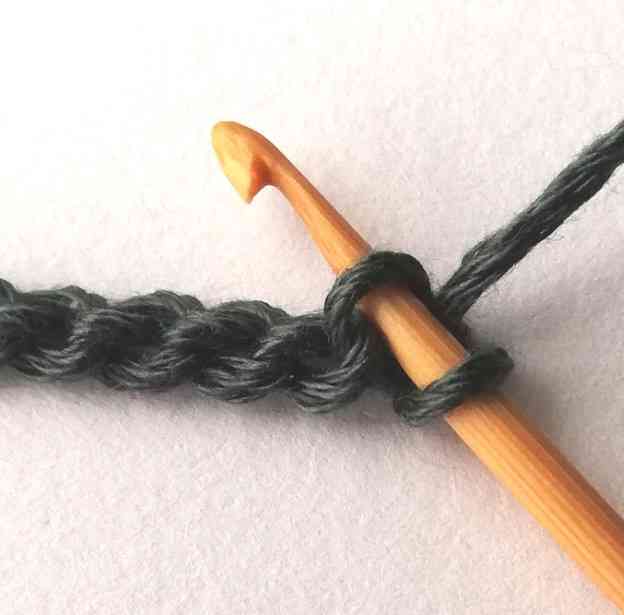
4. Pull the yarn through. Now you have two loops on your hook.
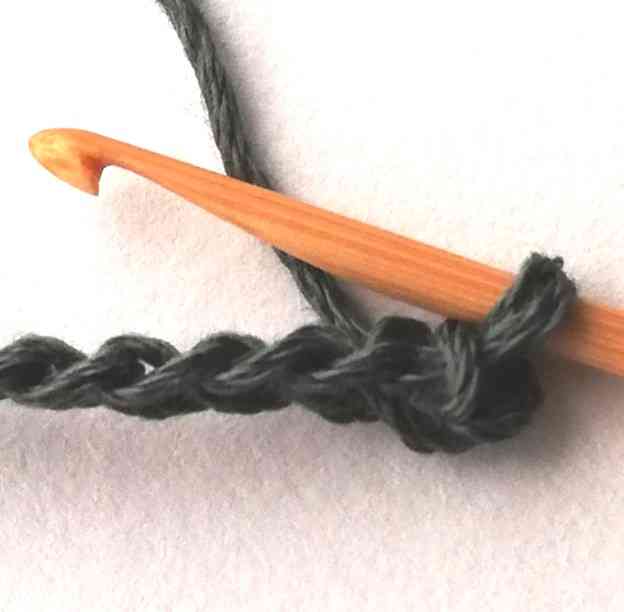
5. Pull the first loop through the second one. Now you have one loop on your hook. You have just made the first slip stitch.
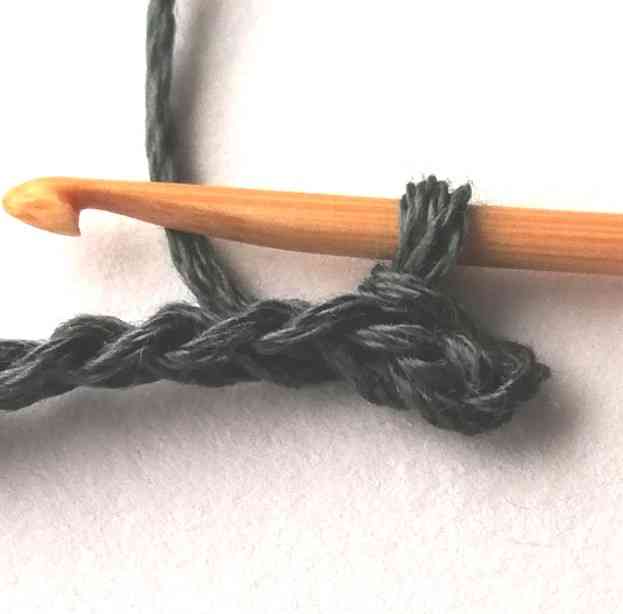
6. Make another slip stitch in the back of the next stitch.
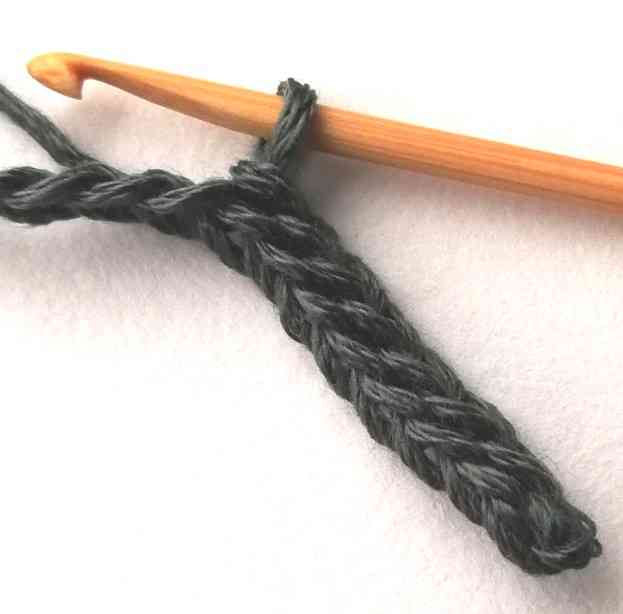
7. In the photo you can see that after several stitches it starts looking like two chains stuck together. Continue making slip stitches in the third loop of the chain until the end of the row. Fasten off.
You might also like
There is much more to explore:
Save this tutorial to your Pinterest crochet board here.