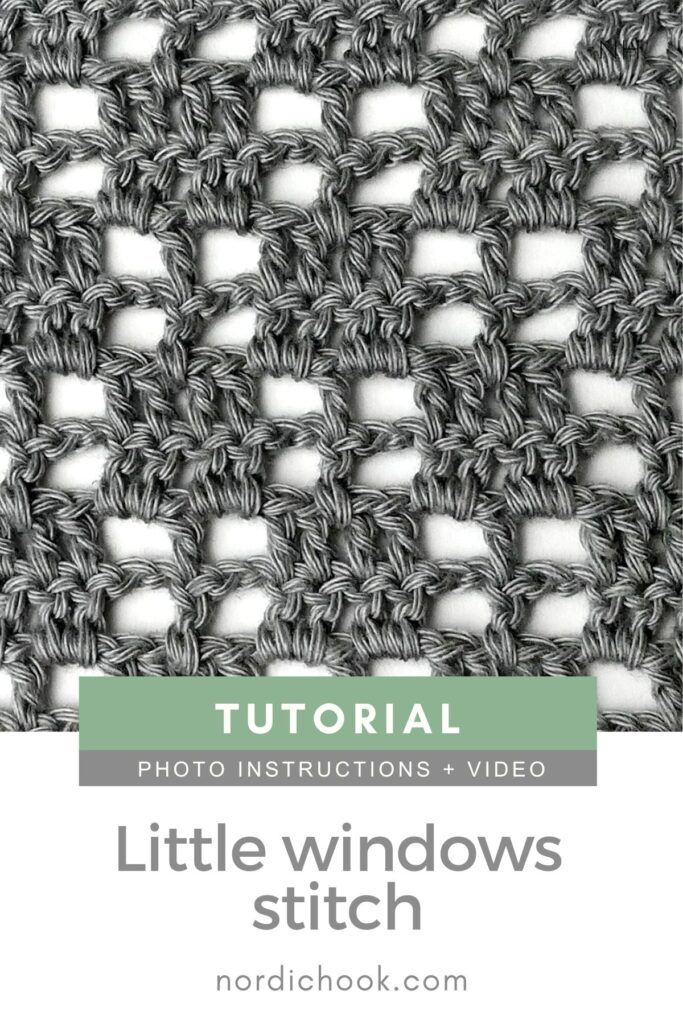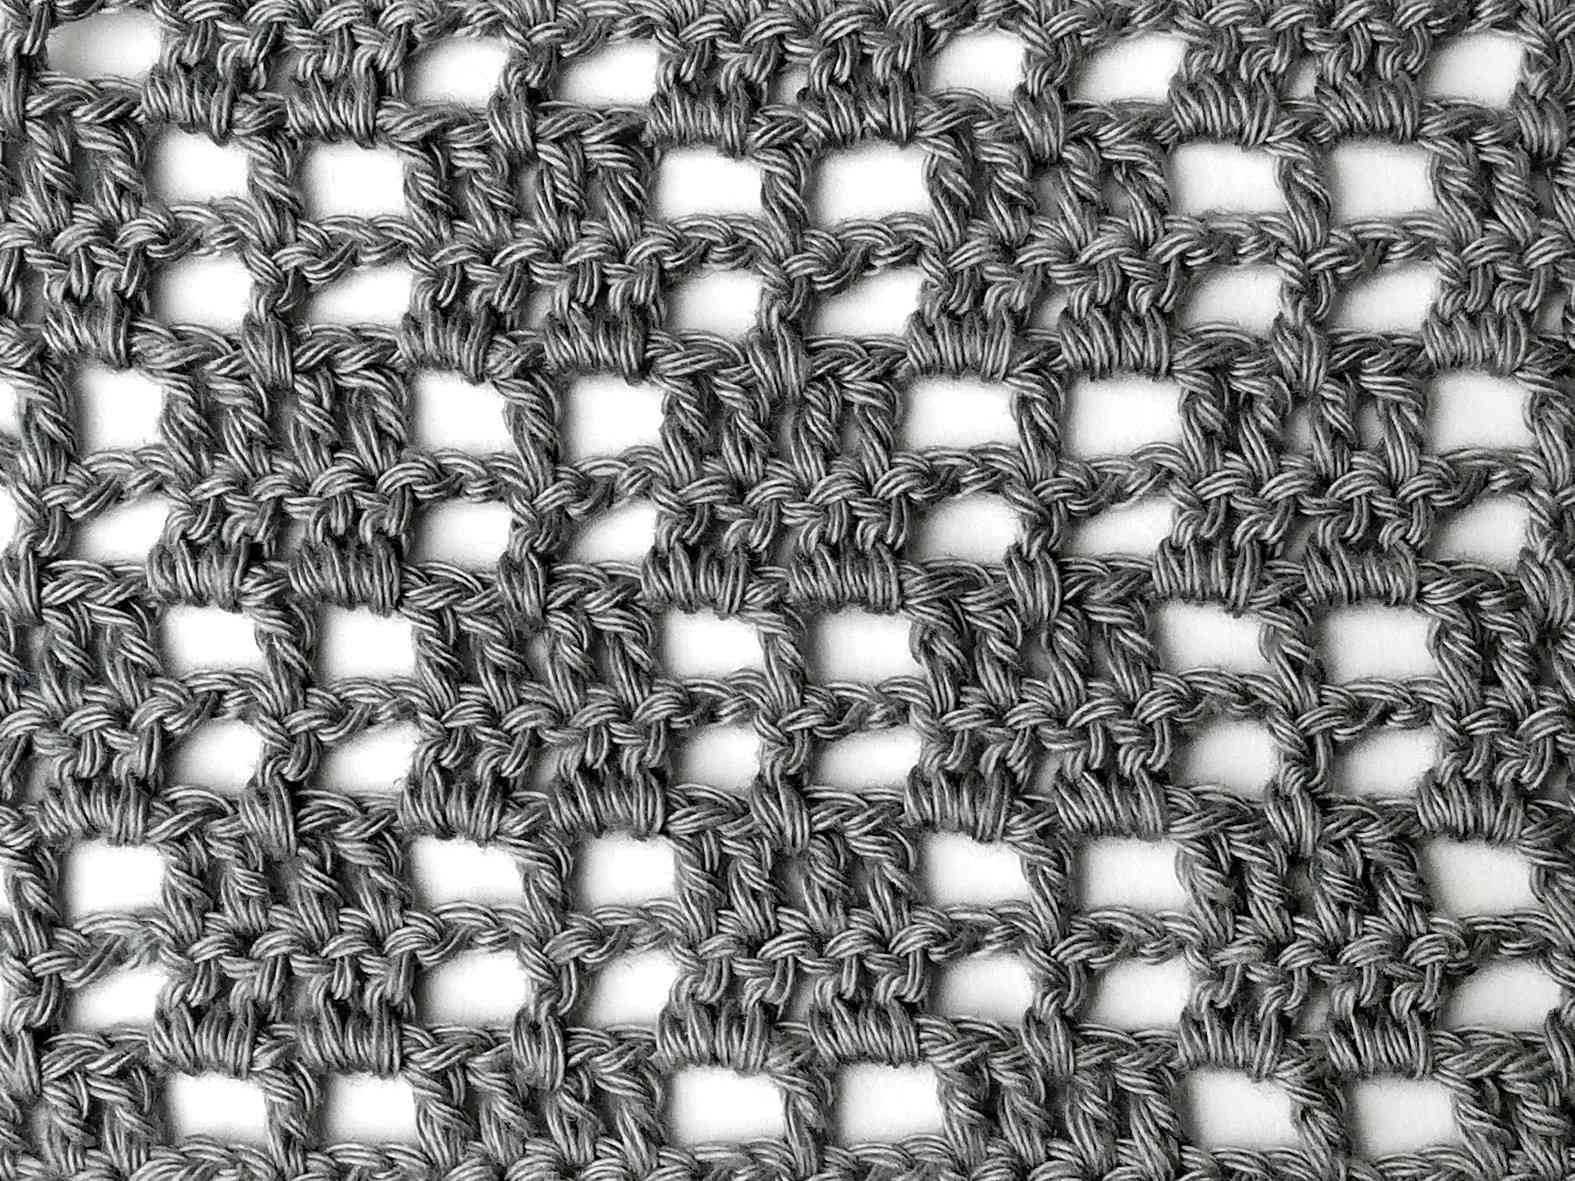
In this free step-by-step crochet stitch tutorial I show how to make the little windows stitch. This stitch is a lacy crochet stitch. The fabric turns out light and breathable. It works great for shawls and wraps, lightweight scarves, lacy crochet summer tops and tanks, and other summer crochet projects. This stitch can also be used in decorative crochet projects for the home.
This crochet stitch tutorial includes photo instructions and a video tutorial (see below). The little windows stitch is a repeat of four rows. For this crochet stitch you should know how to make double crochet. This stitch is very easy to make and suitable for beginners.
Materials and tools
Yarn: For this tutorial I use Hjertegarn DIAMOND mercerized cotton 100% 8/4 50g yarn, color: 1361 (grey). However, you can use your favorite yarn depending on the crochet project.
Hook: I use a 2.0 mm hook. If you are using a different yarn, choose the hook size that is recommended on your yarn label.
Printable PDF and chart
This free crochet tutorial includes detailed photo instructions and written steps. If, in addition to photo instructions, you would like a short written pattern and a chart, join Nordic Hook Club and get access to one of the largest crochet stitch libraries! There you will find hundreds of ad-free downloadable crochet stitch tutorials that include detailed step-by-step photo instructions, concise written patterns and member-exclusive charts. Plus, you can download all Nordic Hook patterns, stitches and e-books for free! Read more about all the membership benefits here and sign up today.
Read more and sign up!If you prefer a printable version without ads, you can purchase my e-book Beautiful Crochet Stitches Volume 1 with 50 detailed tutorials. In addition to the photo instructions, the tutorials include exclusive short written stitch patterns (charts are not included). SAVE 40% by purchasing a BUNDLE with all six volumes of Beautiful Crochet Stitches. That’s 300 crochet stitches in total!
Buy Volume 1 Buy bundle
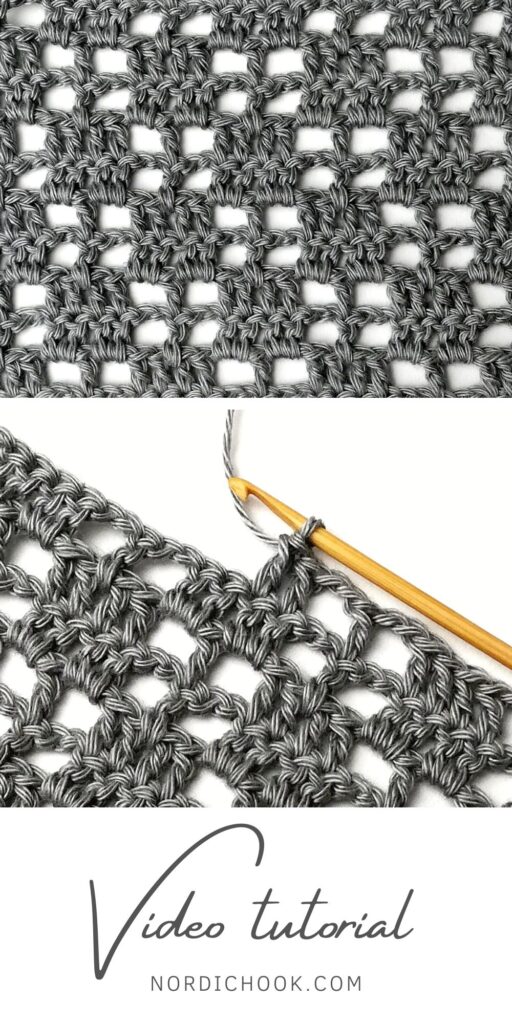
Video tutorial
The video tutorial below shows how to make the little windows stitch.
*NOTE: In the photo tutorial rows 3 and 4 start with chaining five, while in the video tutorial they start with chaining 6. Both ways work well 🙂
Photo instructions for the little windows stitch
Row 1
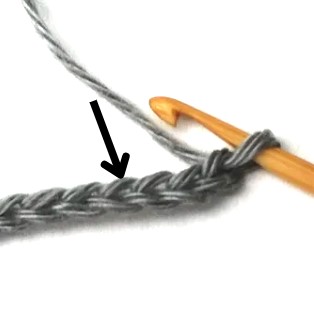
1. Start by chaining multiples of nine plus eight. You will start working in the fourth chain from your hook.
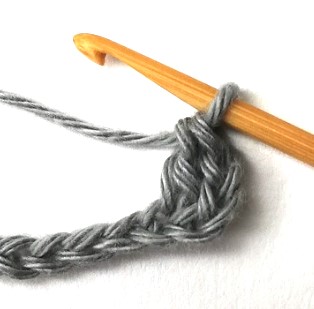
2. So, make a double crochet in the fourth chain from your hook.
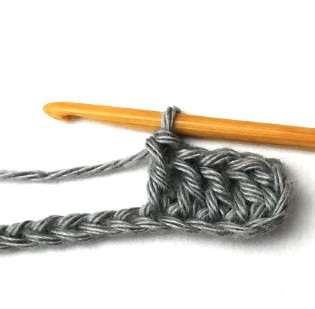
3. Make three more double crochets in the next three stitches.
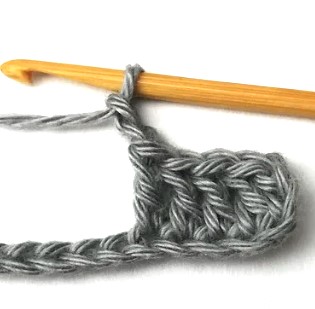
4. Chain two.
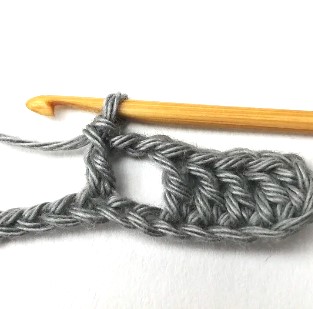
5. Skip two stitches and make a double crochet in the next stitch.
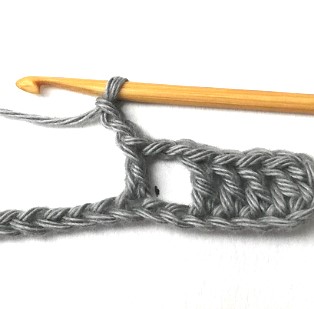
6. Chain two.
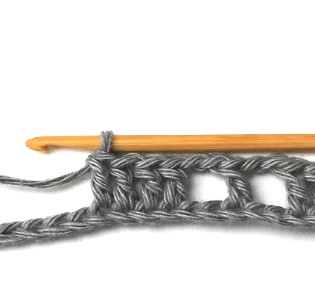
7. Skip two stitches and make four double crochets in the next four stitches.
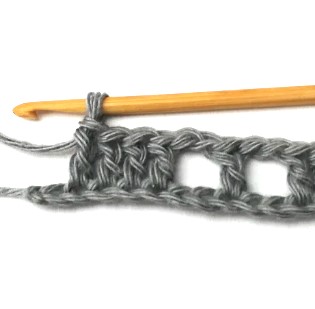
8. Then repeat until the end of the row: chain two, skip two stitches, make a double crochet in the next stitch, chain two, skip two stitches and make four double crochets in the next four stitches.
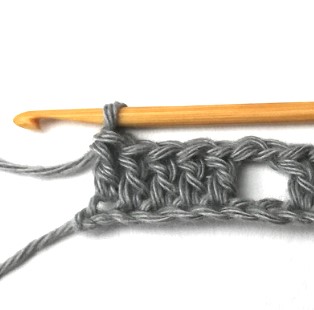
9. At the end of the row make the fifth double crochet in the last stitch.
Row 2
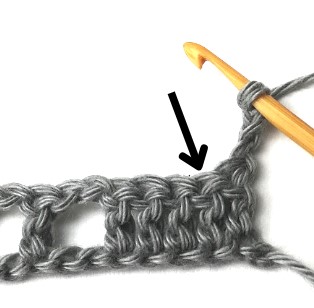
10. Chain three and turn your work around. Chain three counts as a double crochet. You will start working in the second stitch.
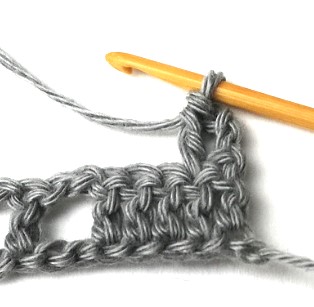
11. So, make a double crochet in the second stitch.
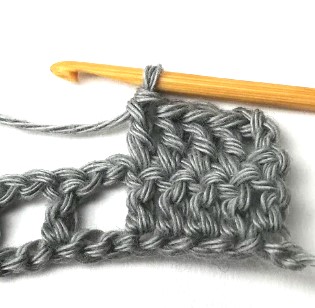
12. Then make three more double crochets in the next three stitches.
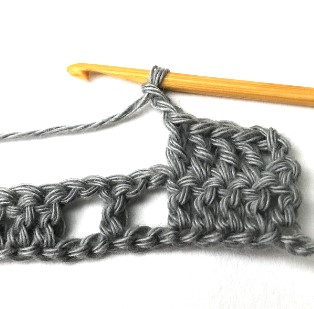
13. Chain two.
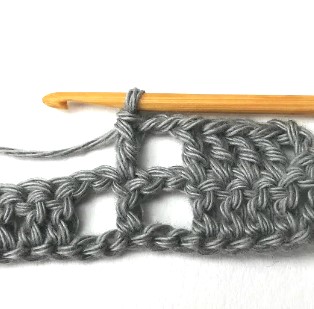
14. Make a double crochet in the double crochet of the previous row.
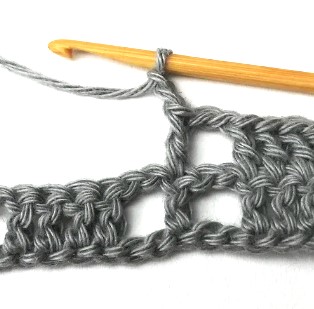
15. Chain two.
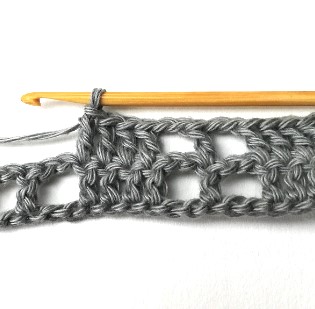
16. Make four double crochets in the four double crochets of the previous row.
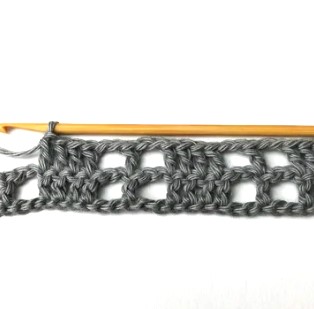
17. Then repeat: chain two, make a double crochet in the double crochet of the previous row, chain two and make four double crochets in the four double crochets of the previous row.
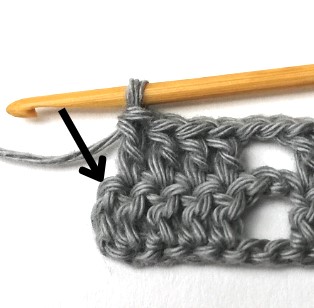
18. At the end of the row make four double crochets in the four double crochets of the previous row.
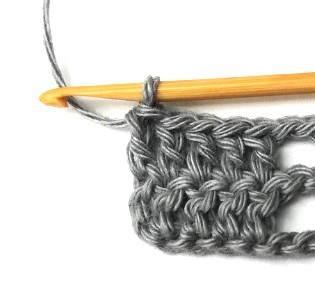
19. Then make the fifth double crochet in the turning chain.
Row 3
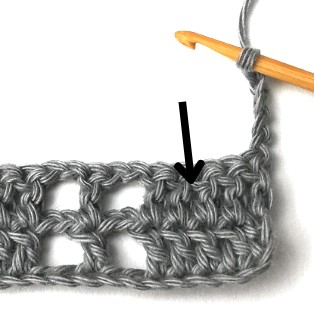
20. Chain five and turn your work around. You will work in between the third and the fourth double crochet of the previous row.
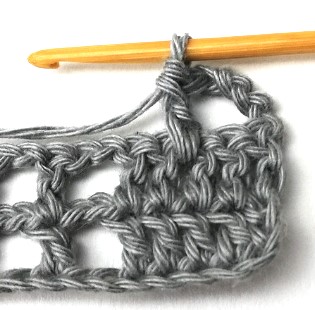
21. So, make a double crochet in between the posts of the third and the fourth double crochet of the previous row.
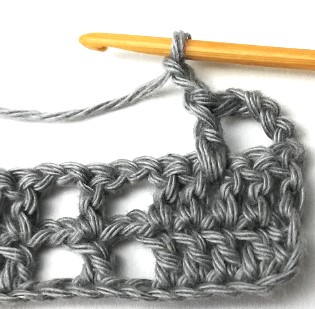
22. Chain two.
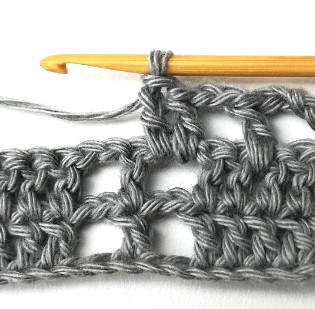
23. Make two double crochets in the chain two space of the previous row.
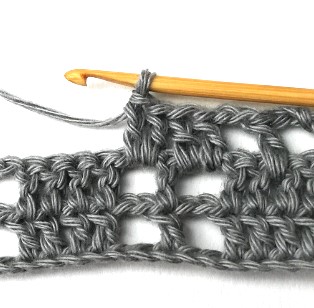
24. Then make two double crochets in the next chain two space.
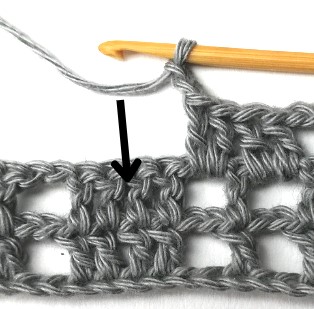
25. Chain two.
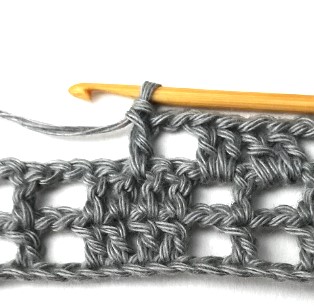
26. Make a double crochet in between the second and the third double crochet of the previous row.
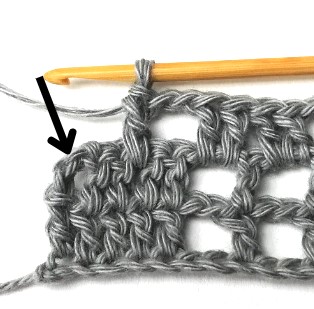
27. Then repeat: chain two, make two double crochets in the chain two space, then make two double crochets in the next chain two space, chain two and make a double crochet in between the second and the third double crochet.
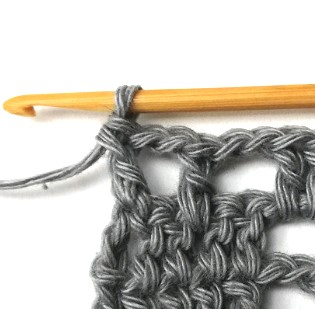
28. At the end of the row chain two and make a double crochet in the turning chain.
Row 4
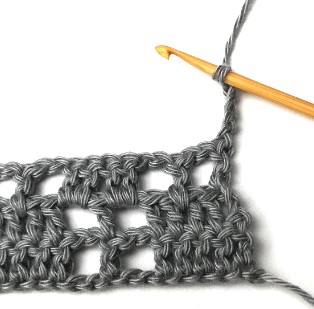
29. Chain five and turn your work around.
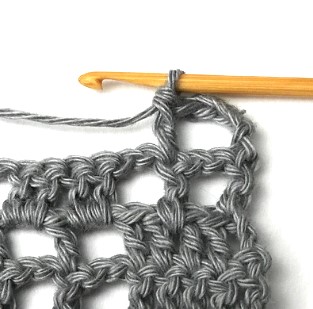
30. Make a double crochet in the double crochet of the previous row.
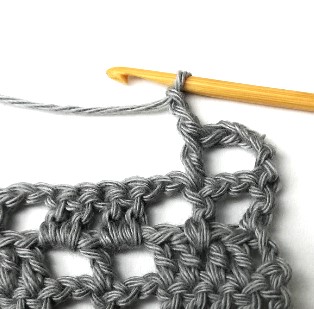
31. Chain two.
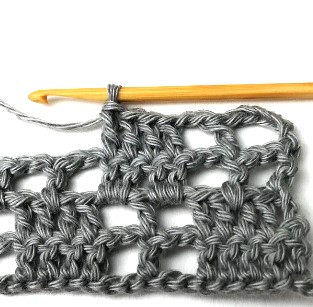
32. Then make four double crochets in the four double crochets of the previous row.
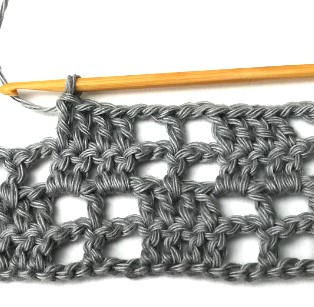
33. Then repeat: chain two, make a double crochet in the double crochet of the previous row, chain two and make four double crochets in the four double crochets of the previous row.
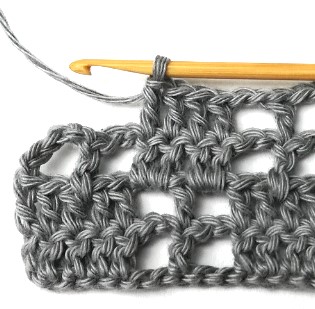
34. Continue working in the same way until the end of the row.
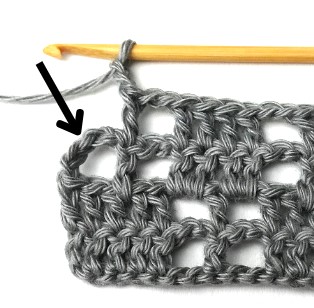
35. At the end of the row, chain two, make a double crochet in the double crochet of the previous row and chain two.
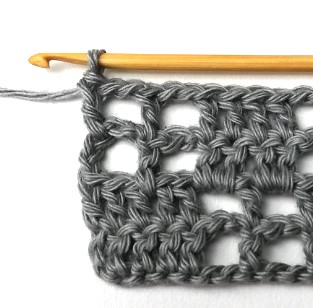
36. Then make a double crochet in the third chain of the turning chain.
Row 5
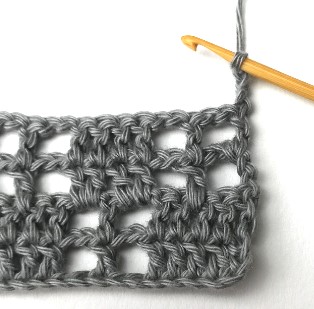
37. Chain three and turn your work around. Chain three counts as a stitch.
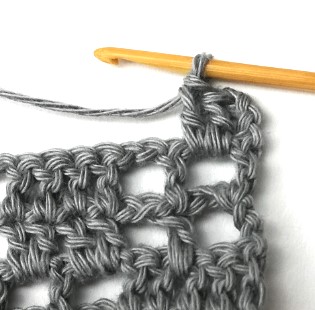
38. Make two double crochets in the chain two space of the previous row.
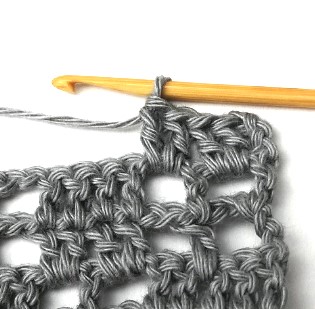
39. Then make two double crochets in the next chain two space.
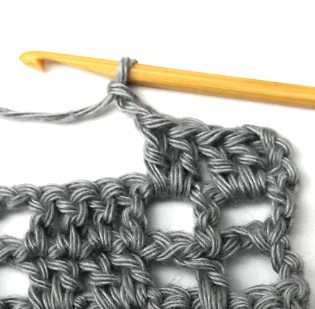
40. Then chain two.
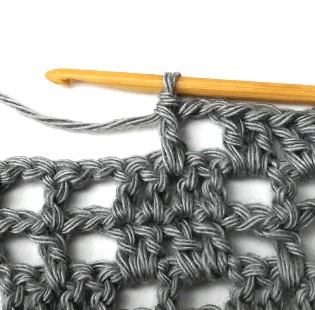
41. Make a double crochet in between the second and the third double crochet of the previous row.
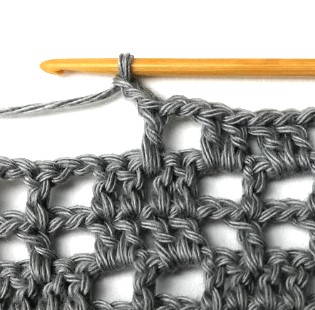
42. Chain two.
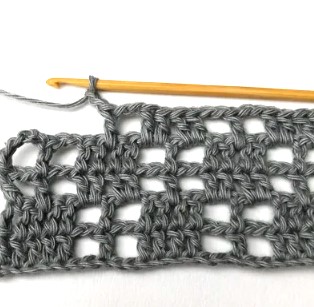
43. Then repeat: make two double crochets in the chain two space, then make two double crochets in the next chain two space, chain two and make a double crochet in between the second and the third double crochet of the previous row.
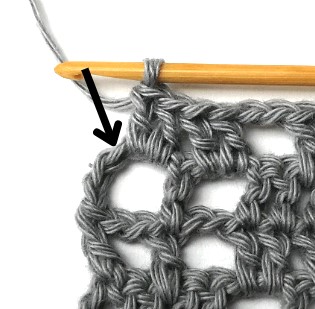
44. At the end of the row make two double crochets in the chain two space and make two double crochets in the turning chain space.
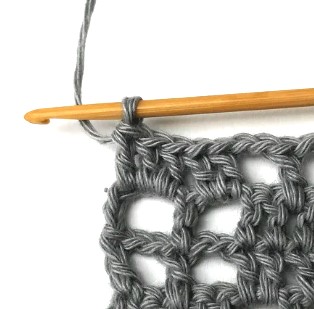
45. Then make a double crochet in the third chain of the turning chain. For the rest of the pattern repeat rows 2-5.
Finished little windows stitch
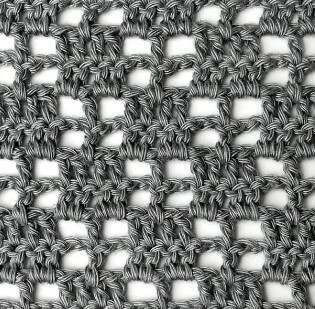
46. Done!
You might also like
There is much more to explore:
Save this tutorial to your Pinterest crochet board here.