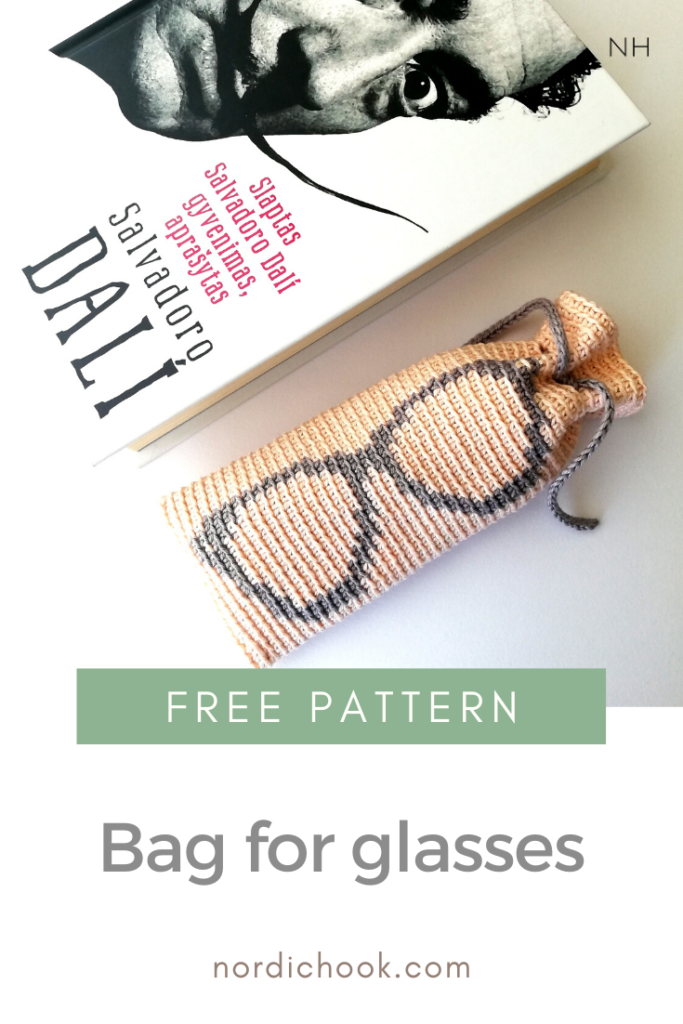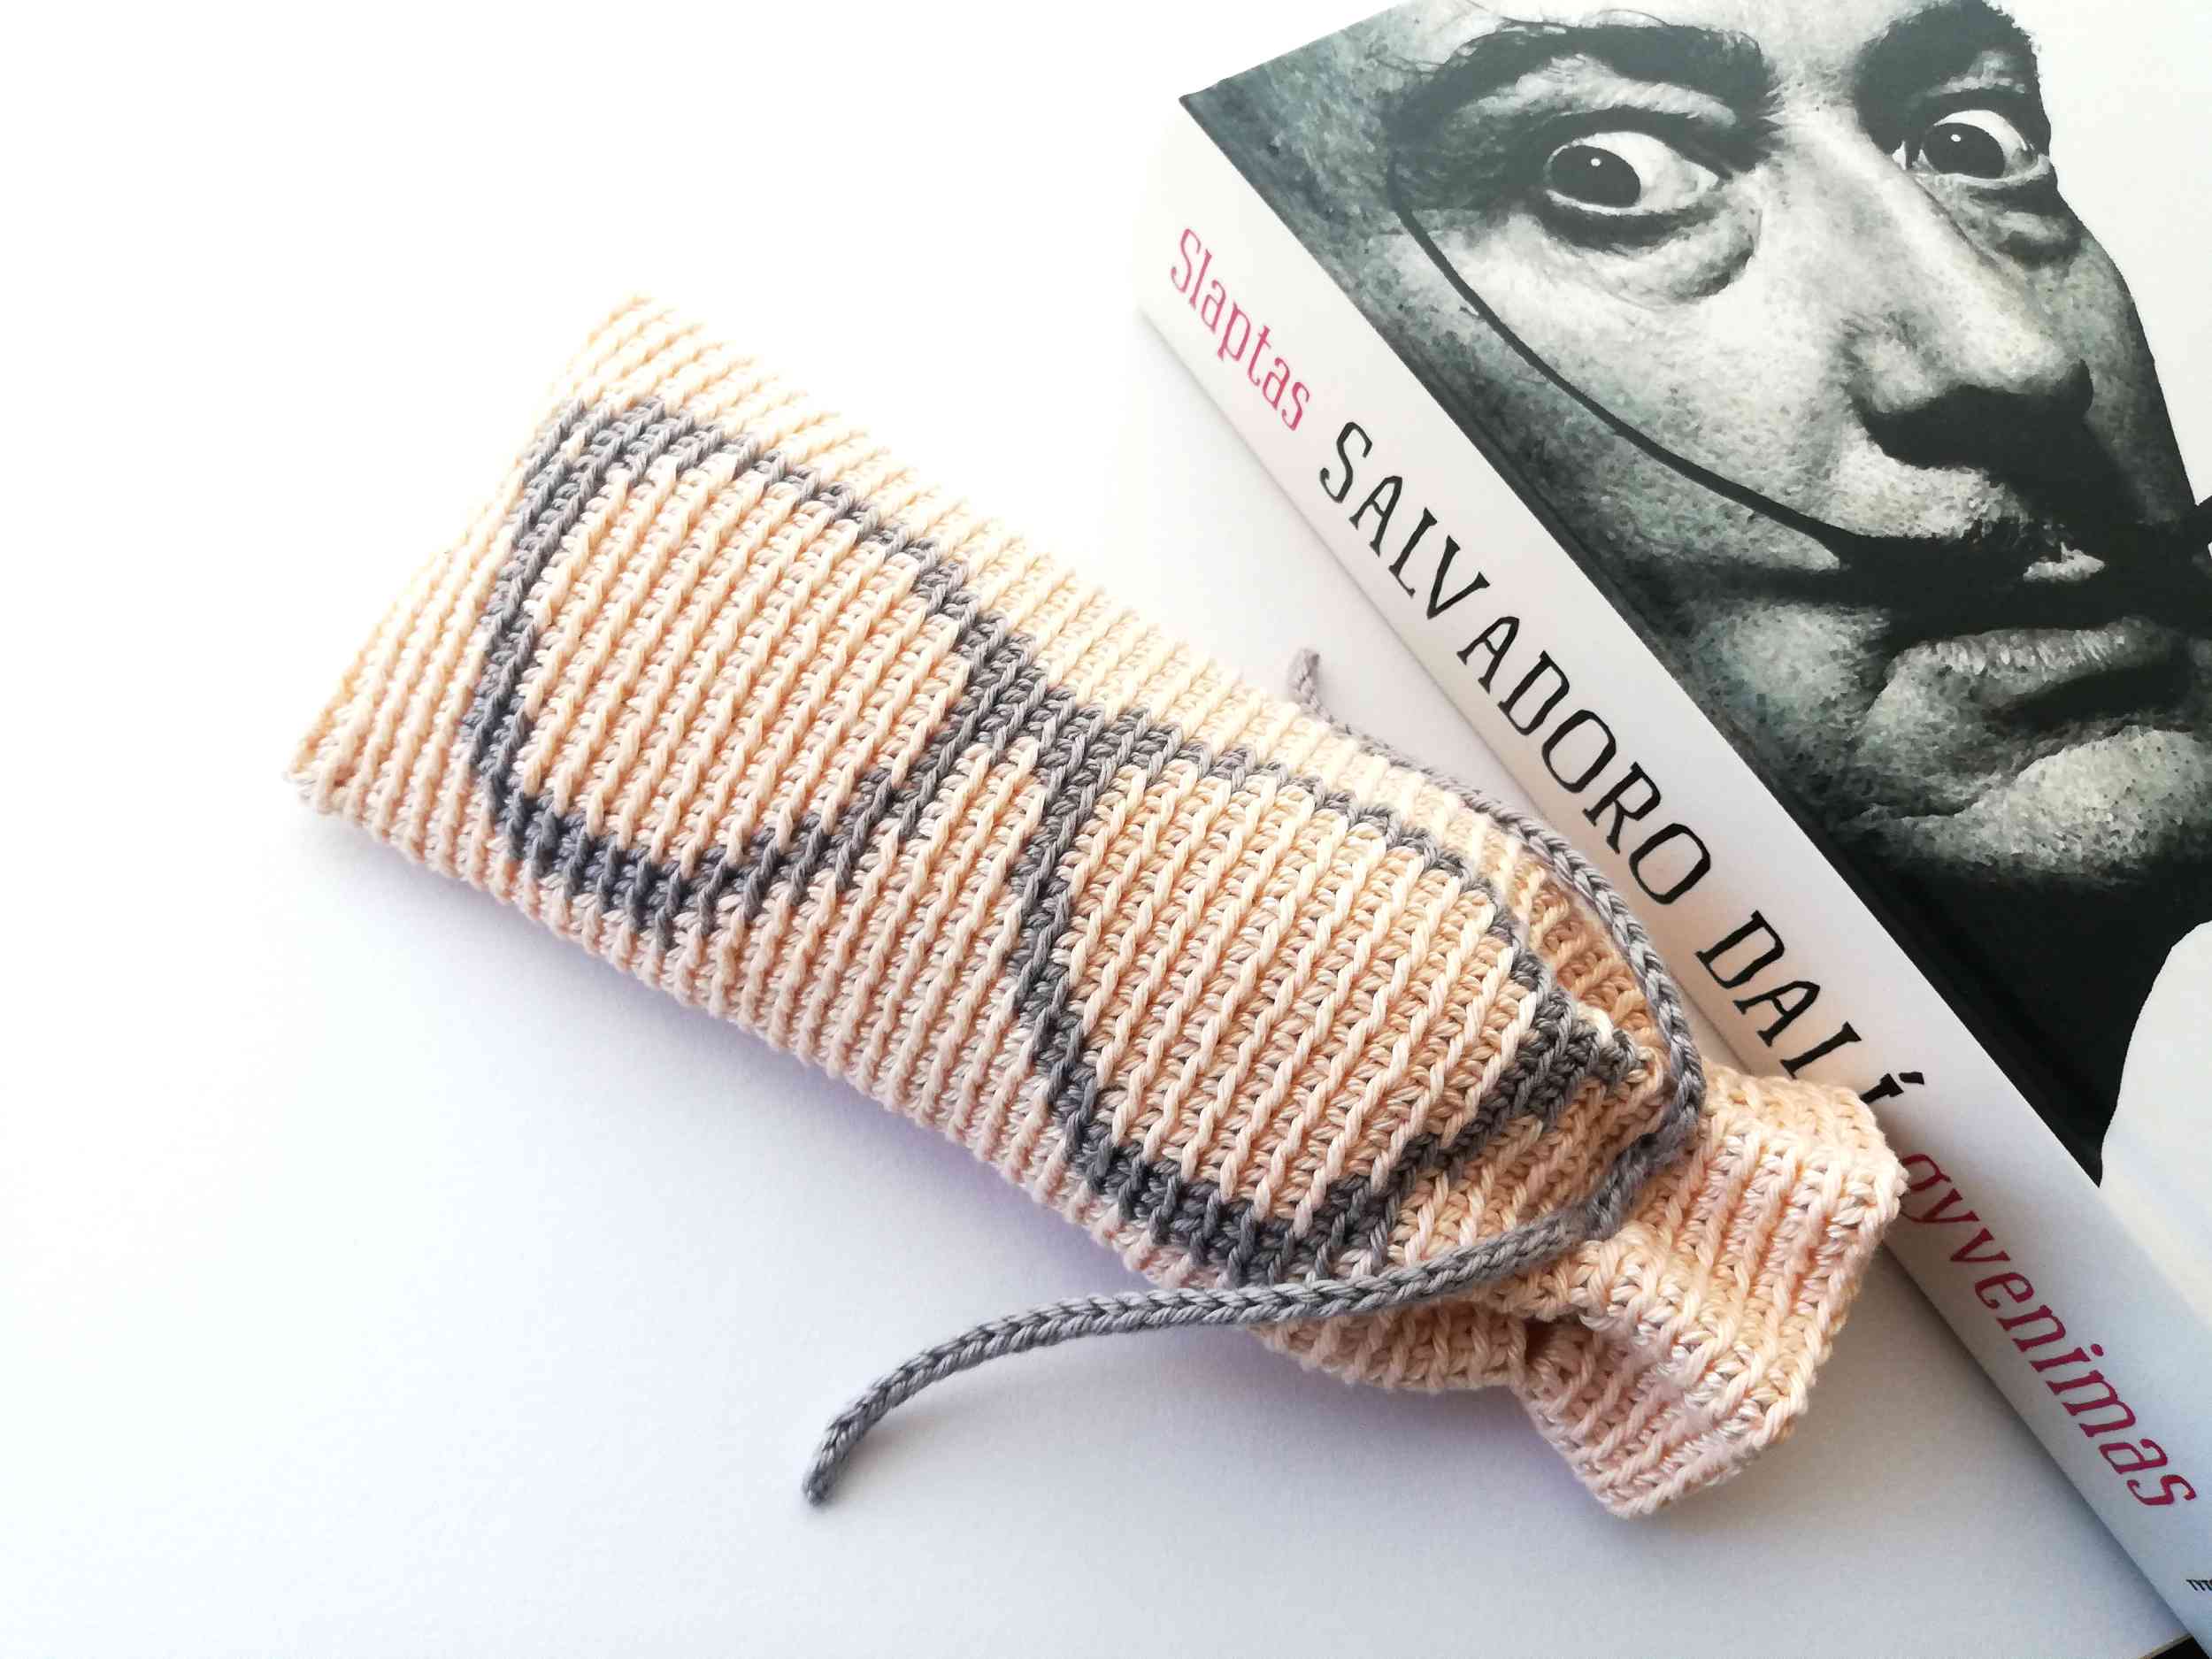
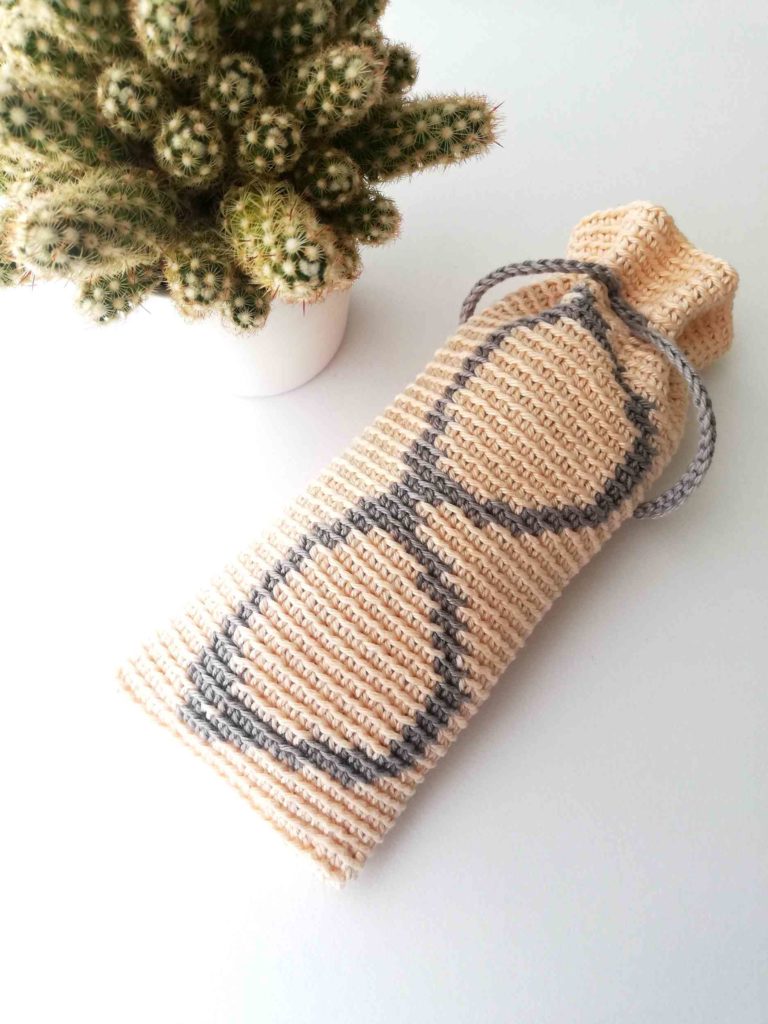
Here is a free crochet pattern for a tapestry crochet bag for glasses. It is a simple, quick crochet project.
The pattern includes a list of materials, abbreviations, notes, written pattern, color chart and detailed step-by-step photo instructions. This quick crochet project uses the tapestry crochet technique. Even if you haven’t tried this technique before, the photo tutorial will guide you along the way, and you will easily complete the project. If you would like to learn more about this technique, you can take a look at my tutorial here.
For this pattern I used two colors, grey and peach. However, you could easily incorporate the third color for the inside of the glasses if you wish to use the bag for sunglasses instead of reading glasses. The concept of working with three colors stays the same: you need to carry two yarns along and work with the third one, changing them as needed.
You can find my other free crochet patterns for bags and pouches here and more free crochet projects here.
Printable PDF
Join Nordic Hook Club and download the PDF pattern without ads for free! By joining the Club, you also get access to one of the largest crochet stitch libraries. There you will find hundreds of ad-free downloadable crochet stitch tutorials that include detailed step-by-step photo instructions, concise written patterns and member-exclusive charts. Plus, you can download all Nordic Hook patterns, stitches and e-books for free! Read more about all the membership benefits here and sign up today.
Read more and sign up!
Bag for glasses
Materials
- Yarn: I use Järbo 8/4 100% Cotton “Mercerized & Gassed” 50 g (light gray) and Madame tricote Almina 8/4 100% cotton yarn 50 g (peach). However, any thin cotton yarn will work.
- Hook: I use a 2.0 mm hook. If you are using a different yarn, choose the hook size that is recommended on your yarn label.
Abbreviations (US terms)
- ch: chain
- sl st: slip stitch
- sc: single crochet
- msc: modified single crochet
- prev: previous
- st: stitch
- rep * *: repeat from * to *
Notes
The size of my pouch is 7.5 x 18.0 cm. You will be working in rounds. This pattern uses the tapestry crochet technique (you can find the tutorial here). The photo instructions below show how to make a bag and a string. This pattern uses a modified single crochet: make a single crochet back loop only, just instead of yarning over for the last step, yarn under (see the tutorial here). Except the first round and the two rounds where you make holes for a string, every round is made in the same way: chain one, make 39 modified single crochets, join with a slip stitch. Follow the color scheme showing how you should change colors.
Pattern
The bag
Start by chaining 19 + 1 with peach yarn.
Round 1: To make the first round, you will be working down the chain, then turn and work in the other side of the chain. Make sc in every st of the chain starting from the second chain from your hook. Turn. 1 sc in the end of the chain, make sc in every st (starting with the one you have just worked into; now that st has 3 sc in total) until you come back to the beginning of the chain. 1 sc in the end of the chain. Join with a sl st to the first sc of this round. In total you should have 40 st.
Now add the gray yarn and follow the color scheme for all rounds until the end.
Round 2-39: ch 1, msc in every st of the prev round. Join with a sl st.
Making the holes for the string:
Round 40: ch 1, *,2 msc, ch2, skip 2 st of the prev round*, rep ** 9 times, 2 msc, ch 1, skip 1 st of the prev round, join with a sl st.
Round 41: ch 1, *2 msc, 2 msc in the ch2 space of the prev round (make sure to grab the loose yarn hanging in the ch2 space in the prev round too)*, rep ** 9 times, 2 msc, 1 msc in the ch1 space of the prev round, join with a sl st.
Round 42-45: ch 1, msc in every st of the prev round. Join with a sl st.
Fasten off.
Making the string
Start by chaining. The length of the chain should be around 26-28 cm long. Make a row of slip stitches in the third loop of the chain as it is shown in photo instructions below. When you reach the end of the row, fasten off. You are ready to weave in the string into your bag.
Color scheme
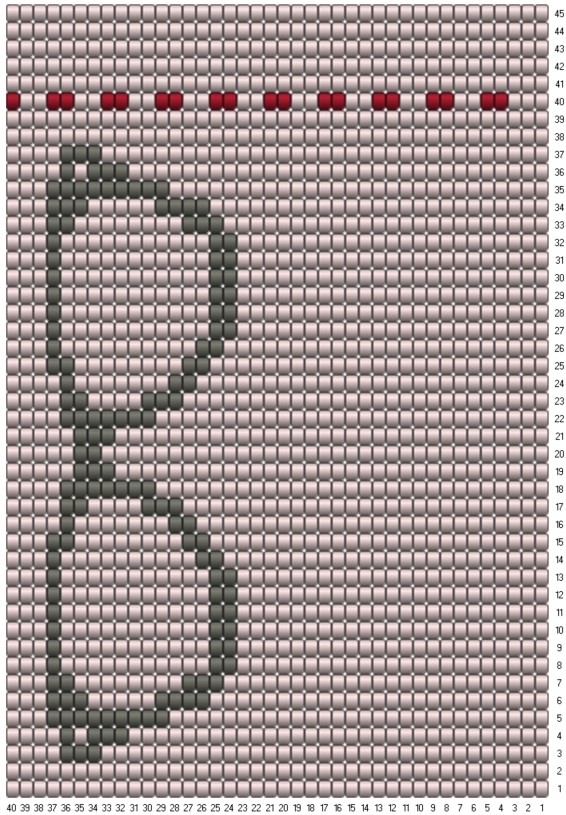
How to read the scheme
Each square represents a stitch and its color. In each round you have 40 stitches (40 columns in the scheme). Rows represent rounds. For each round you have to read the row in the scheme from right to left. The chain that you make in the beginning of each round counts a stitch.
In the scheme, red squares indicates where you should make holes for the string. When you chain 2 for a hole, you cannot hide the yarn you are not working with: it will be ‘hanging’ in the hole. Don’t worry, when you will make round 41, you will grab both yarns you need to hide: the one in round 40 and the one in round 41. See photo instructions.
Photo instructions
Making the bag
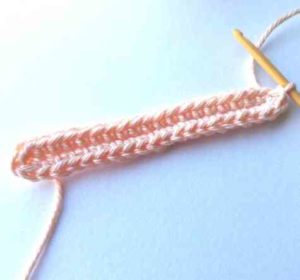
1. Round 1. Start with a chain and make single crochets around it. Join with a sl st to the first sc in this round, not to the chain 1. You do this only in the first round, in all other rounds you have to make a sl st into the ch 1 which you make in the beginning of the round.
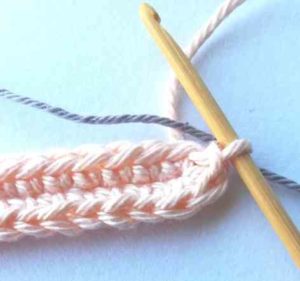
2. Round 2. Put the gray yarn behind your hook and in front of the peach yarn that you are working with.
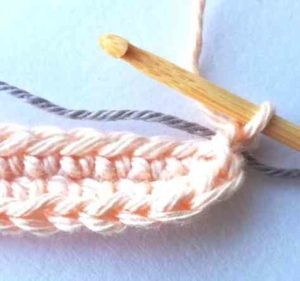
3. Round 2. Chain one. Now your gray yarn is secured.
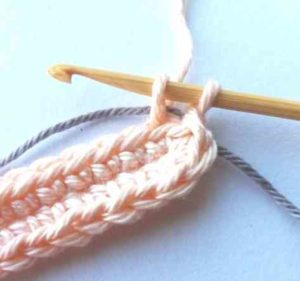
4. Round 2. Make the first msc wrapping the gray yarn: start by inserting your hook in the back loop of the next stitch and pull the yarn through. Now you have two loops on your hook.
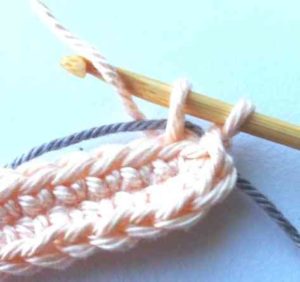
5. Round 2. Instead of yarning over, like you would do for the usual single crochet, you should yarn under. Pull the yarn through both loops.
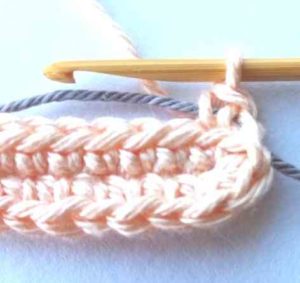
6. Round 2. Pull the yarn through both loops. You have just made a modified single crochet.
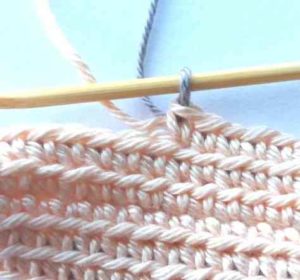
7. Round 3. In round 3 you need to start changing colors. Make 32 stitches with peach yarn, start 33rd stitch with peach yarn but finish it with gray yarn, because 34th stitch is in gray.
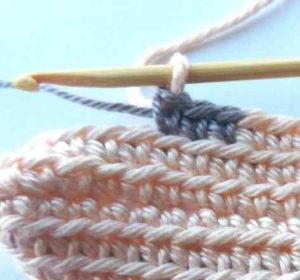
8. Round 3. Make two msc in gray, start the third msc in gray and finish it with your peach yarn.
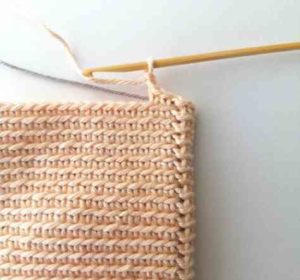
9. Round 40. In round 40 you will start making holes for the string. To begin the round, ch 1 and make 2 msc. Then chain 2.
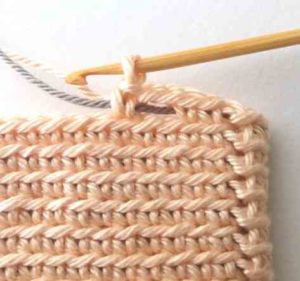
10. Round 40. Skip 2 msc of the previous round and make an msc. You can see that your gray yarn is “hanging” in the hole, but it is ok, you will wrap it with your white yarn in the next round.
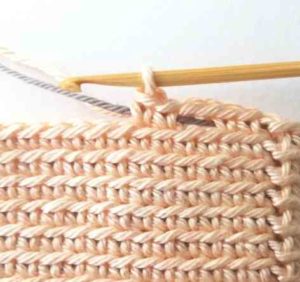
11. Round 40. Msc in the next st.
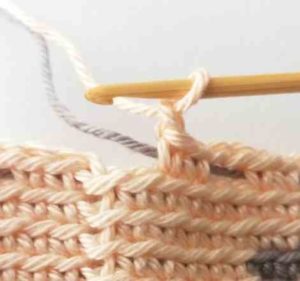
12. Round 40. For the last hole chain 1.
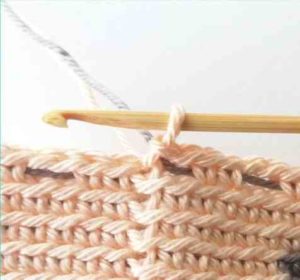
13. Round 40. join with a sl st.
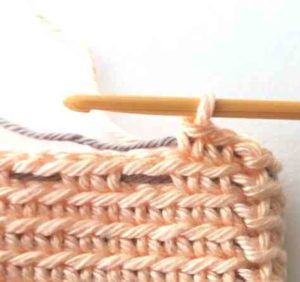
14. Round 41. Chain 1, 2 msc.
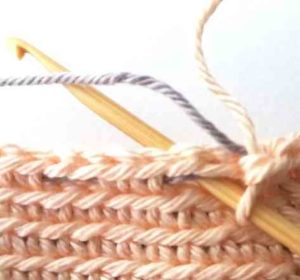
15. Round 41. Insert your hook in the ch2 space of the previous round grabbing both gray yarns.
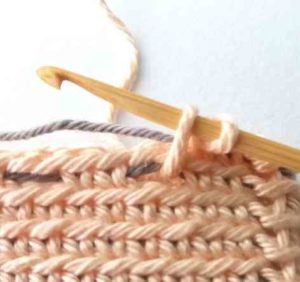
16. Round 41. Pull the yarn through. Now you have two loops on your hook.
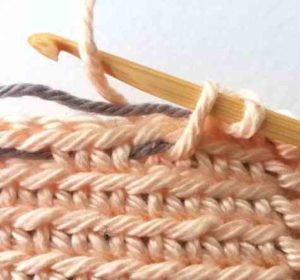
17. Round 41. Yarn under.
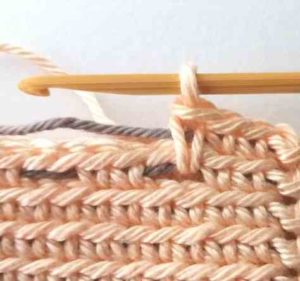
18. Round 41. Pull the yarn through both loops on your hook.
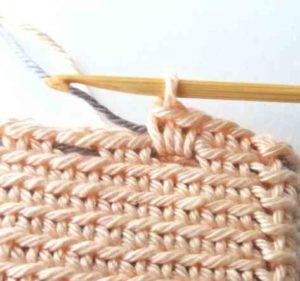
19. Round 41. Msc in the ch2 space of the previous round, then make 2 msc in the next two stitches of the previous round.
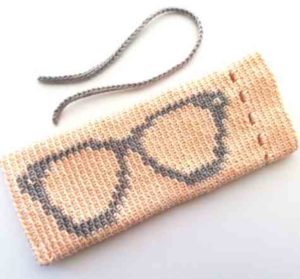
20. Continue following the pattern until the end. Done!
Making the string
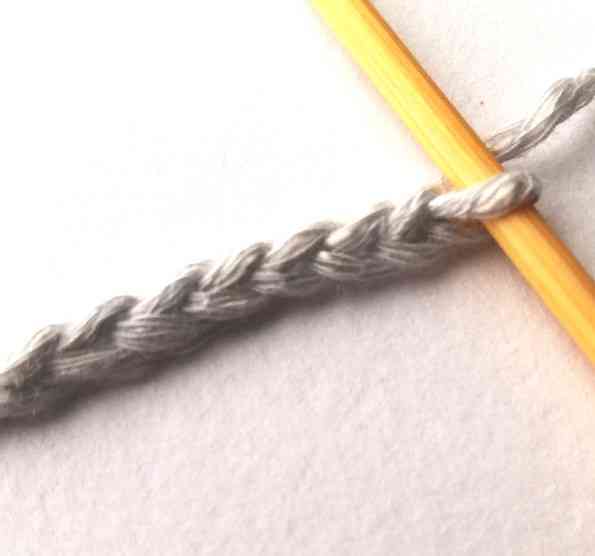
1. Start with a chain.
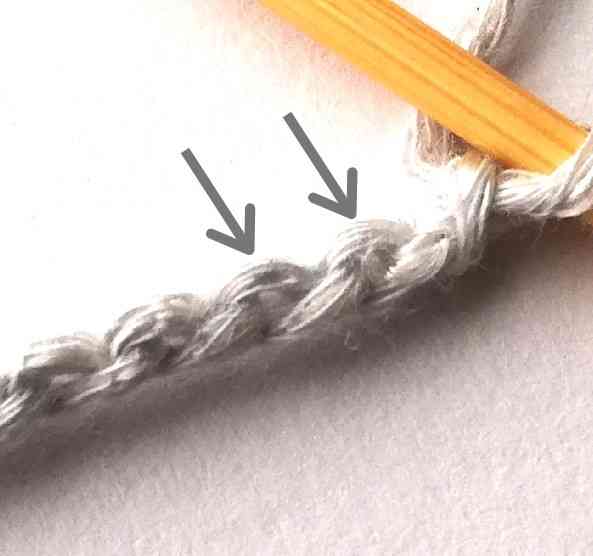
2. Now you will be working in the third loop of your chain which is behind ‘v’.
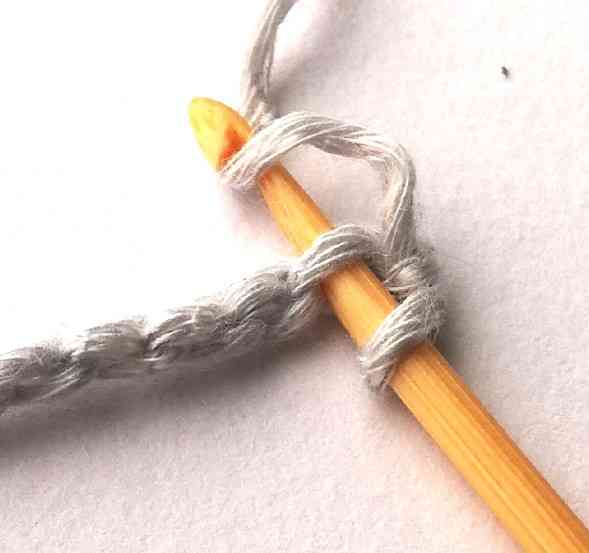
3. Insert your hook in the third loop of the chain and yarn over.
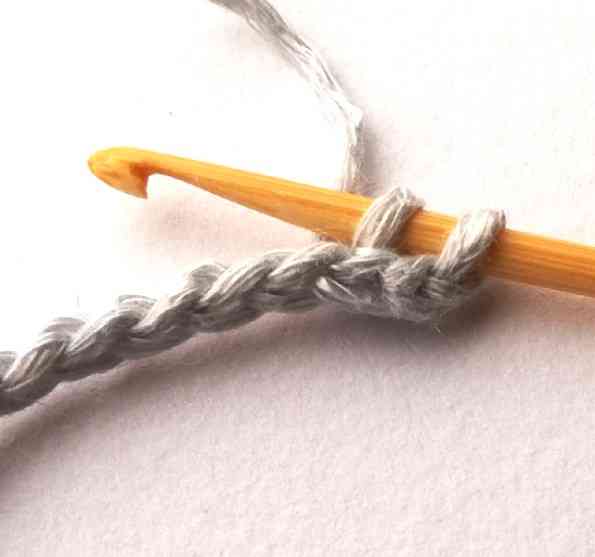
4. Pull the yarn through. Now you have two loops on your hook.
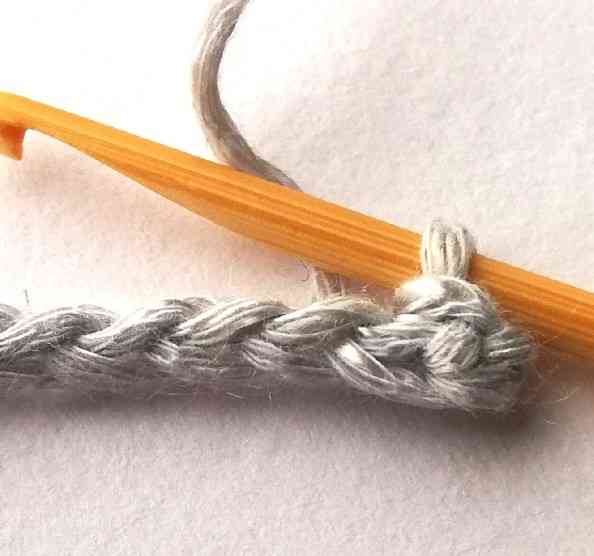
5. Pull the first loop through the other one. Now you have one loop on your hook. You have just made your first slip stitch.
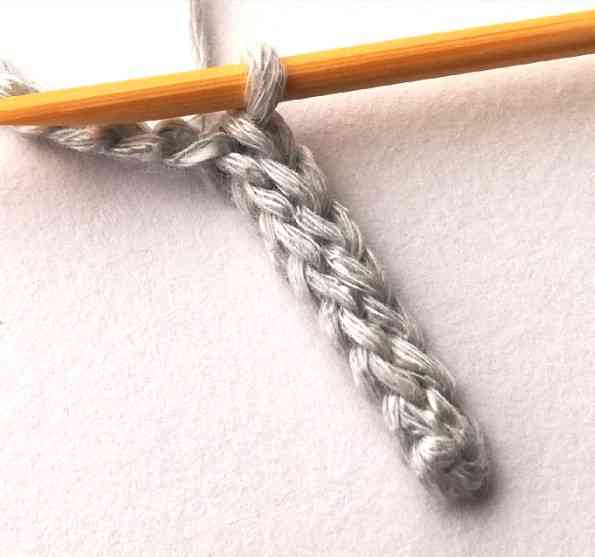
6. In the photo you can see that after several stitches it starts looking like two chains stuck together. Continue making slip stitches in the third loop of the chain until the end of the row. Fasten off. Done!
Enjoy your bag!
You might also like
There is much more to explore:
You can save this pattern to Pinterest here.