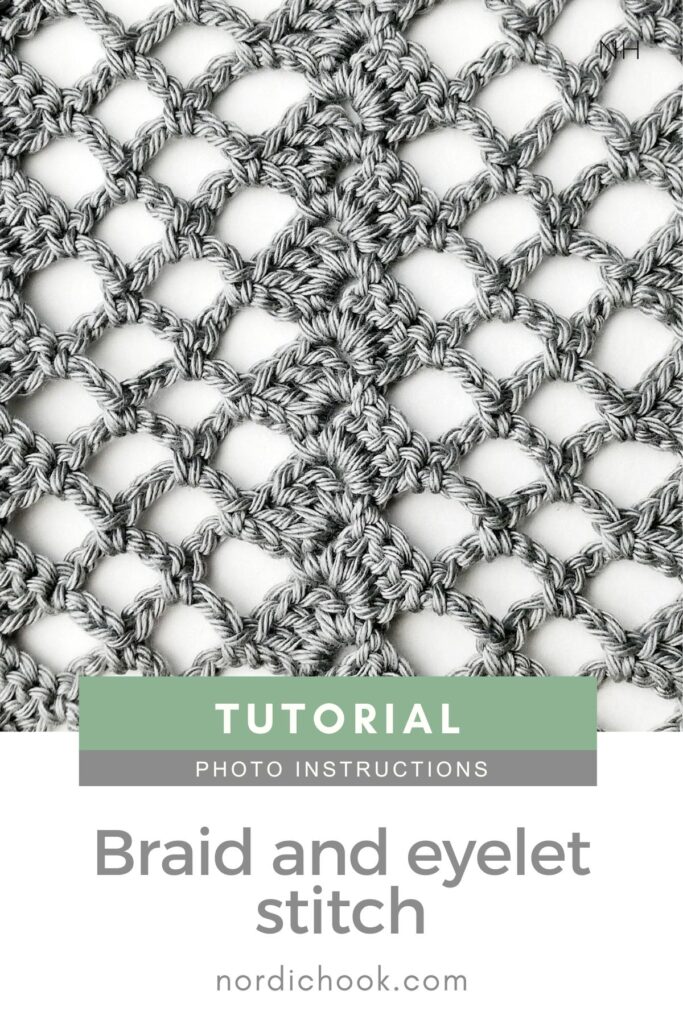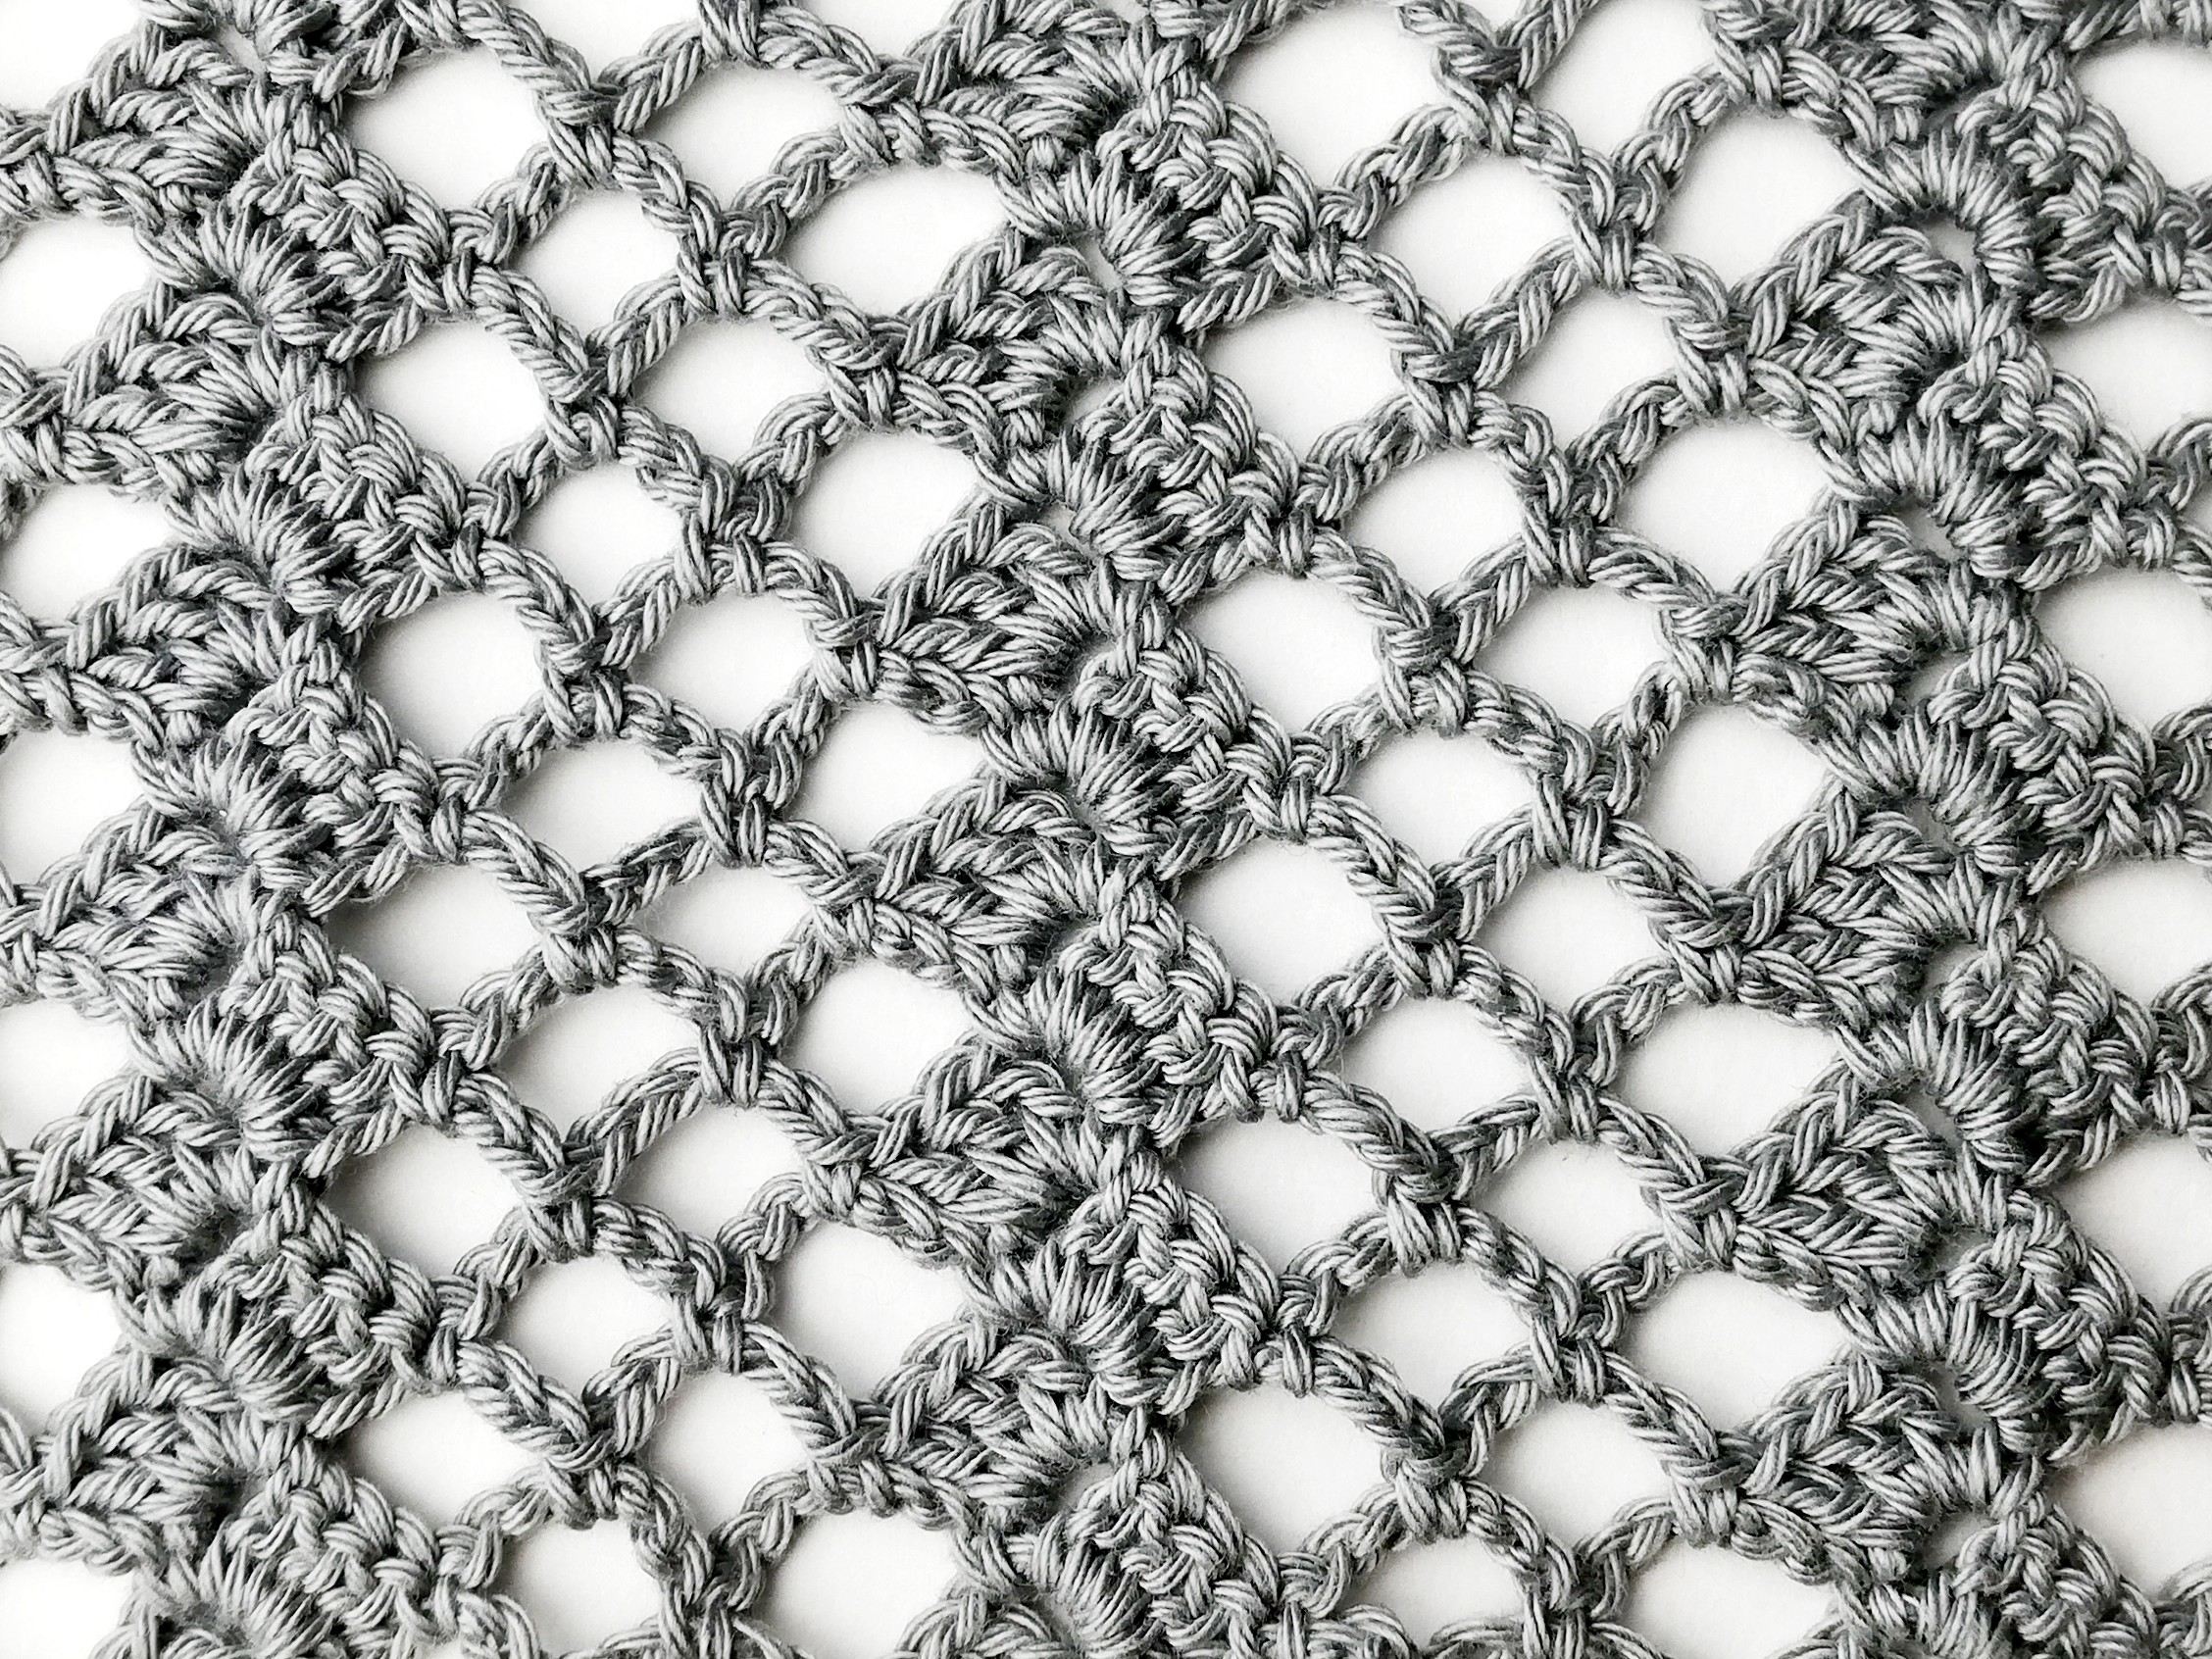
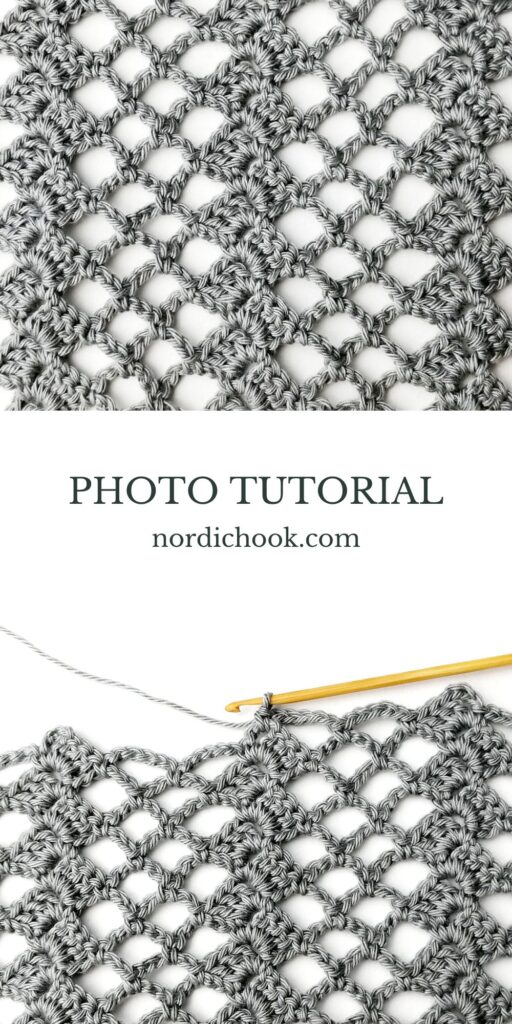
In this free step-by-step crochet stitch tutorial I show how to make the braid and eyelet stitch. The braid and eyelet stitch is a lacy crochet stitch. It is also a reversible crochet stitch that looks the same on both sides. The fabric turns out light and breathable. It works great for shawls and wraps, lightweight scarves, lacy crochet summer tops and tanks, market bags and other summer crochet projects. This stitch can also be used for decorative crochet projects for the home.
This crochet stitch tutorial includes detailed photo instructions. The braid and eyelet stitch is a one-row repeat. For this crochet stitch you should know how to make single crochet and double crochet. It is easy to make, which makes it suitable for beginners.
Materials and tools
Yarn: For this tutorial I use Hjertegarn DIAMOND mercerized cotton 100 % 8/4 50 g, color: 361 (grey). However, you can use your favorite yarn depending on the crochet project.
Hook: I use a 2.0 mm hook. If you are using a different yarn, choose the hook size that is recommended on your yarn label.
Printable PDF and chart
This free crochet tutorial includes detailed photo instructions and written steps. If, in addition to photo instructions, you would like a short written pattern and a chart, join Nordic Hook Club and get access to one of the largest crochet stitch libraries! There you will find hundreds of ad-free downloadable crochet stitch tutorials that include detailed step-by-step photo instructions, concise written patterns and member-exclusive charts. Plus, you can download all Nordic Hook patterns, stitches and e-books for free! Read more about all the membership benefits here and sign up today.
Read more and sign up!Photo instructions for the braid and eyelet stitch
Row 1
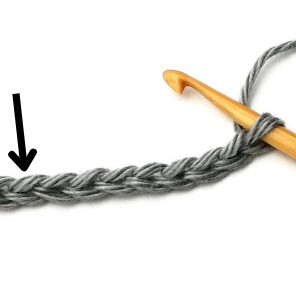
1. Start by chaining a multiple of twelve plus eight. You will start working in the eighth chain from your hook.
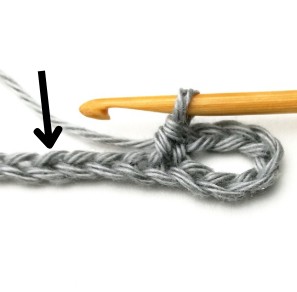
2. Make a single crochet in the eighth chain from your hook.
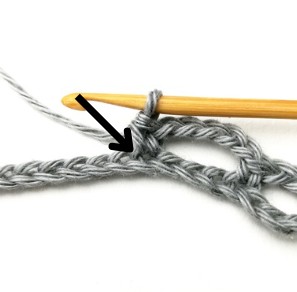
3. Chain five, skip three stitches and make a single crochet in the next stitch.
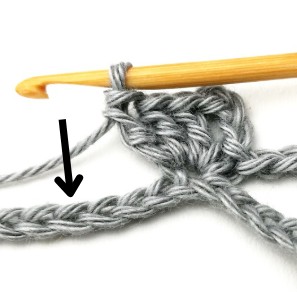
4. Chain three and make three double crochets in the same stitch where you have just made a single crochet.
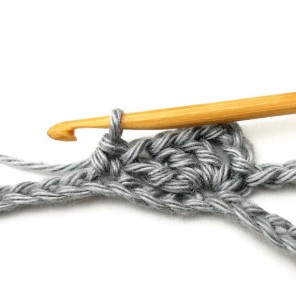
5. Skip three stitches and make a single crochet in the next stitch.
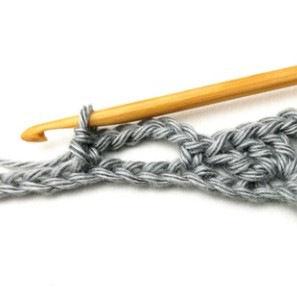
6. Chain five, skip three stitches and make a single crochet in the next stitch.
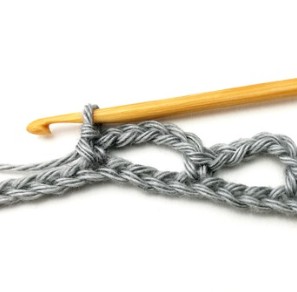
7. Then repeat. Chain five, skip three stitches and make a single crochet in the next stitch.
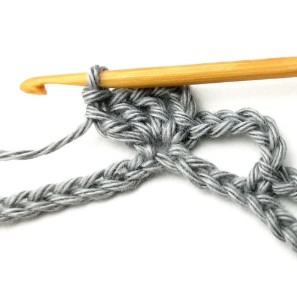
8. Chain three and make three double crochets in the same stitch.
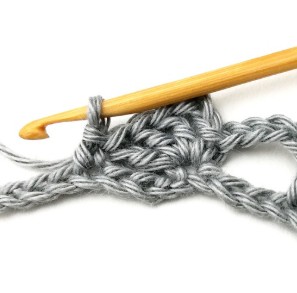
9. Skip three stitches and make a single crochet in the next stitch.
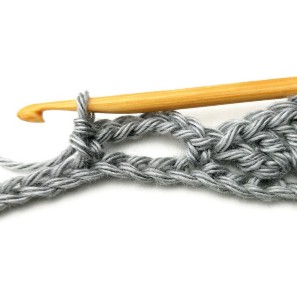
10. Chain five, skip three stitches and make a single crochet.
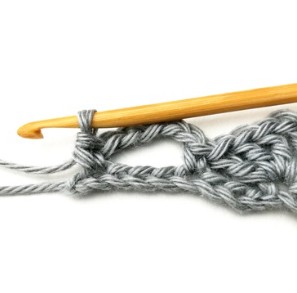
11. Continue working in the same way until the end of the row.
Row 2
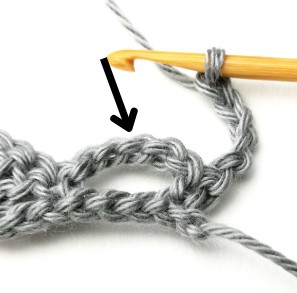
12. Chain five and turn your work around.
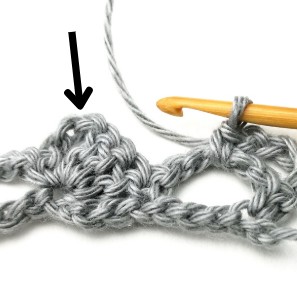
13. Make a single crochet in the chain five space.
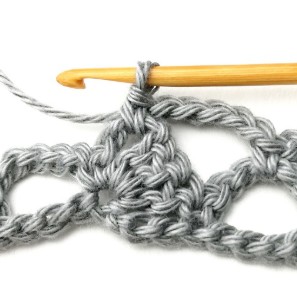
14. Chain five and make a single crochet in the next chain three space.
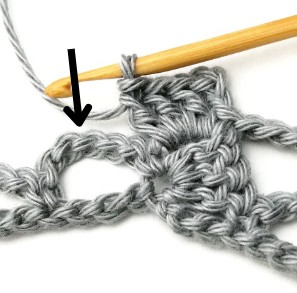
15. Chain three and make three double crochets in the same chain three space.
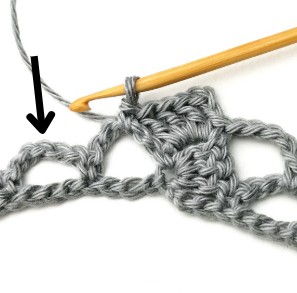
16. Make a single crochet in the next chain five space.
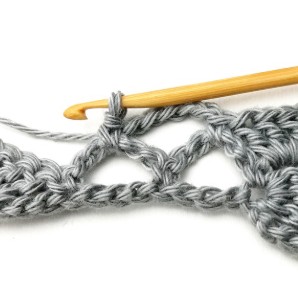
17. Chain five and make a single crochet in the next chain five space.
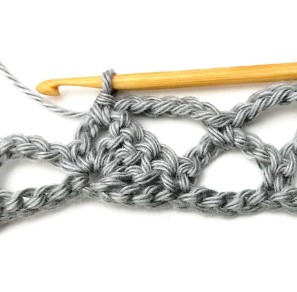
18. Then repeat. Chain five and make a single crochet in the next chain three space.
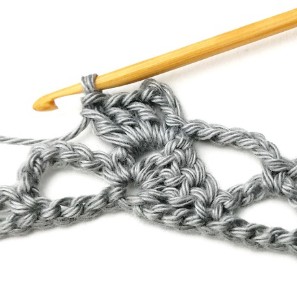
19. Chain three and make three double crochets in the same chain three space.
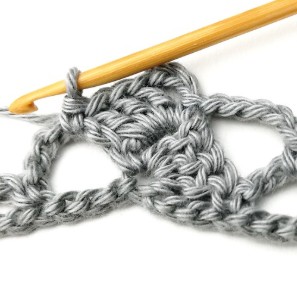
20. Make a single crochet in the next chain five space.
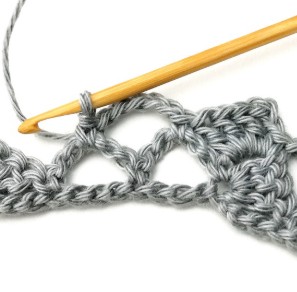
21. Chain five and make a single crochet in the next chain five space.
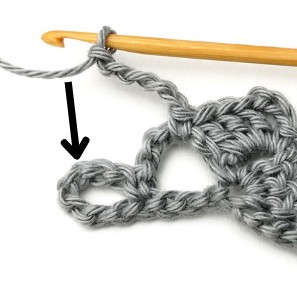
22. Continue working in the same way until the end of the row.
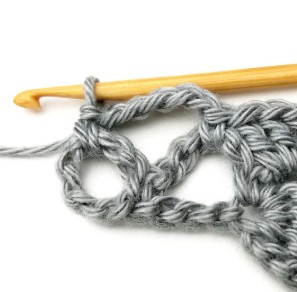
23. At the end of the row make the last single crochet in the turning chain space. For the rest of the pattern repeat row 2.
Finished braid and eyelet stitch
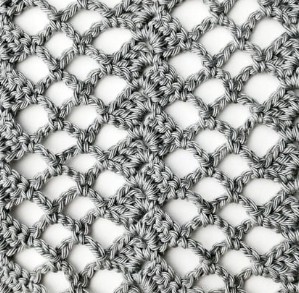
24. Done!
You might also like
There is much more to explore:
Save this tutorial to your Pinterest crochet board here.