Here is a free crochet pattern for an easy hat. Some time ago, I made a chunky infinity scarf. I thought that it would be great to have a matching hat, so here it is! To be honest, I am not a big fan of hats, but this one is soft and comfortable to wear.
This free adjustable pattern is very easy and beginner-friendly: you should only know how to chain, make a single crochet, a half double crochet, and a half double crochet in the third loop only in the front. Then it is only connecting two edges and closing the top. If you are not sure how to connect two edges, you can take a look at my easy three color pillow post, where I show how to do it.
The pattern includes a list of materials, abbreviations, notes, and a written pattern. You can find my other free crochet patterns here.

Printable PDF
Join Nordic Hook Club and download the PDF pattern without ads for free! By joining the Club, you also get access to one of the largest crochet stitch libraries. There you will find hundreds of ad-free downloadable crochet stitch tutorials that include detailed step-by-step photo instructions, concise written patterns and member-exclusive charts. Plus, you can download all Nordic Hook patterns, stitches and e-books for free! Read more about all the membership benefits here and sign up today.
Read more and sign up!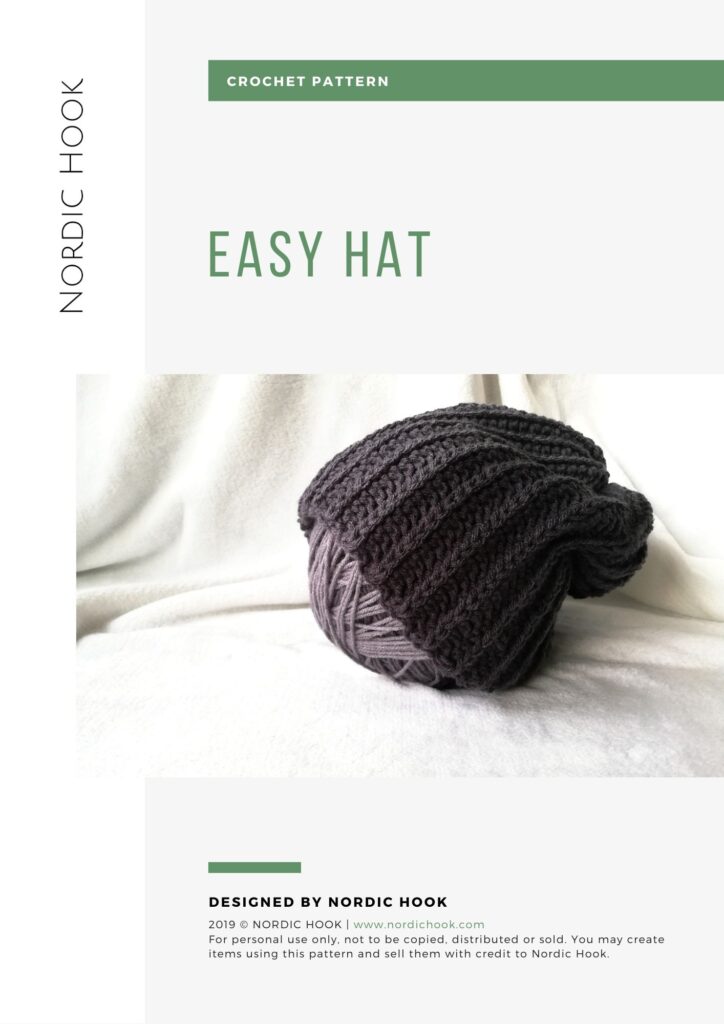
Easy hat
Materials
- Yarn: I use almost half of cake of 200 g (330 m) Acrylic gradient yarn from a local store. However, any thicker soft yarn will work.
- Hook: I use a 6.0 mm hook. If you are using a different yarn, choose the hook size that is recommended on your yarn label.Hook: as suggested on your yarn label. I used hook size 6.0.
Abbreviations (US terms)
- ch: chain
- prev: previous
- st: stitch
- sc: single crochet
- hdc: half double crochet
- hdc-3lo-f: half double crochet third loop only in the front
Notes
For this hat you should make a rectangle: the height (b) is equal to your head circumference (add a couple of cm for it to be more lose), the width (a1) is equal to how tall you want your hat to be (see the picture below). The size of my hat rectangle is 26×54 cm. You can adjust the width by choosing the length of your chain. The same applies to the height: the pattern is repeating, each row is the same, so you can stop after any row when you reach the height of your rectangle. Also, I was chaining 1, not 2, in the beginning of the row even though it is an hdc stitch – it worked better for this project. Chain 1 does not count as a stitch.
Pattern
Start with any number of chains that are equal to the width (a1) of your rectangle + 1. I chained 32 + 1.
Row 1: hdc in the second ch from your hook and every following ch until the end of the row.
Row 2: ch 1, hdc-3lo-f in every st of the prev row.
Repeat row 2 until you reach the height of your rectangle. I made 51 rows.
Fold the rectangle in two so that the edges a1 and a2 meet. Connect both edges with scs. Now it is a good time to check if your hat fits your head. If not, add some rows or make the rectangle shorter, and connect the edges again. All that is left to do is to close the top of the hat. Take your tapestry needle and weave in the yarn along the edge b. Pull the yarn and close the top of the hat, fasten off.

Enjoy your hat!
You might also like
There is much more to explore:
You can save this pattern to Pinterest here.