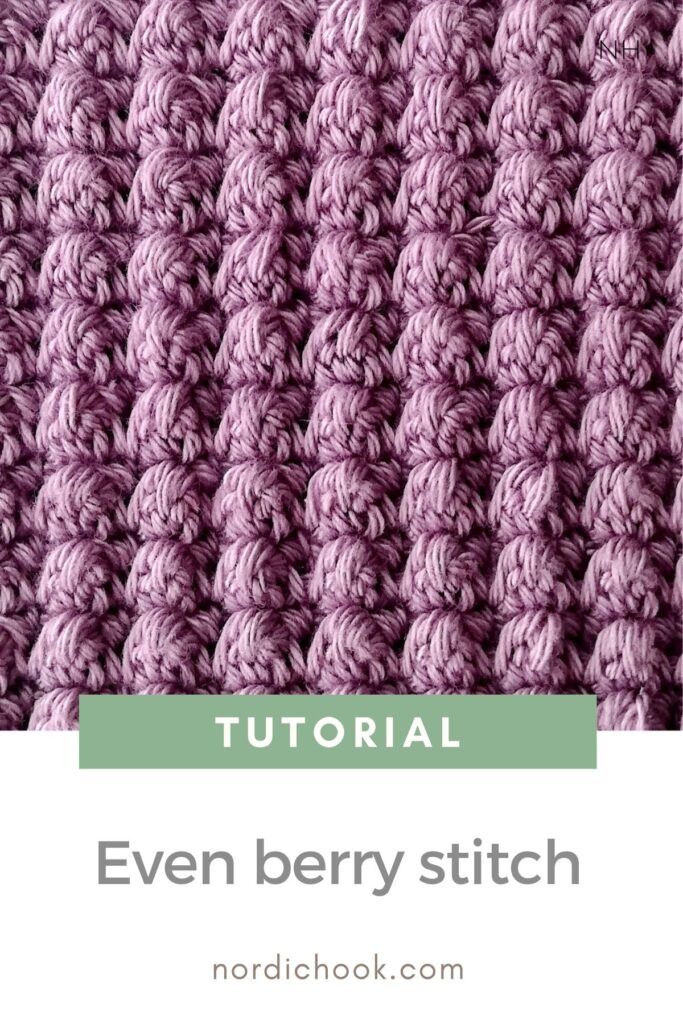
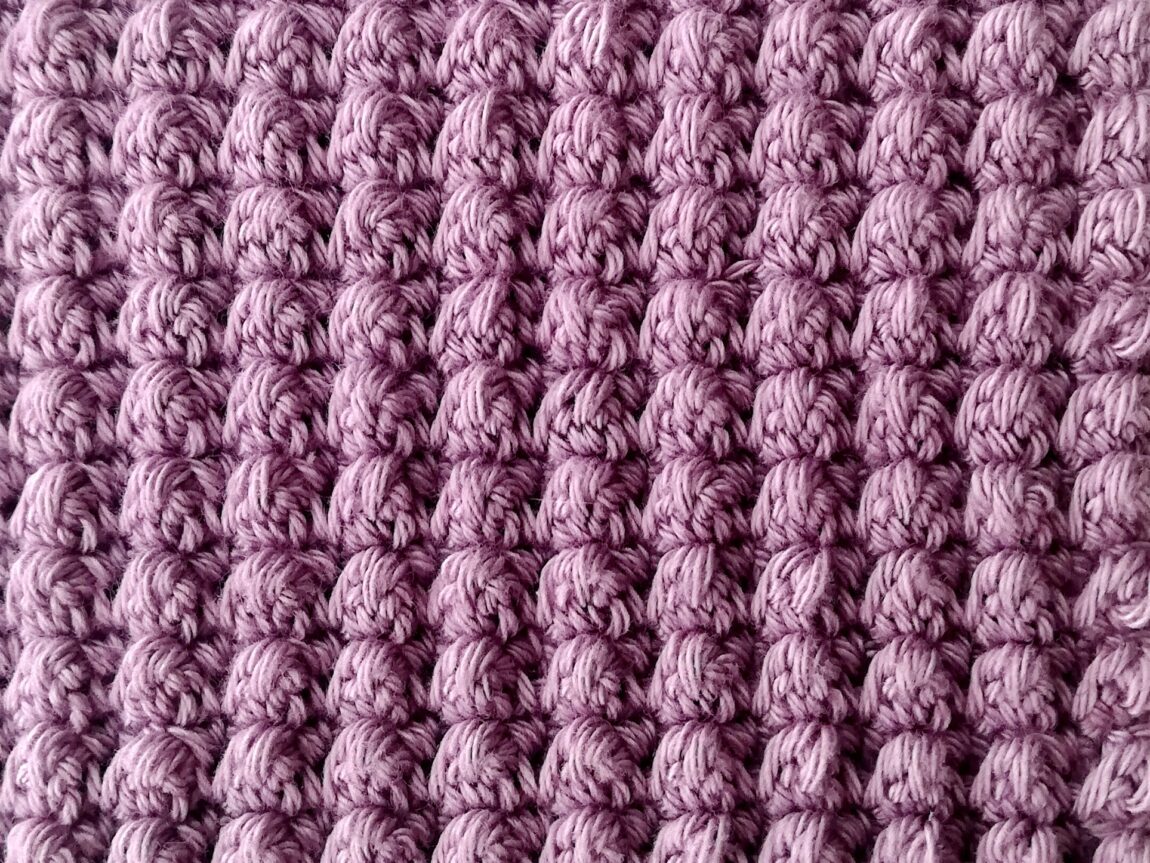
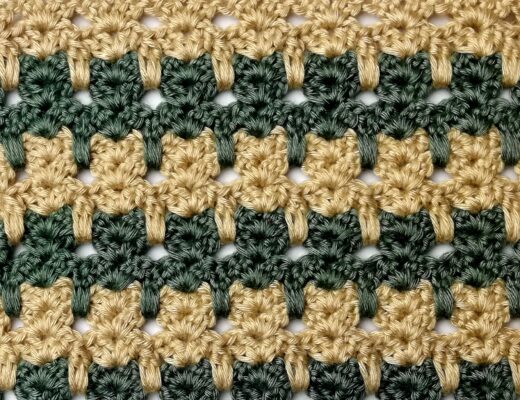
In this crochet tutorial I show how to make the even berry stitch. It is a very beautiful stitch and has a nice texture. The pattern is a repeat of two rows. Each side of the even berry crochet stitch looks different and they are both nice.
You can take a look at my other tutorials for stitches here.
Save this tutorial to Pinterest here.
Good luck!
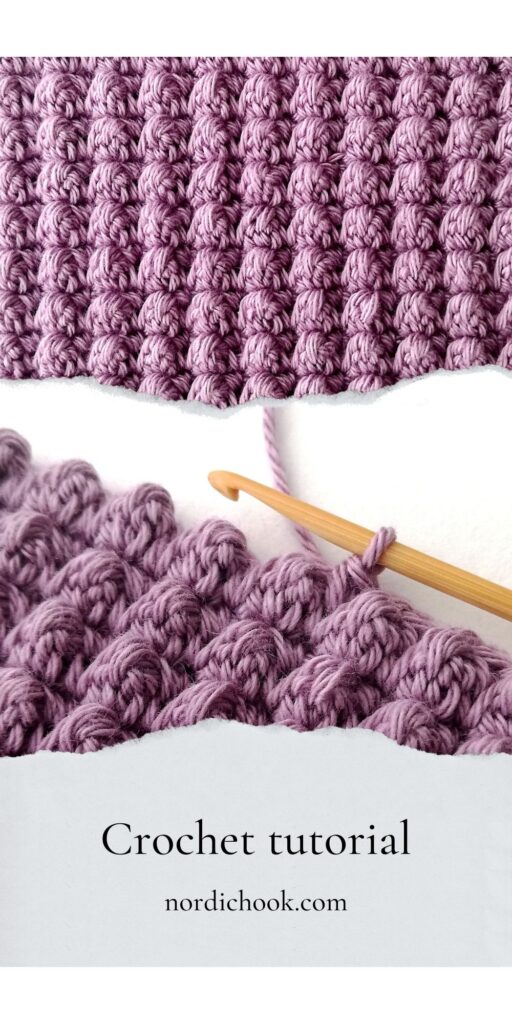

Photo instructions for the even berry crochet stitch
Row 1
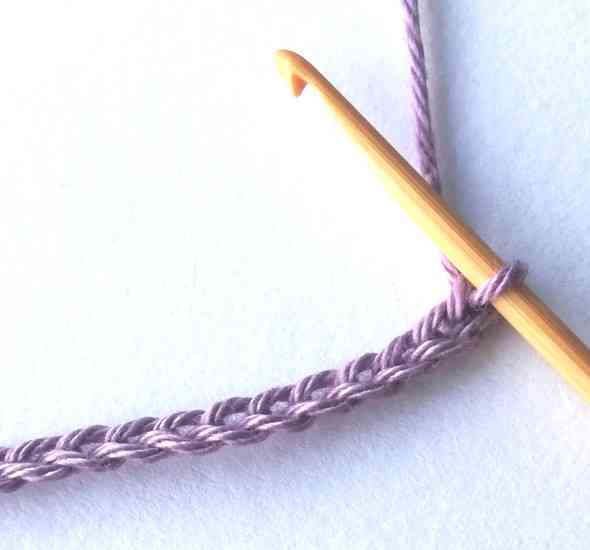

1. Start by making a chain. It should have an even number of chains.
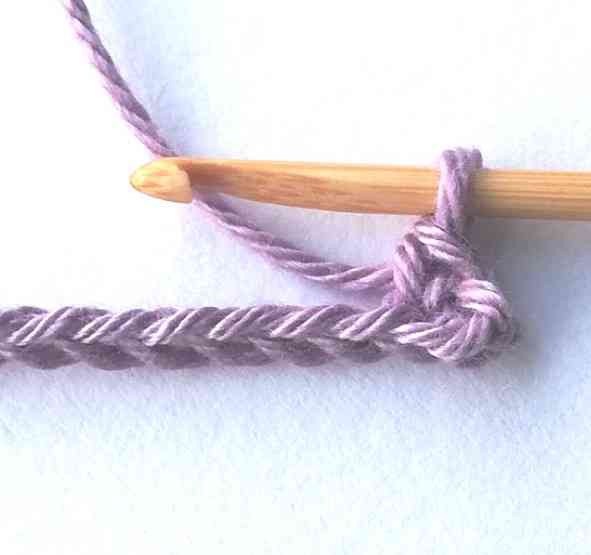

2. Insert your hook in the third chain from your hook (in the back of the chain) and make a single crochet.
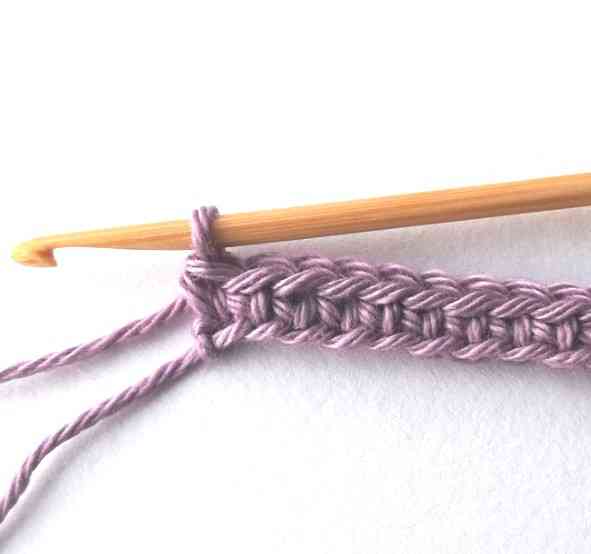

3. Keep making single crochets until the end of the row.
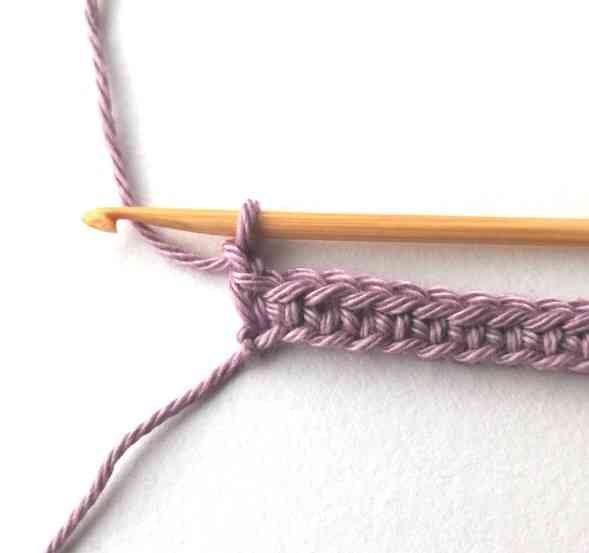

4. Then chain one.
Row 2
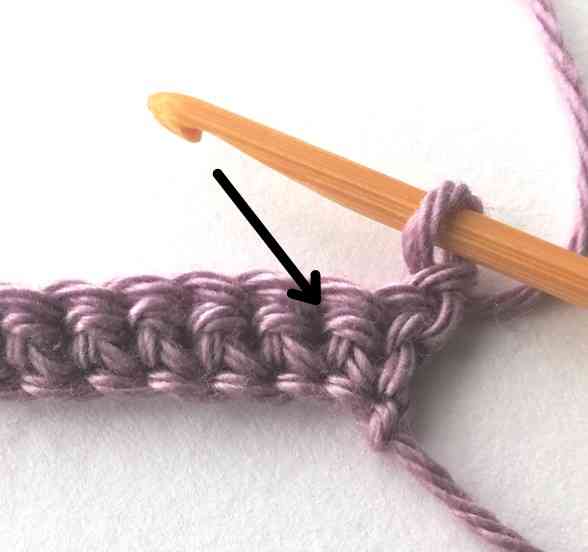

5. Now you will make a berry stitch. You will have to work in the next stitch like it is shown in the picture.
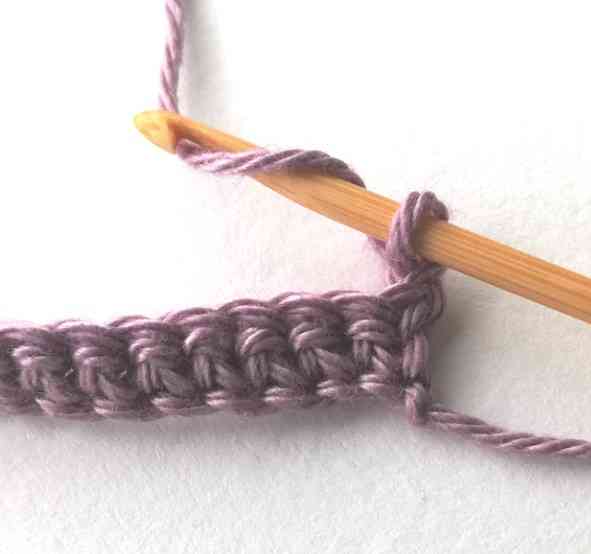

6. So, yarn over.
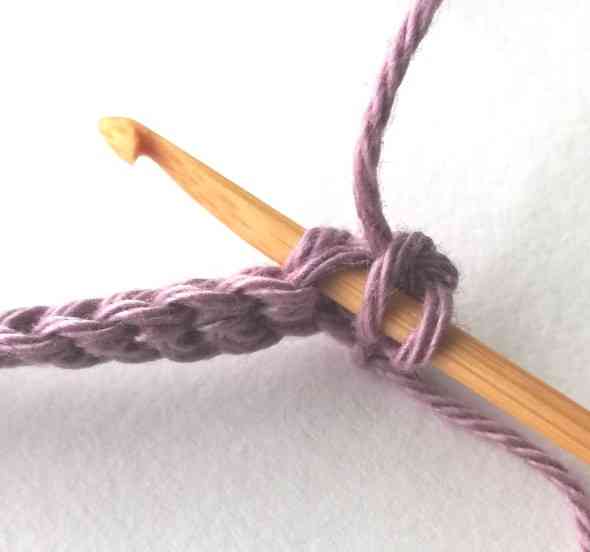

7. Insert your hook in the next stitch.
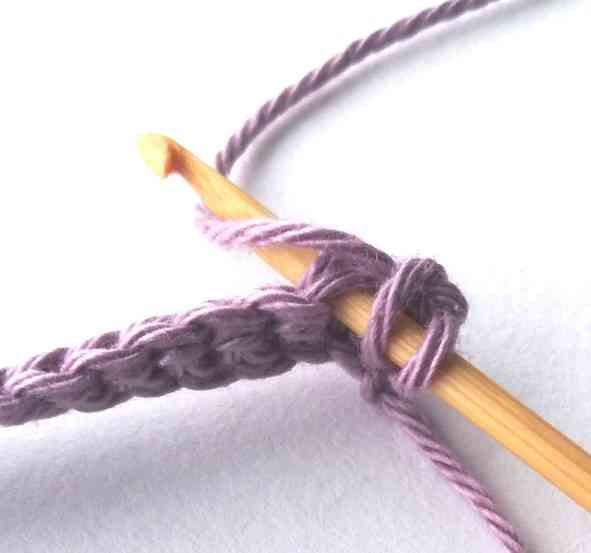

8. Yarn over.
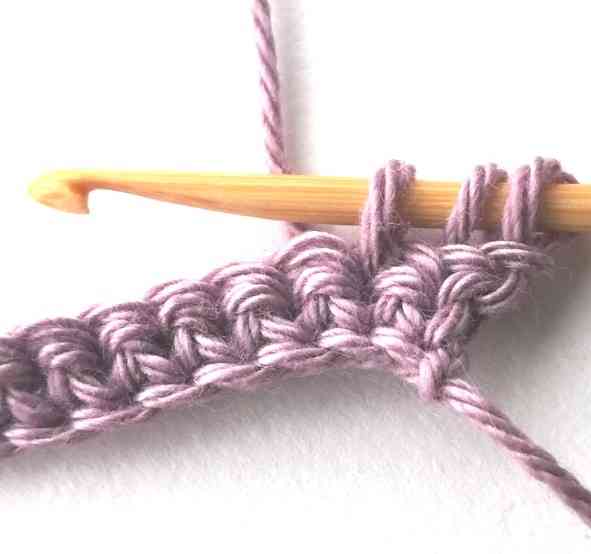

9. Then pull the yarn through. Now you have three loops on your hook.
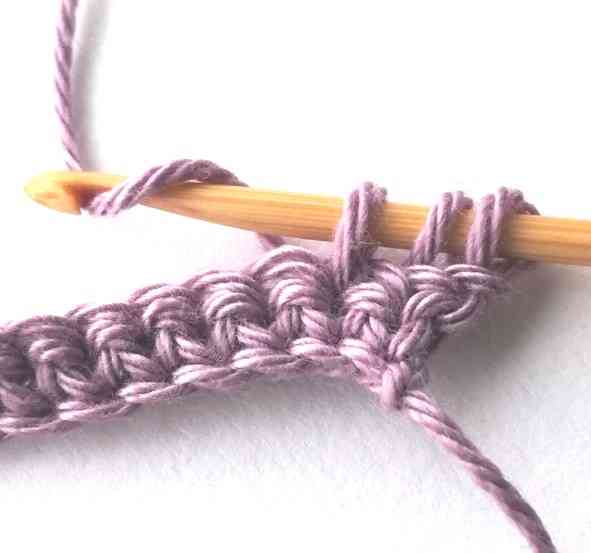

10. Yarn over.
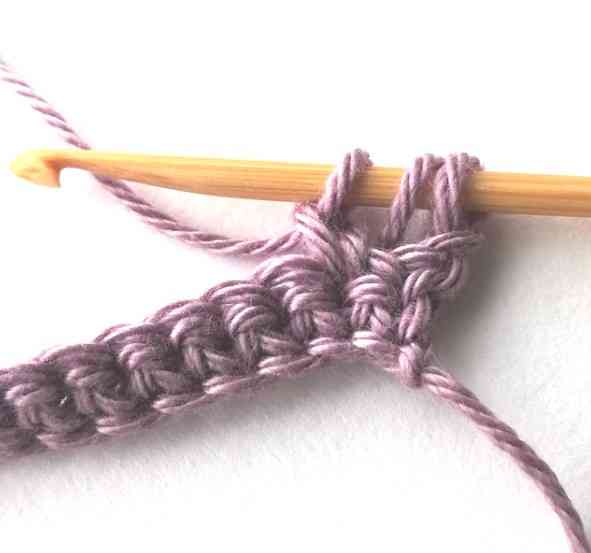

11. Pull the yarn through the first loop on your hook. Now you three loops on your hook.
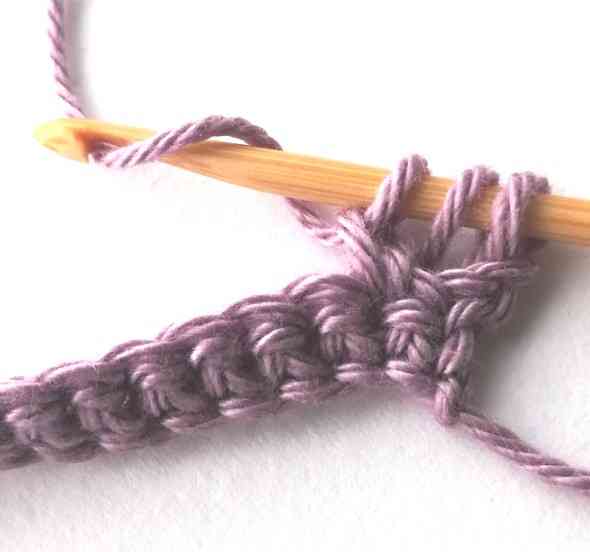

12. Yarn over.
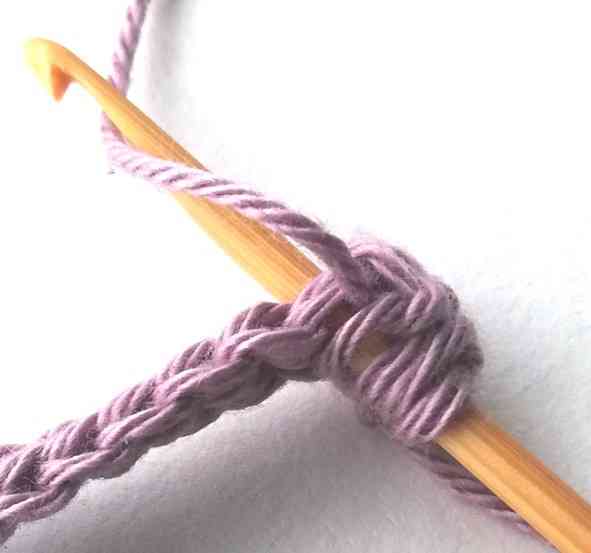

13. Insert your hook in the same stitch as before and yarn over.
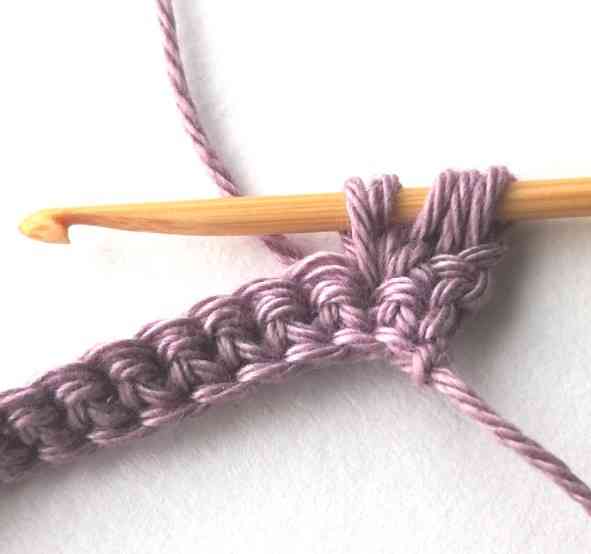

14. Pull the yarn through. Now you have five loops on your hook.
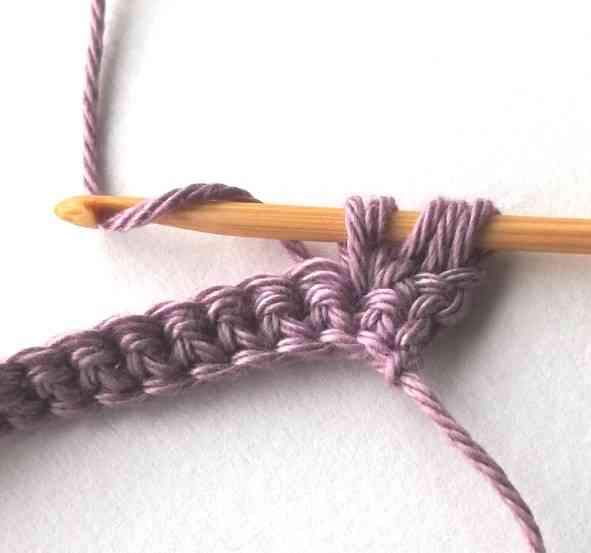

15. Yarn over.
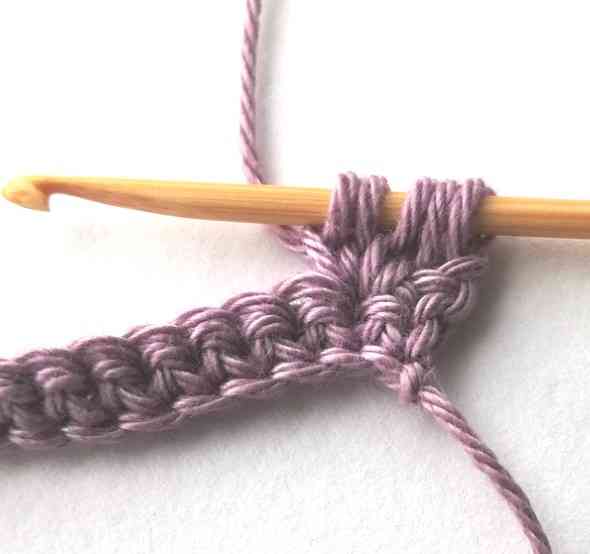

16. Pull the yarn only through the first loop on your hook. Now you have five loops on your hook.
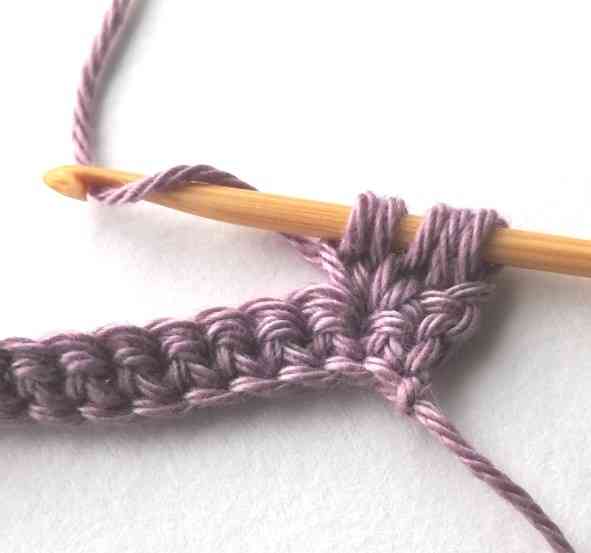

17. Yarn over.
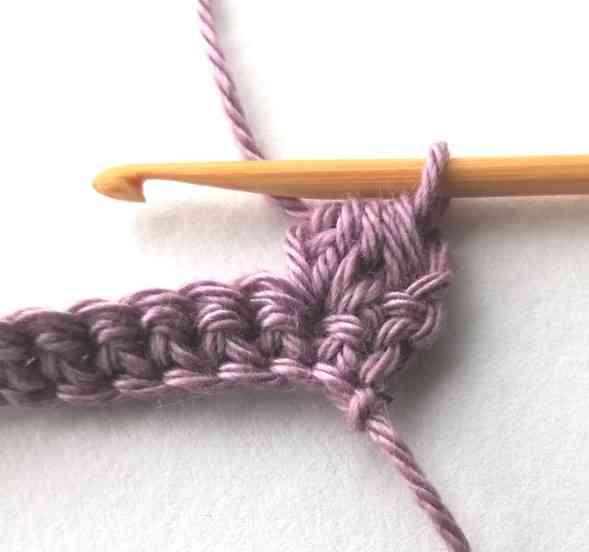

18. Pull the yarn through all five loops on your hook.
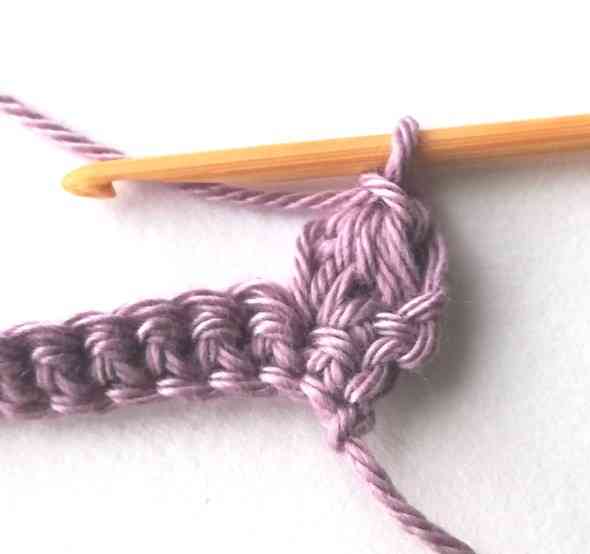

19. Then chain one. You have just made a berry stitch!
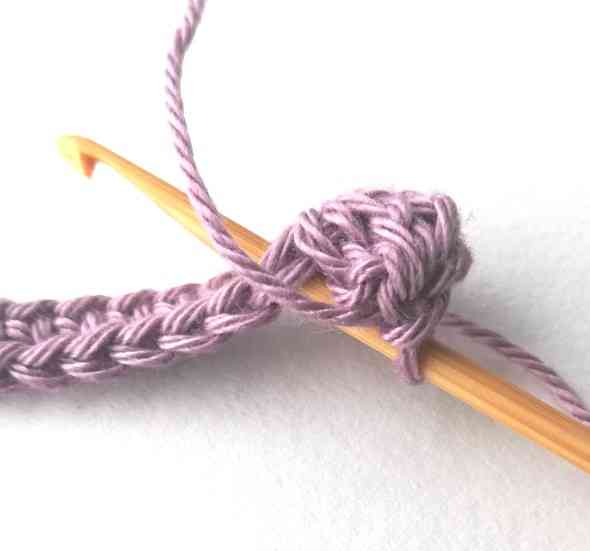

20. Now you will have to make a slip stitch in the next stitch. So, insert your hook in the next stitch.
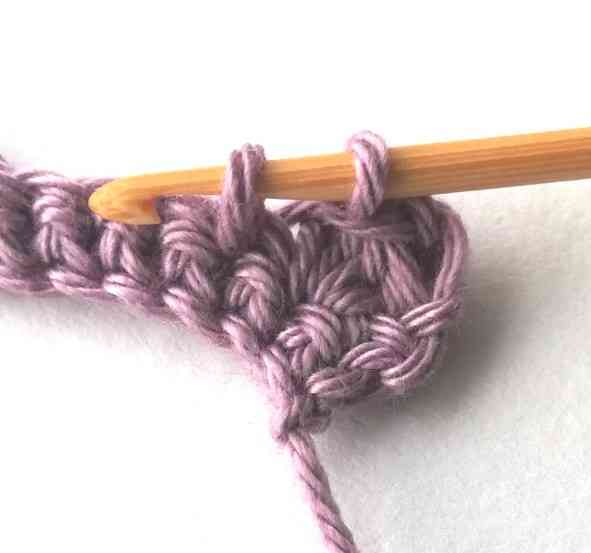

21. Yarn over and pull the yarn through. Now you have two loops on your hook.
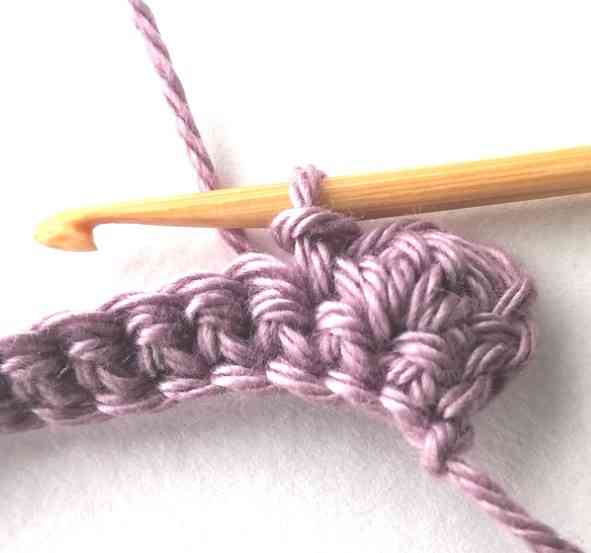

22. Then pull the first loop on your hook through the second loop on your hook. Your slip stitch is complete.
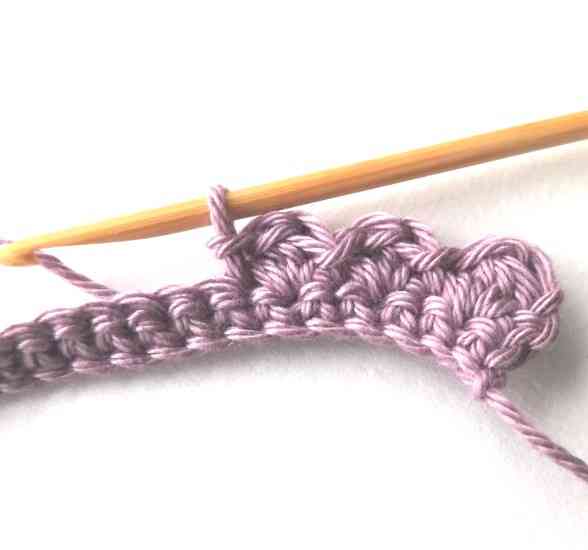

23. Keep working in the same way until the end of the row: make a berry stitch in the next stitch and a slip stitch in the next one.
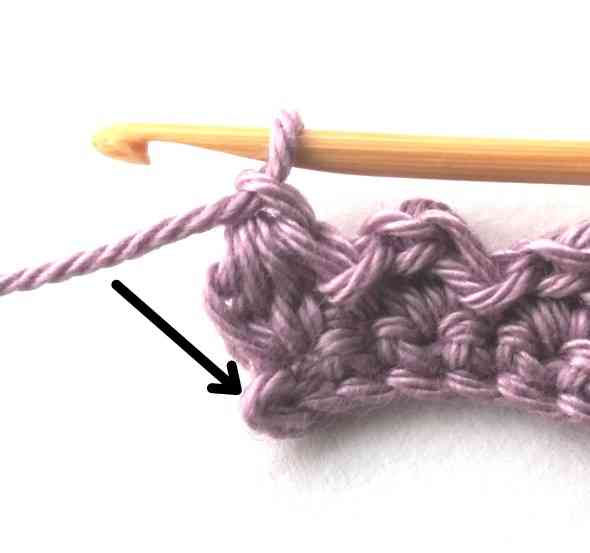

24. When you reach the end of the row, make your last berry stitch. To complete the row you will have to make a slip stitch in the last stitch of the row like it is shown in the picture.
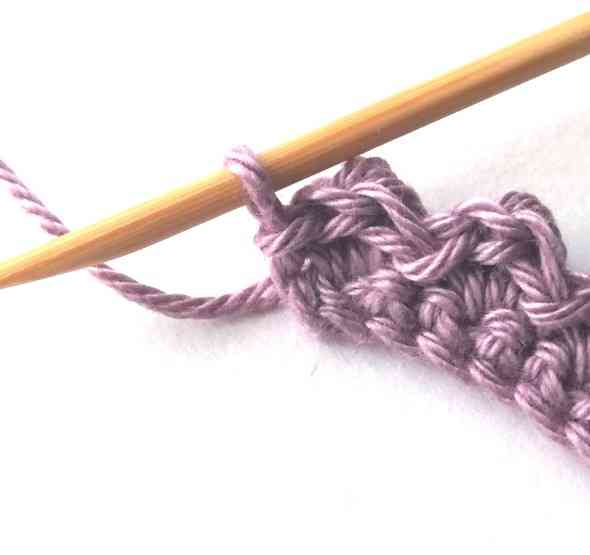

25. So, make a slip stitch in the last stitch of the row.
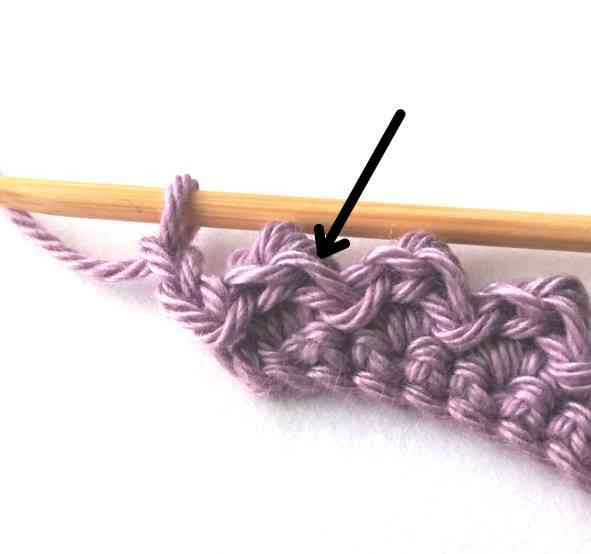

26. Then chain two.
Row 3
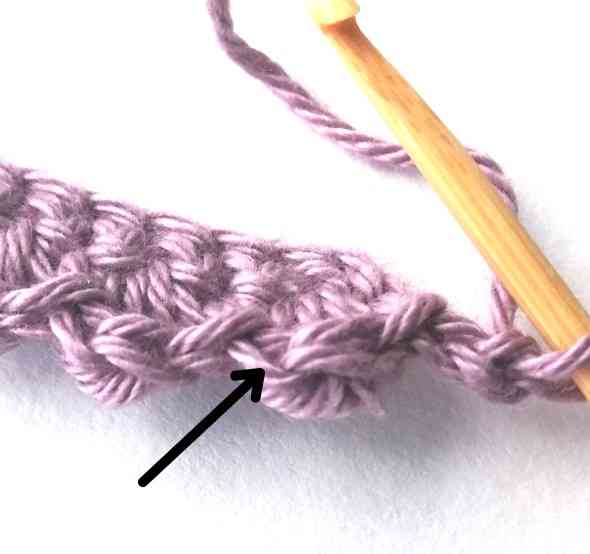

27. Turn your work around. It is a bit hard to see the stitches of the previous row. If you would look on the other side, you could see “a chain” better. Now you will have to skip one stitch and work in the next one, like it is shown in this and the previous picture. (It is the fifth stitch counting from your hook). In this stitch you will have to make a slip stitch.
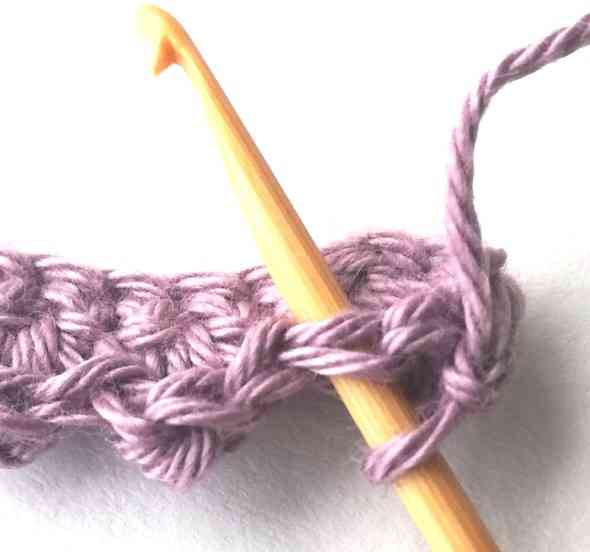

28. So, insert your hook.
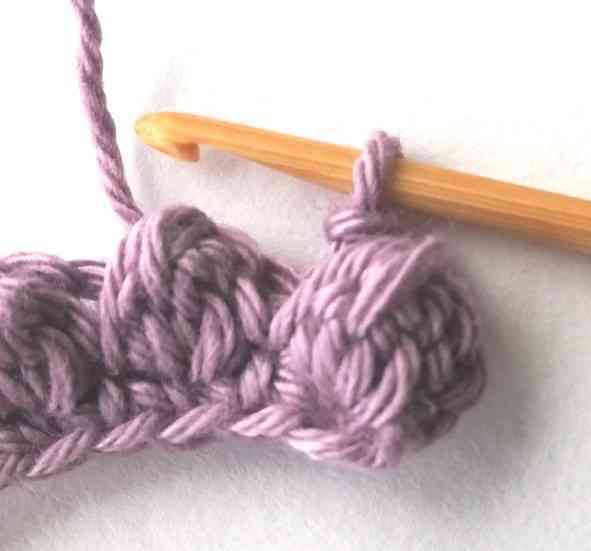

29. Yarn over, pull the yarn through. Now you have two loops on your hook. Pull the first loop on your hook through the second one.
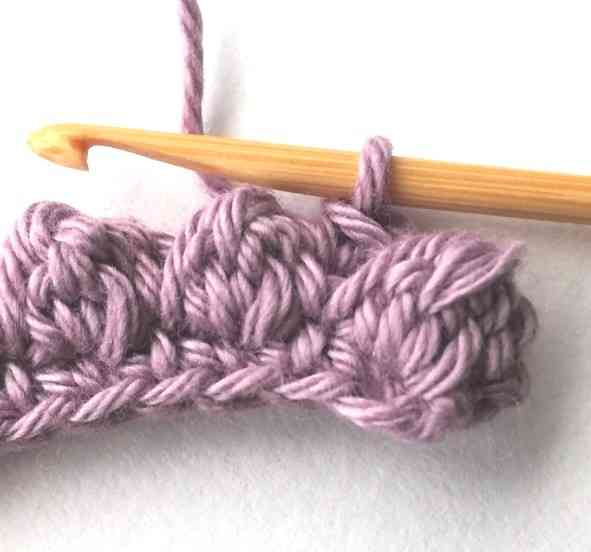

30. Then make a single crochet in the next stitch.
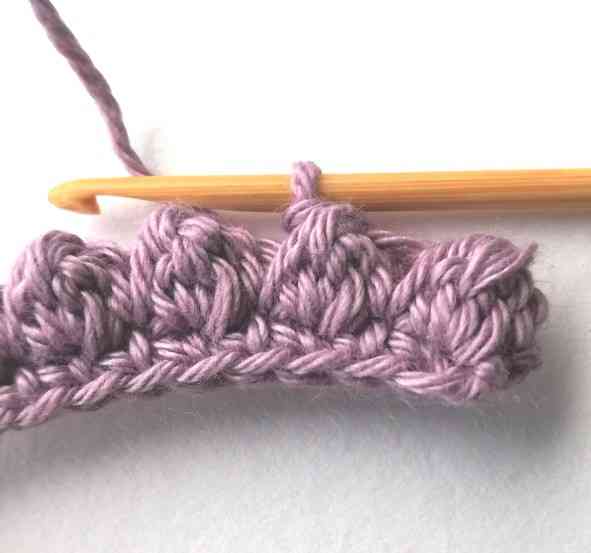

31. Make a slip stitch in the next stitch. Keep alternating single crochets and slip stitches until the end of the row.
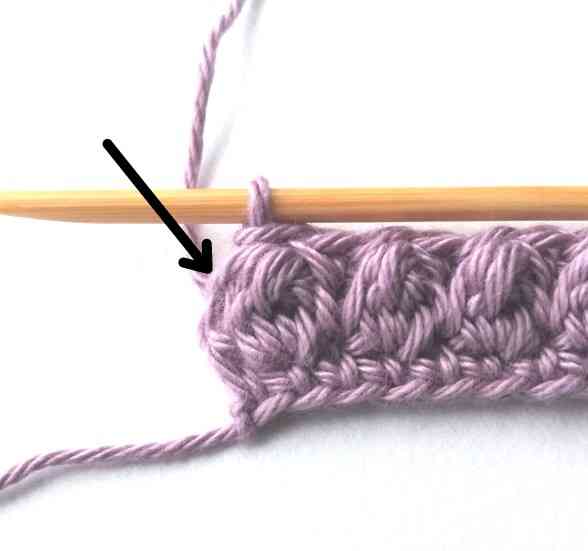

32. When you reach the end of the row, you will have to make a single crochet in the turning chain of the previous row like it is shown in the picture.
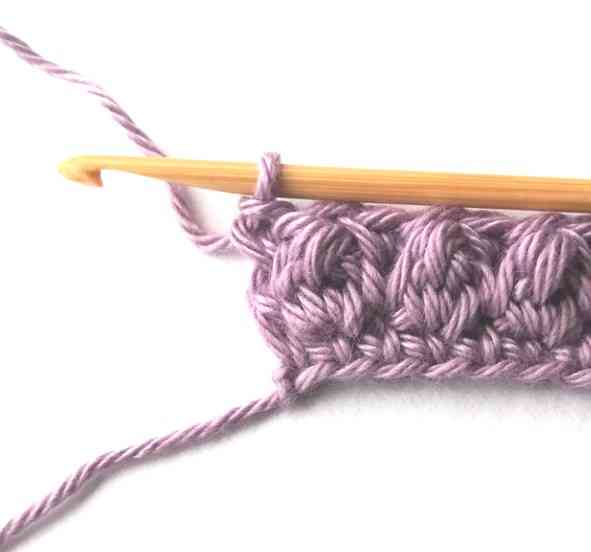

33. So, make a single crochet.
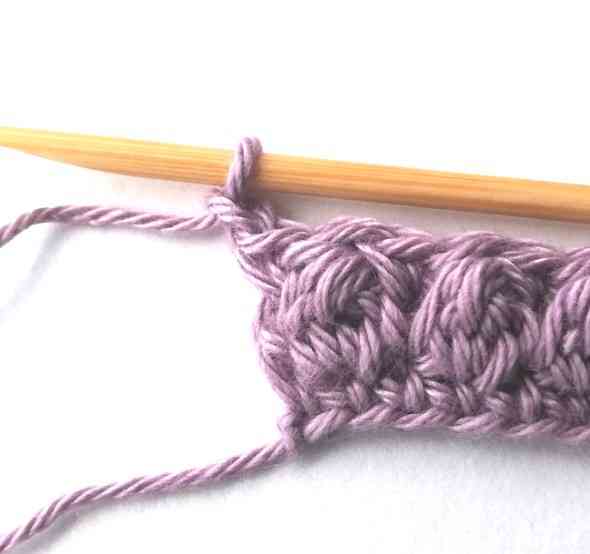

34. Then chain one.
Row 4
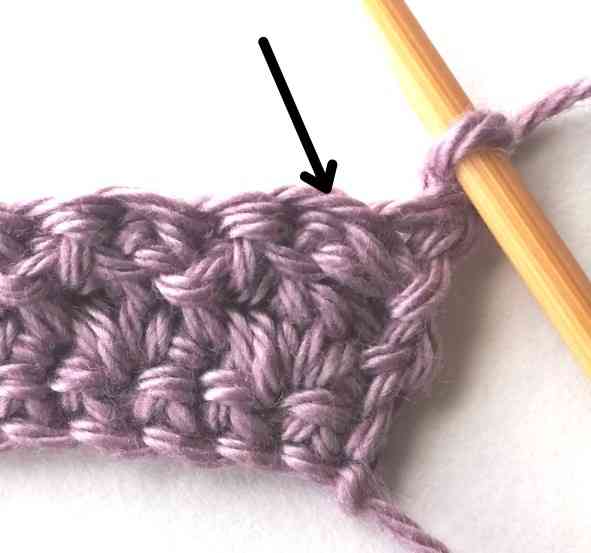

35. Turn your work around. Now you will have to repeat row 2. You will be working in the next stitch like it is shown in the picture.
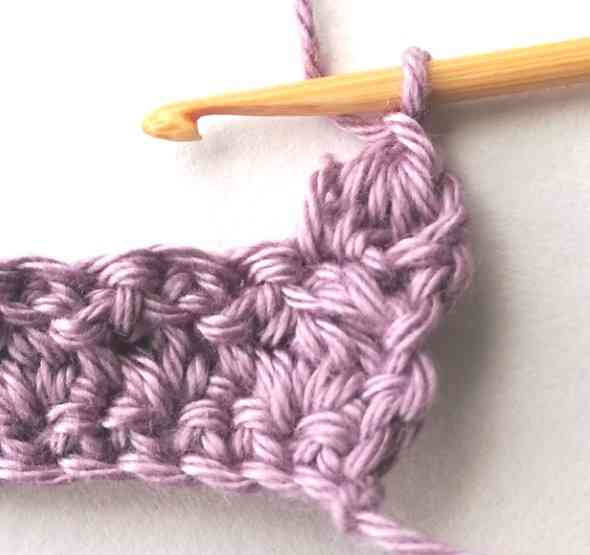

36. So, make a berry stitch.
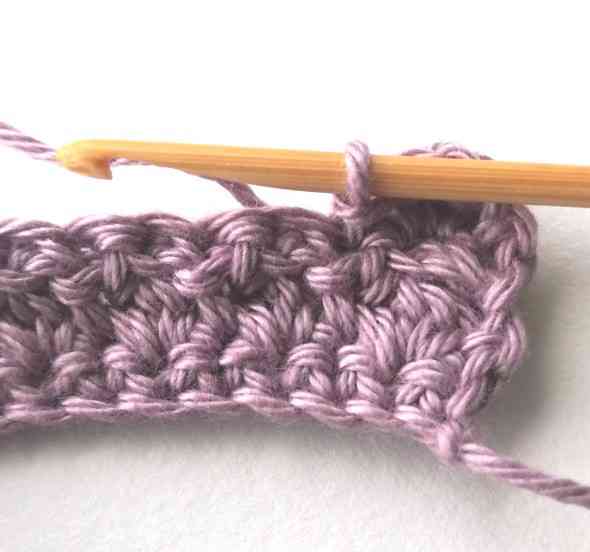

37. Then make a slip stitch in the next stitch.
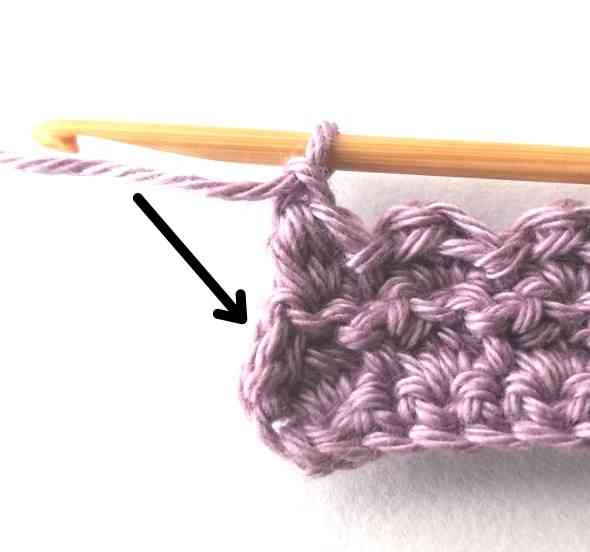

38. Keep working in the same way until the end of the row. Then you will have to make a slip stitch in the second chain of the turning chain of the previous row like it is shown in the picture.
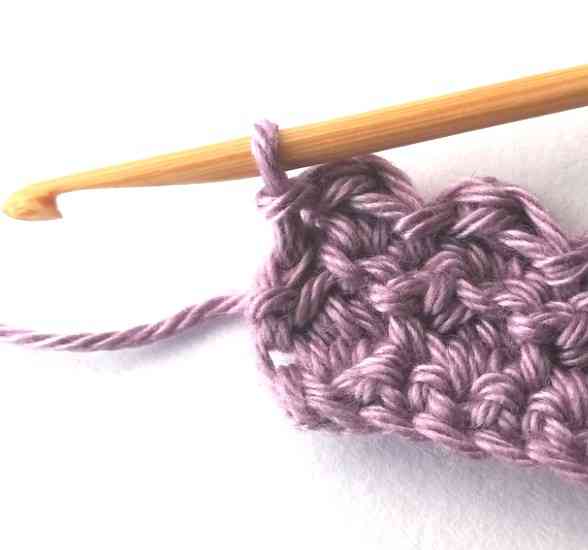

39. So, make a slip stitch. Then chain two and repeat row 3. For the rest of the pattern keep repeating rows 2 and 3.
Finished even berry crochet stitch
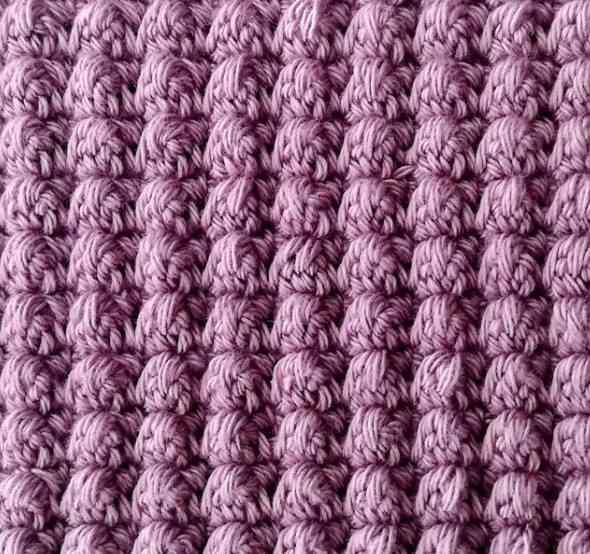

40. Done!
Save this tutorial to Pinterest here.
