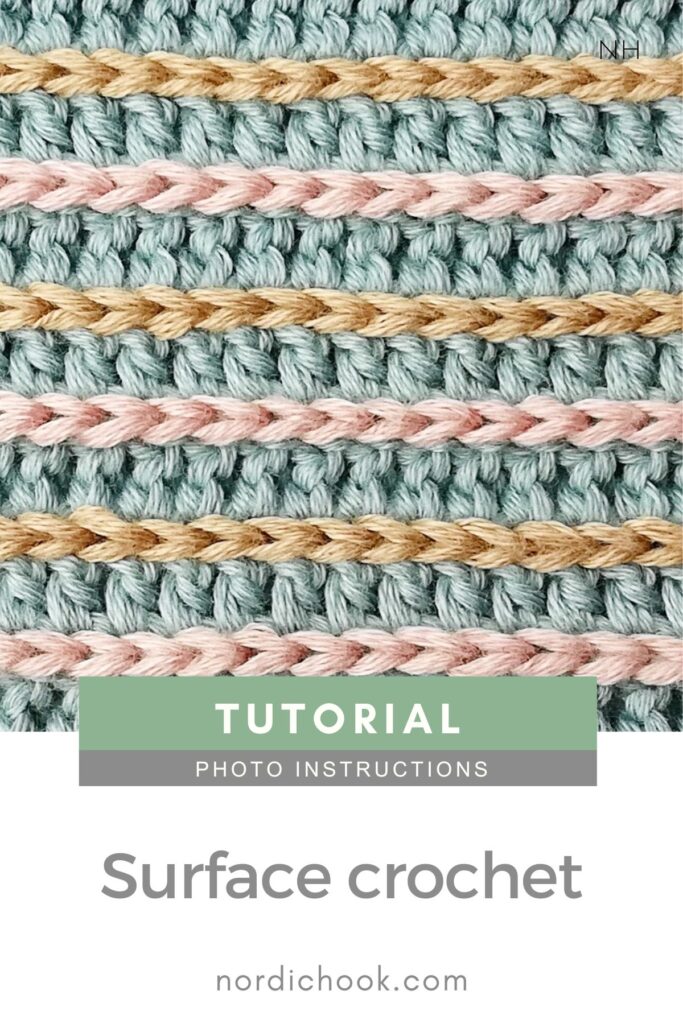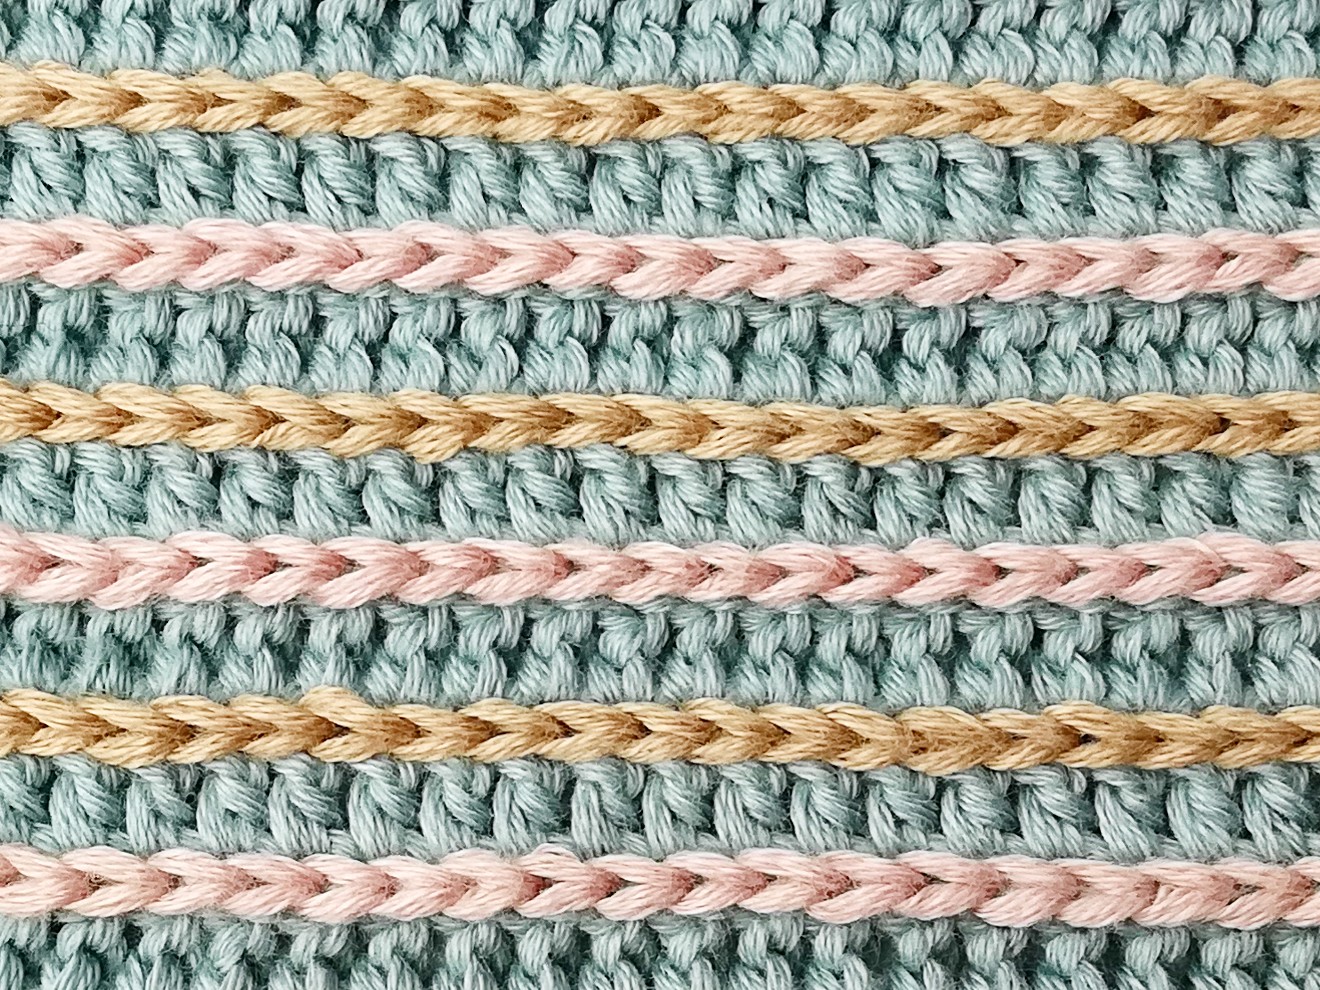
In this step-by-step crochet tutorial I show how to use surface crochet technique to make a straight line. It is quite easy to make as it is based on a simple slip stitch (sl st).
For this tutorial I am using a finished sample of double crochet (dc), but you can use this technique for other stitches too. It is quite easy to make this stitch too tight and then your work would curl. So, have in mind the tension you are using. If you would like to practice surface crochet, you can take a look at my free pattern for Christmas coasters.
For this tutorial I use Soft FRAYA Cotton 8/4 100% Organic cotton 50g – 180 m yarn, colors: blue agave, sand, dusty pink, and a 2.0 mm hook.
Nordic Hook Club
Join Nordic Hook Club and get access to one of the largest crochet stitch libraries! There you will find hundreds of ad-free downloadable crochet stitch tutorials that include detailed step-by-step photo instructions, concise written patterns and member-exclusive charts. Plus, you can download all Nordic Hook patterns, stitches and e-books for free! Read more about all the membership benefits here and sign up today.
Read more and sign up!Save this tutorial to your Pinterest crochet board here.
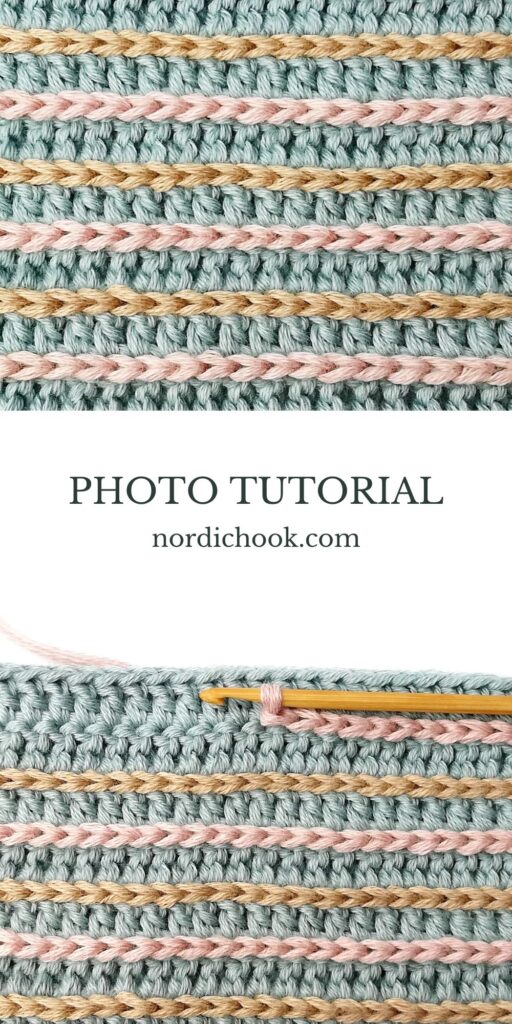
Photo instructions for the surface crochet technique
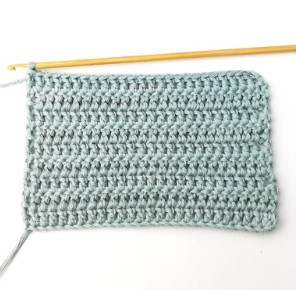
1. Start by making a base of double crochets. You can make any number of stitches in a row.
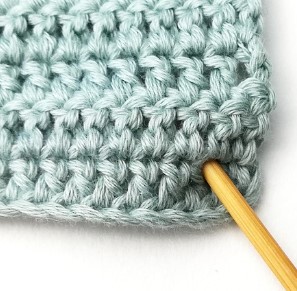
2. Insert your hook into the first stitch between the two rows (row 1 and 2 in this example) where you want to start your surface crochet.
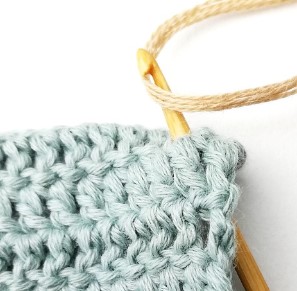
3. On the other side, yarn over the yarn that you will be using for surface crochet.
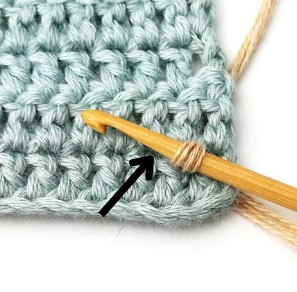
4. Pull the yarn through. Now you have one loop on your hook. Next you will make a slip stitch.
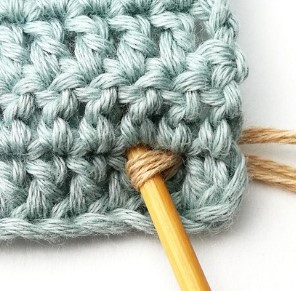
5. Insert your hook in the next stitch between the two rows.
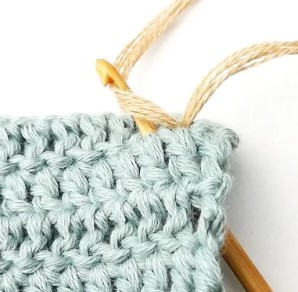
6. Yarn over.
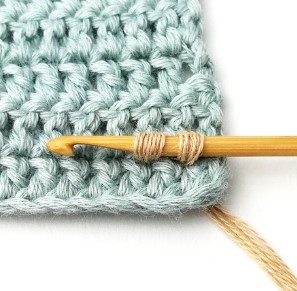
7. Pull the yarn through. Now you have two loops on your hook.
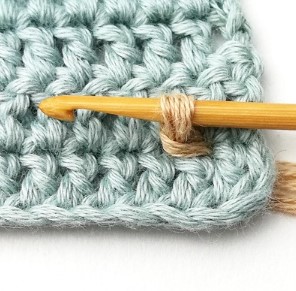
8. Pull the first loop through the other one. Now you have one loop on your hook. You have just made a slip stitch.
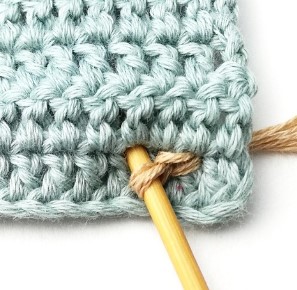
9. Insert your hook in the next stitch between the two rows.
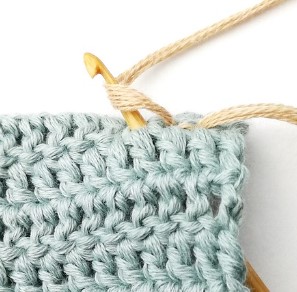
10. Yarn over.
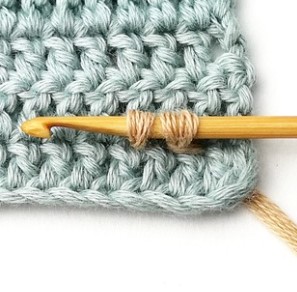
11. Pull the yarn through. Now you have two loops on your hook.
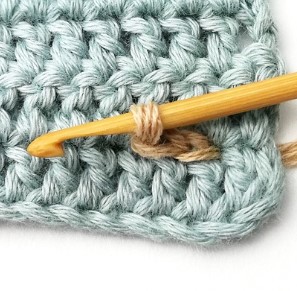
12. Pull the first loop through the other one.
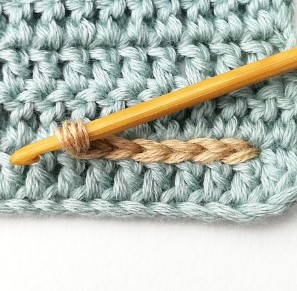
13. Continue making slip stitches down the row for as long as you need. When you are done, cut the yarn, pull it to the good side and then weave in the ends.
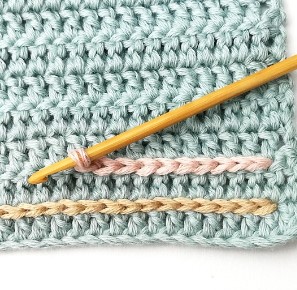
14. You can use different colors for each line.
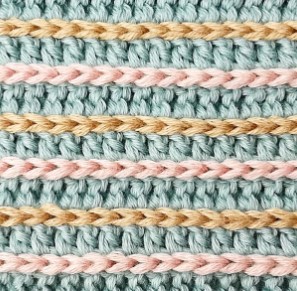
15. Done!
You might also like
There is much more to explore:
Save this tutorial to your Pinterest crochet board here.