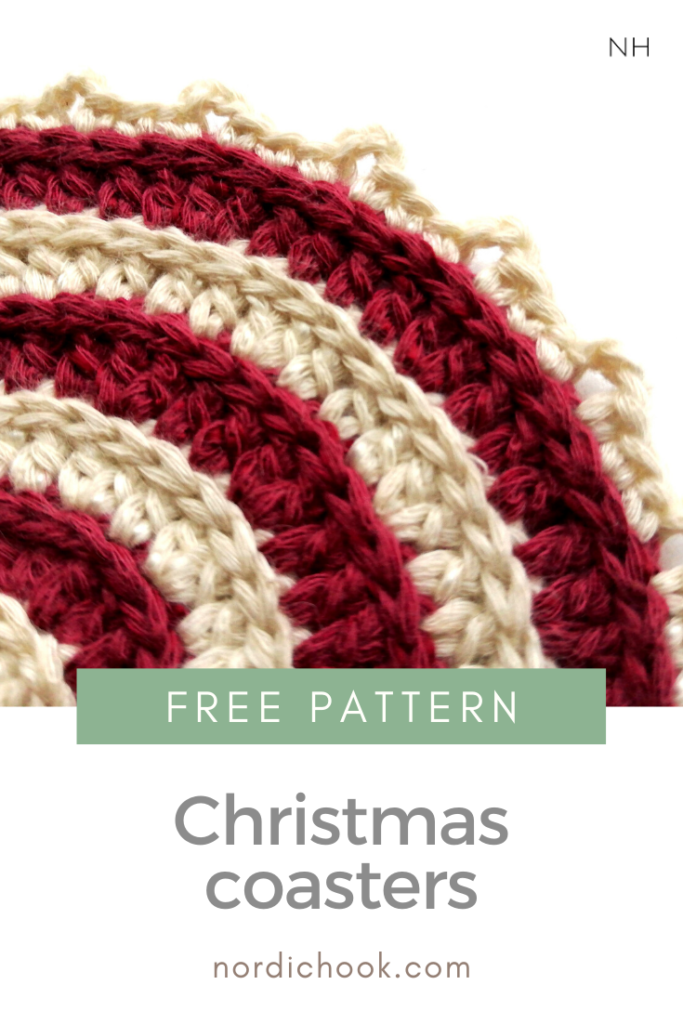
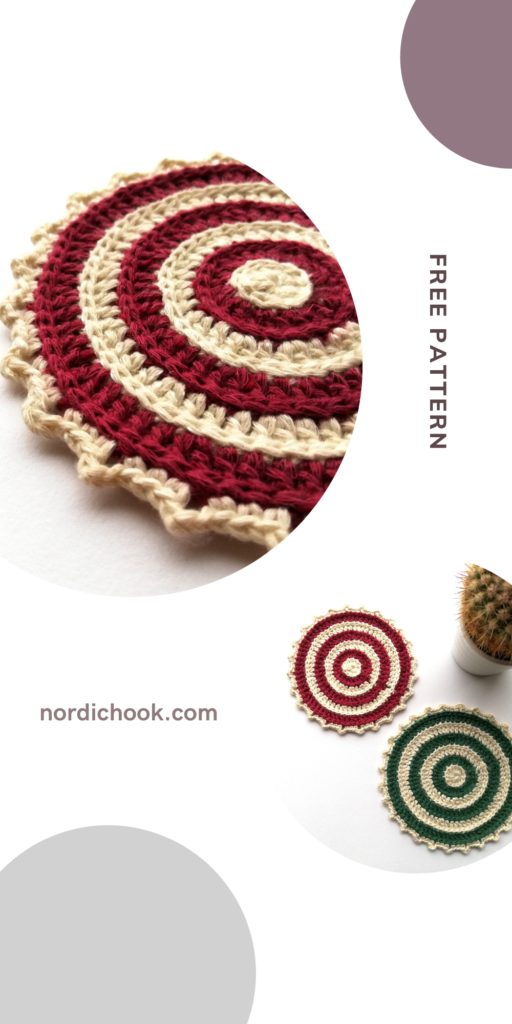
Here is a free crochet pattern for Christmas coasters. Making coasters is always a quick and fun project. I made these coasters for Christmas using a couple of simple stitches and a surface crochet technique.
Surface crochet is used for already finished pieces of regular crochet to add more details to your work. The simplest stitch for this technique is a slip stitch, which creates a nice chain on the surface of your piece. It can simply be just a straight line, but you can also make curves and write text on your work. It looks different on both sides: on the good side, it is a chain, and on the bad side, it is a thin line. So, you can choose which look fits best for your project.
Usually, you would use a different color for your surface crochet, but for the Christmas coasters, I decided to use colors that blend in because I just wanted a smooth transition between rounds and an additional layer for more texture. This technique is easy to grasp, and it makes your crochet pieces more interesting. If you are not familiar with it, I made a short tutorial on how to use a slip stitch in surface crochet (you can find it here).
The pattern includes a list of materials, abbreviations, notes, a written pattern, a chart and photo instructions. You can find my other free crochet patterns for Christmas here and more free crochet projects here.

Printable PDF
Join Nordic Hook Club and download the PDF pattern without ads for free! By joining the Club, you also get access to one of the largest crochet stitch libraries. There you will find hundreds of ad-free downloadable crochet stitch tutorials that include detailed step-by-step photo instructions, concise written patterns and member-exclusive charts. Plus, you can download all Nordic Hook patterns, stitches and e-books for free! Read more about all the membership benefits here and sign up today.
Read more and sign up!
Christmas coasters
Materials
- Yarn: I use red, green and white Somerset linen silk yarn 50 g from a local store. However, any thin cotton yarn will work.
- Hook: I use a 2.0 mm hook. If you are using a different yarn, choose the hook size that is recommended on your yarn label.
Abbreviations (US terms)
- st: stitch
- ch: chain
- sc: single crochet
- dc: double crochet
- dc inc: double crochet increase
- sl st: slip stitch
- ch3 open p: chain 3 open picot
- prev: previous
- rnd: round
- rep **: repeat from * to *
Notes
You will be working in rounds. First you have to crochet all seven rounds of the coaster and then you will surface crochet in between the rounds. In this pattern I make 12 double crochets in the adjustable ring, but if you want a slightly bigger coaster, you can make 14 double crochets. The diameter of the coaster is 11 cm.
Pattern
Take your white yarn and begin with an adjustable (magic) ring.
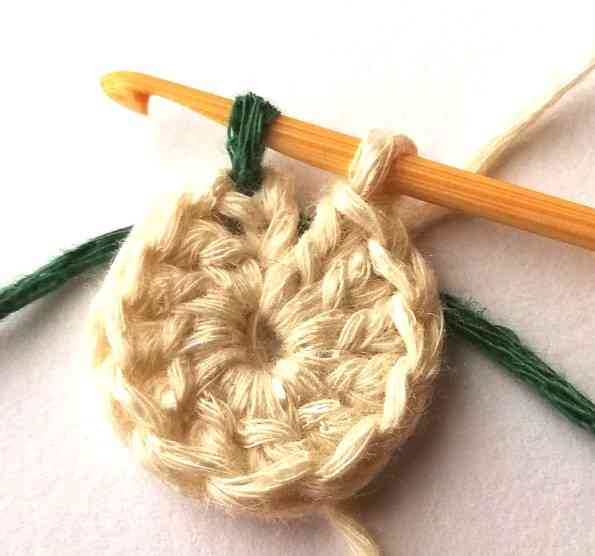
Round 1: ch 3, 11 dc, take your green yarn, join with a sl st (see photo instructions below).
Round 2: ch 3 (this is your first dc in the dc inc), dc in the same st of the prev rnd to finish the first dc inc; *dc inc in the next st*, rep * * 11 times, take your white yarn, join with a sl st.
Round 3: ch 3 (this is your first dc in the dc inc), dc in the same st to finish the first dc inc, dc in the next st; *dc inc in the next st, dc in the next st*, rep * * 11 times, take your green yarn, join with a sl st.
Round 4: ch 3, dc in the next st, dc inc in the next st; *2 dc in the 2 following sts, dc inc in the next st*, rep * * 11 times, take your white yarn, join with a sl st.
Round 5: ch 3 (this is your first dc in the dc inc), dc in the same st to finish the first dc inc, 3 dc in the following 3 sts; *dc inc in the next st, 3 dc in the following 3 sts*, rep * * 11 times, take your green yarn, join with a sl st.
Round 6: ch 3, 2 dc in the following 2 sts, dc inc; *4 dc in the following 4 sts, dc inc in the next st*, rep * * 11 times, dc in the next st, take your white yarn, join with a sl st.
Round 7: ch 4; *3 sc in the following 3 sts, ch3 open p*, rep * * 23 times, 2 sc in the following 2 sts, join with a sl st. Fasten off.
Surface crochet
To make a nice transition between the rounds, you will surface crochet between each round. Take your white yarn and start from round 1. Or you can start from the last round, there is no difference. When you finish the round, fasten off. Move to the next round and change yarn color accordingly. Photo instructions below show how to surface crochet between round 5 and round 6.
Chart

Symbols

Photo instructions
Changing yarn color

1. To change the yarn color, insert your hook in the ch3 (which is your first stitch in this round). Yarn over your green yarn.
2. Next pull the yarn through the ch 3. Now you have two loops on your hook.
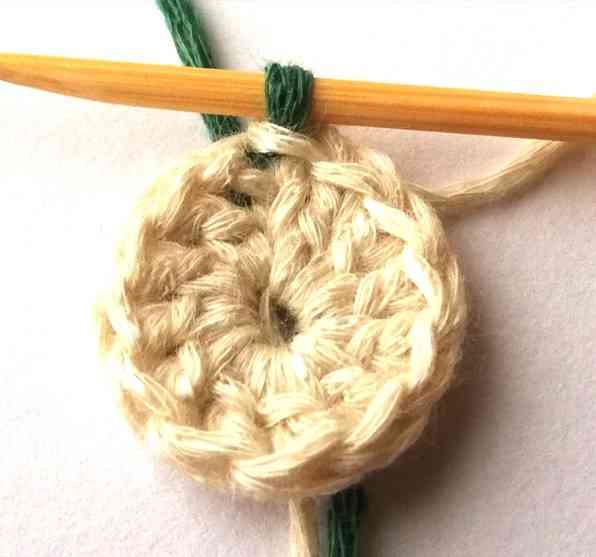
3. Pull the first loop through the other one. Now you have one loop on your hook and you are ready to start the second round.
Surface crochet
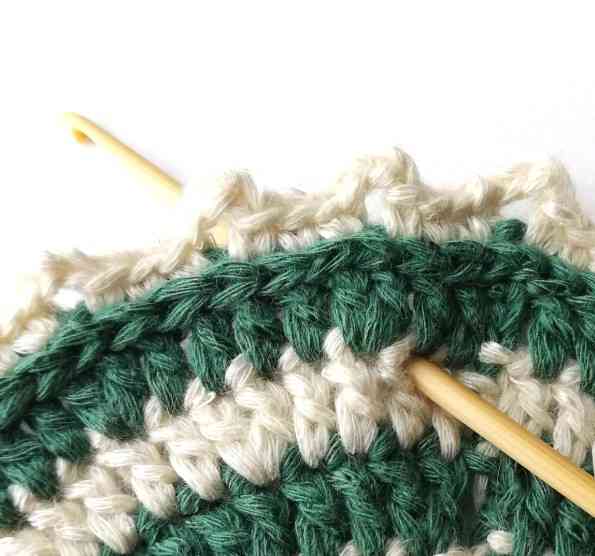
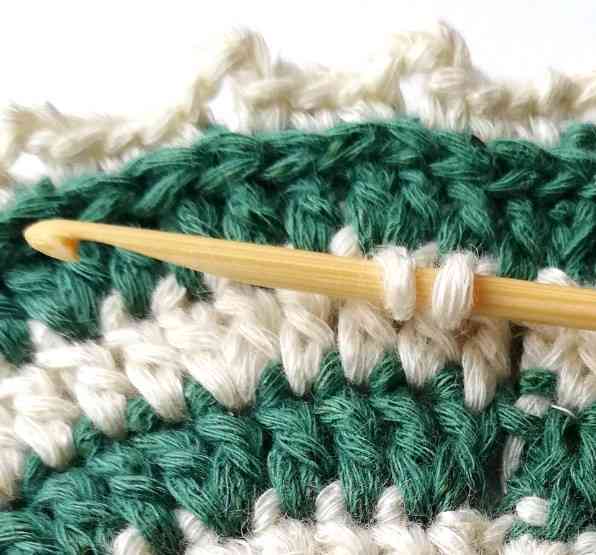
1. Insert your hook in the first stitch between two rounds where you want to start your surface crochet.
2. Next yarn over your white yarn (because the lower round is white).
3. Pull the yarn through the stitch. Now you have one loop on your hook.
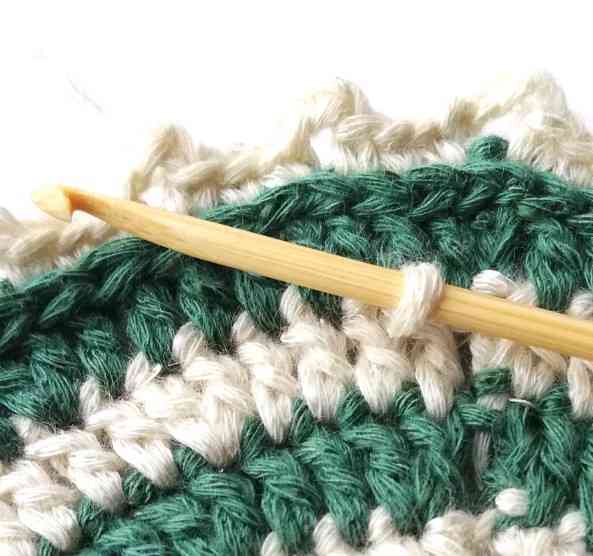
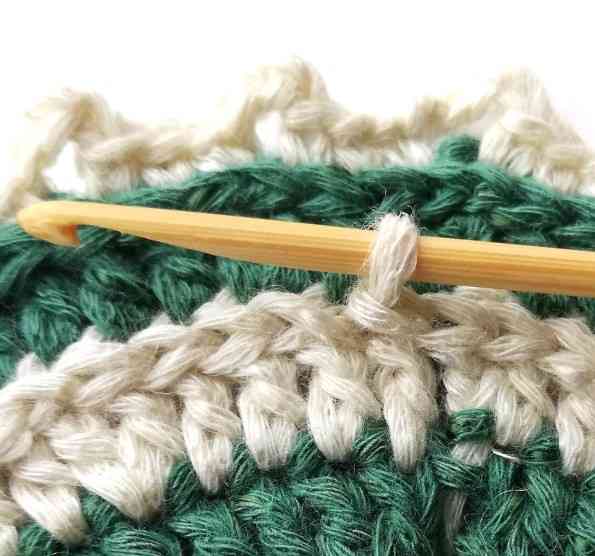
4. Then insert your hook in the next stitch and yarn over.
5. Pull the yarn through that stitch. Now you have two loops on your hook.

6. Pull the first loop through the other one. You have just made the first slip stitch of your surface crochet.

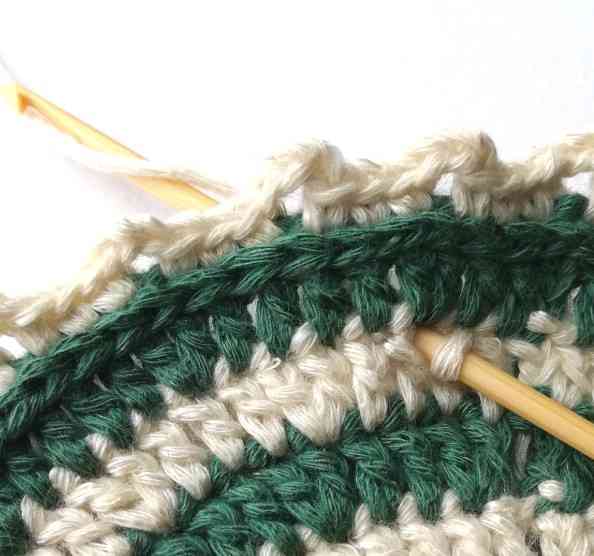
7. Continue making slip stitches in between two rounds. This is how it looks after making 4 slip stitches.
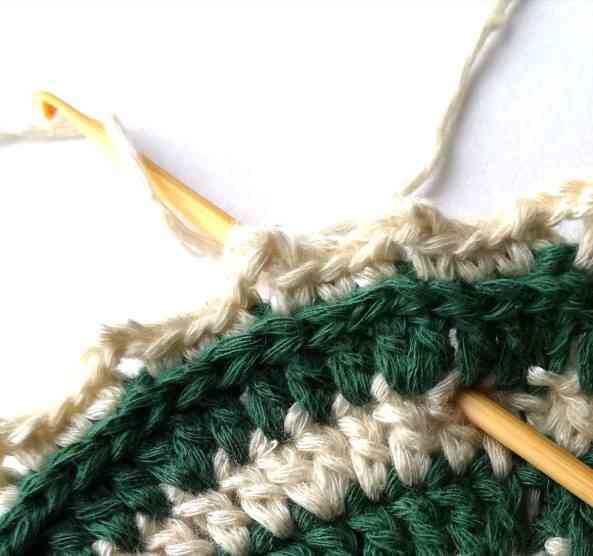
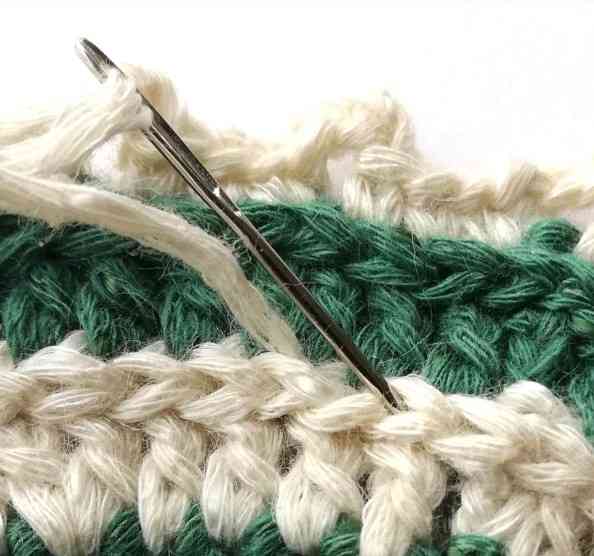
8. When you reach the end of the round, cut the yarn and pull it to the good side.

9. Take your tapestry needle, insert it under the first slip stitch you made (under the “v”) and pull the end of the yarn through.
10. Insert your tapestry needle in the middle of the last slip stitch you made and pull the yarn to the bad side. Fasten off.
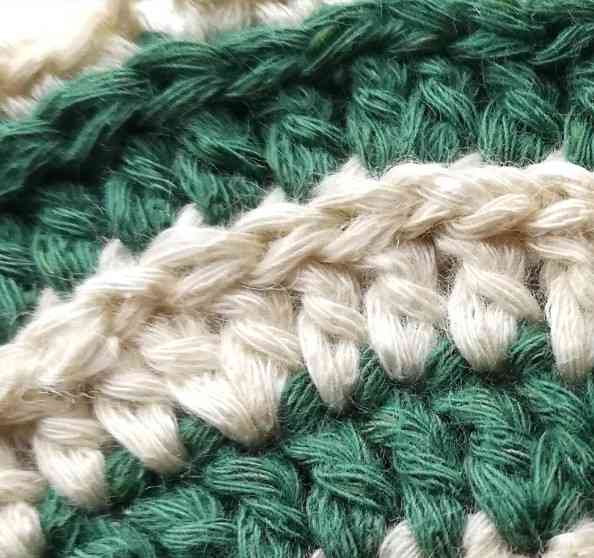
11. When you finish, it will look like a continuous chain. Repeat steps 1-10 for each round. Done!
Enjoy your Christmas coasters!
You might also like
There is much more to explore:
You can save this pattern to Pinterest here.