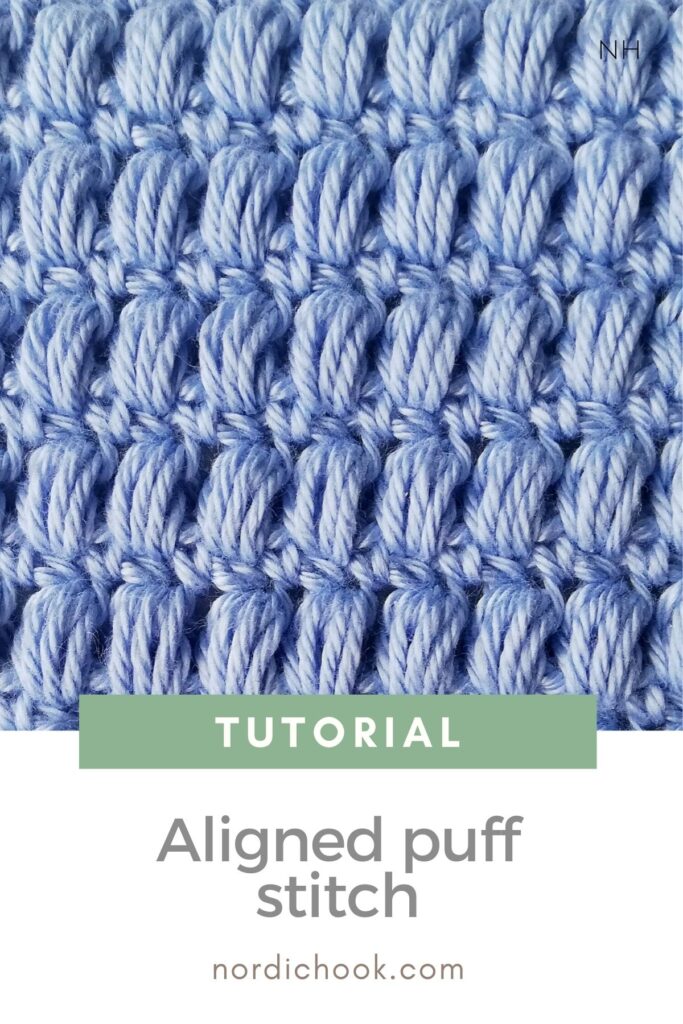
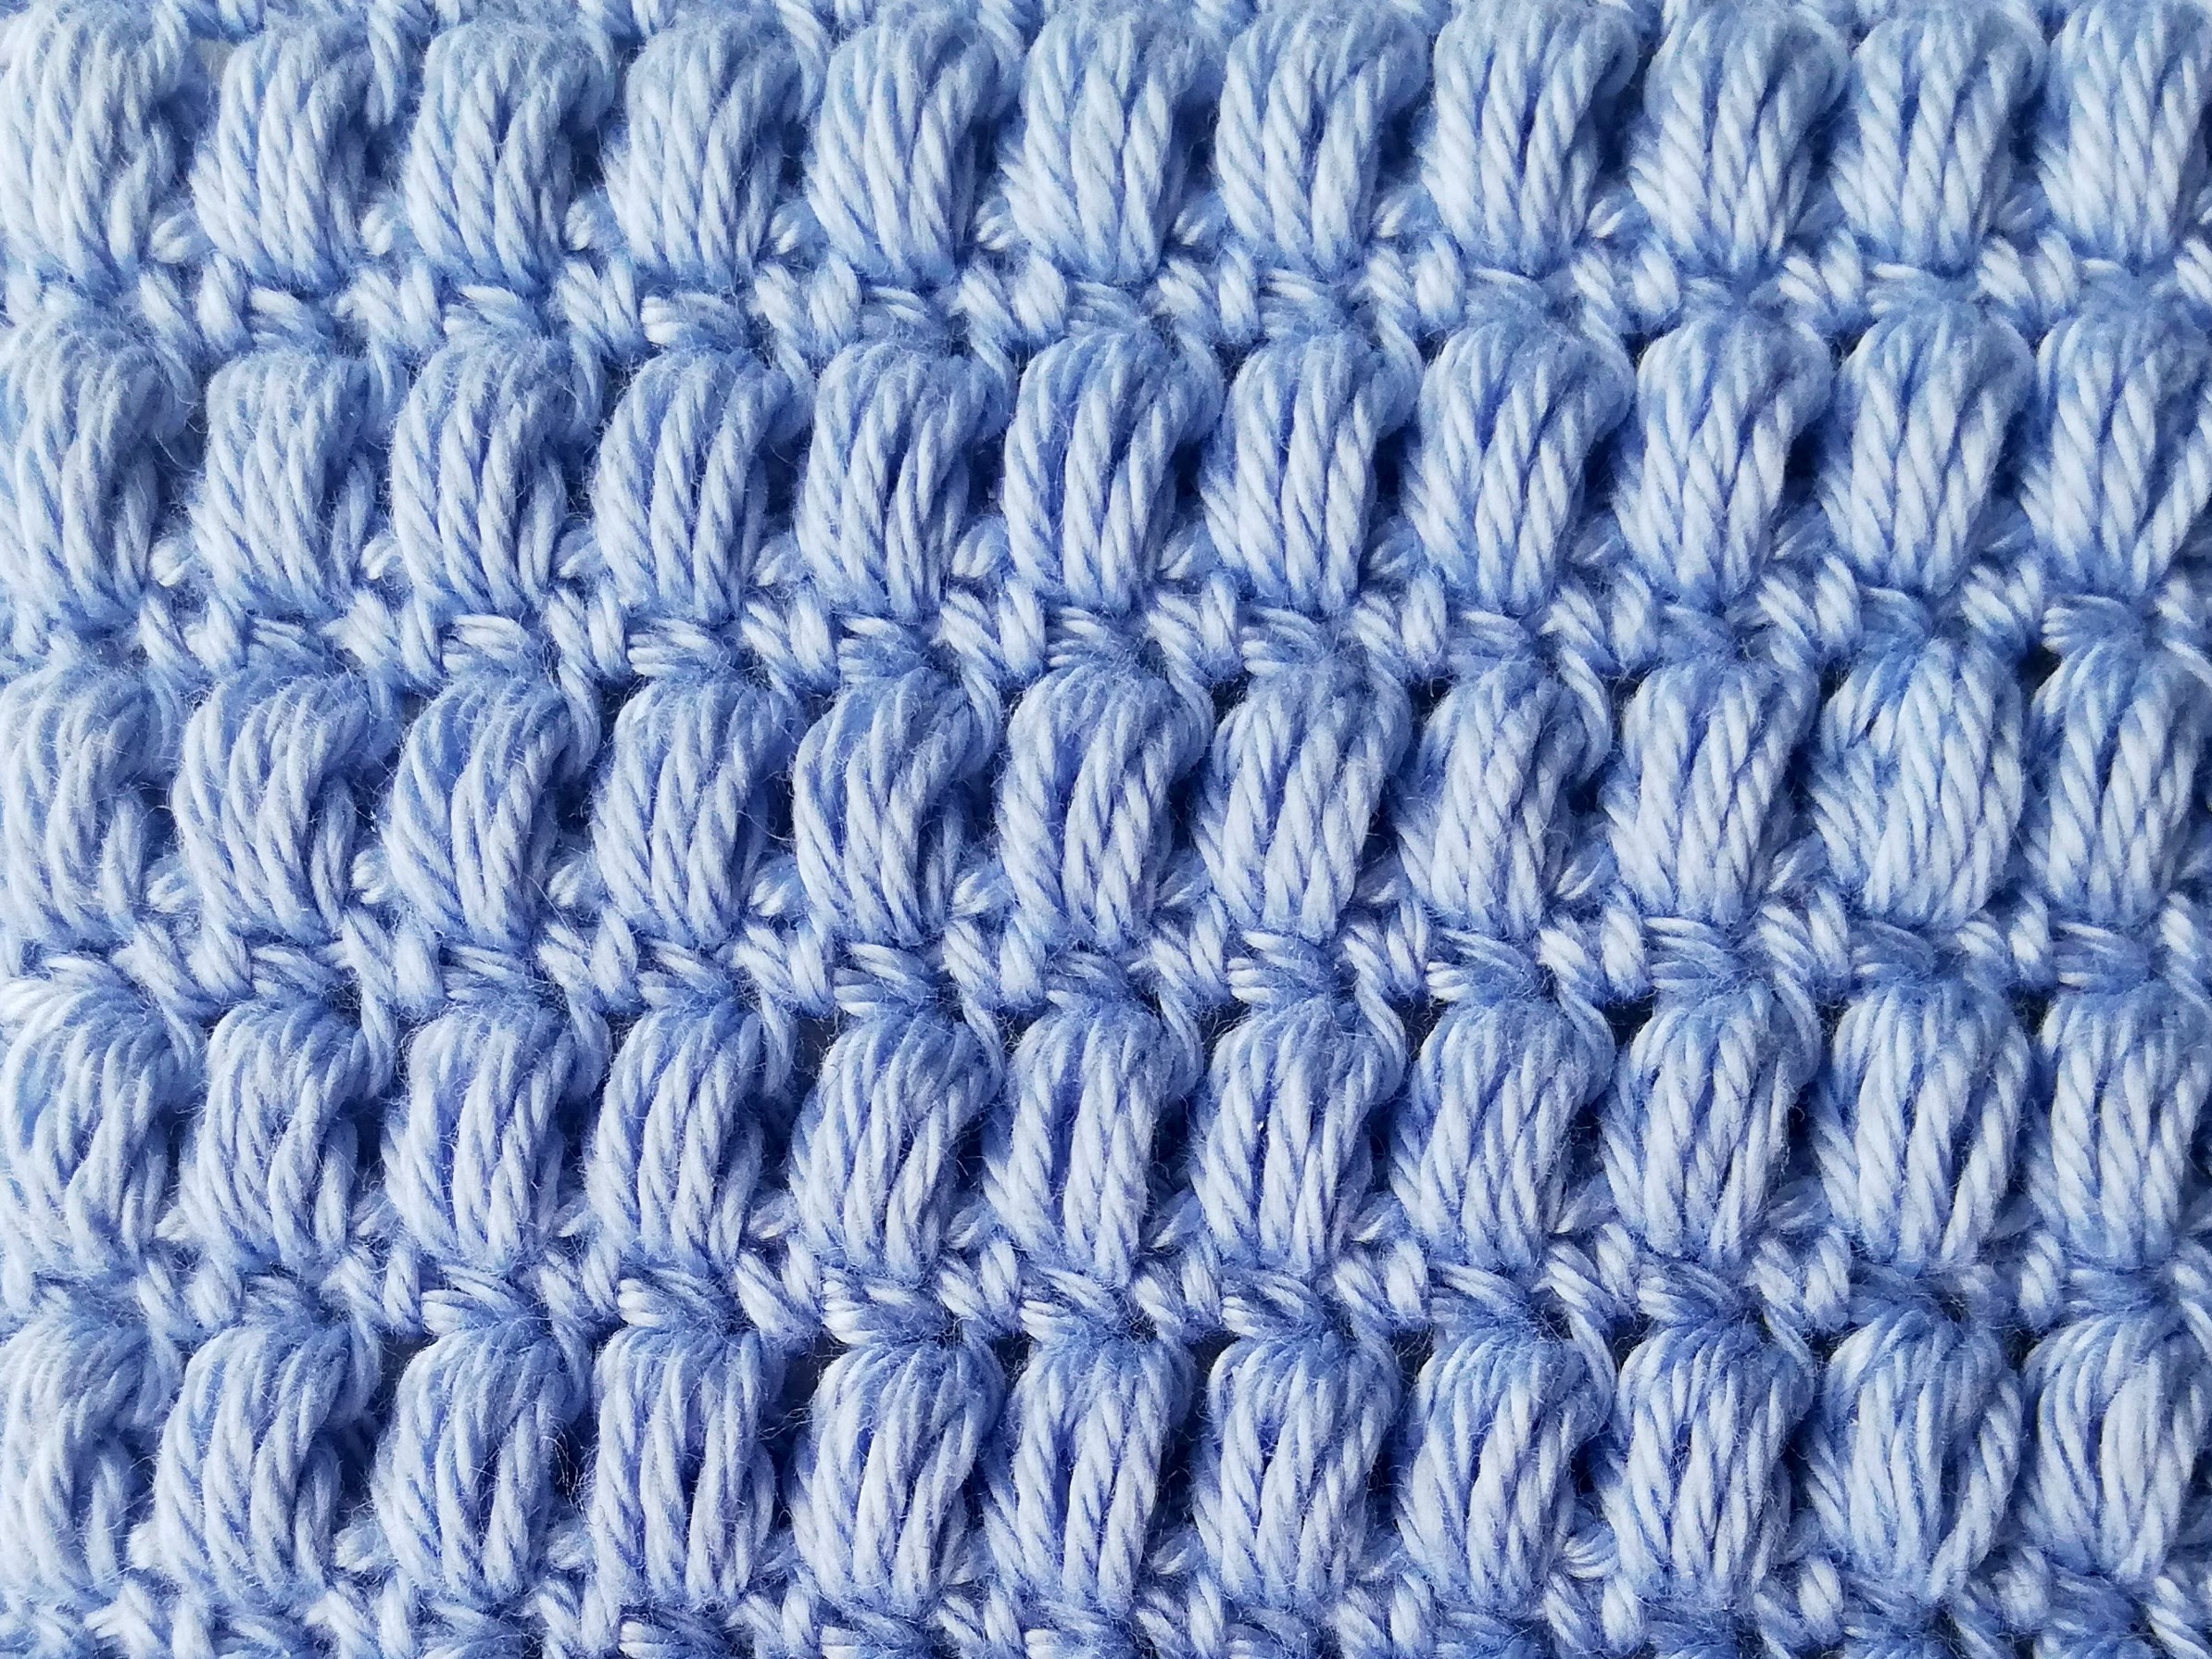
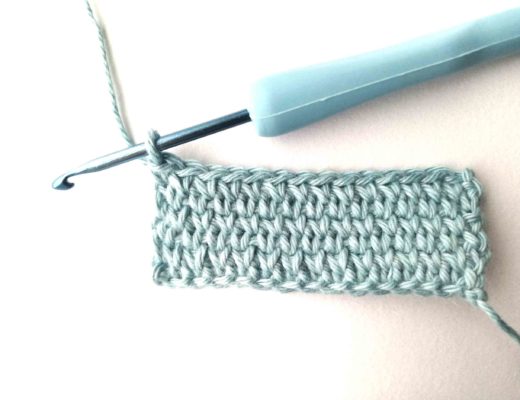
In this step-by-step tutorial I show how to make the aligned puff stitch. This stitch uses quite some yarn and therefore the fabric turns out thick. The pattern is a repeat of two rows. The aligned puff crochet stitch is reversible and looks beautiful on both sides.
You can take a look at my other tutorials for stitches here.
Save this tutorial to Pinterest here.
Good luck!
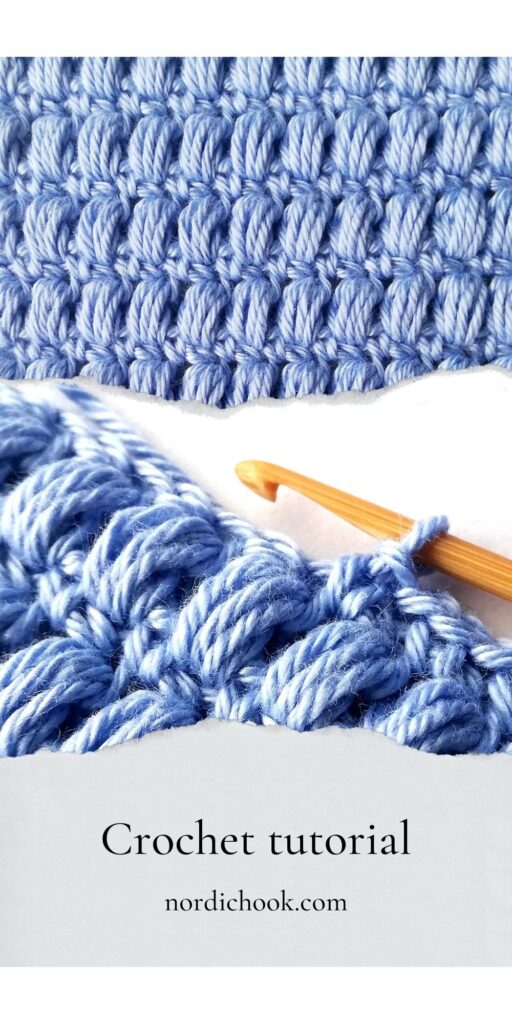

Photo instructions for the aligned puff crochet stitch
Row 1
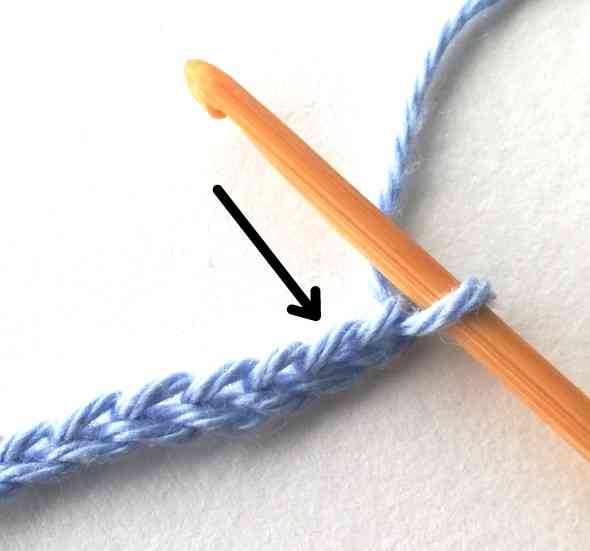

1. Start by making a chain. It should have an even number of chains.
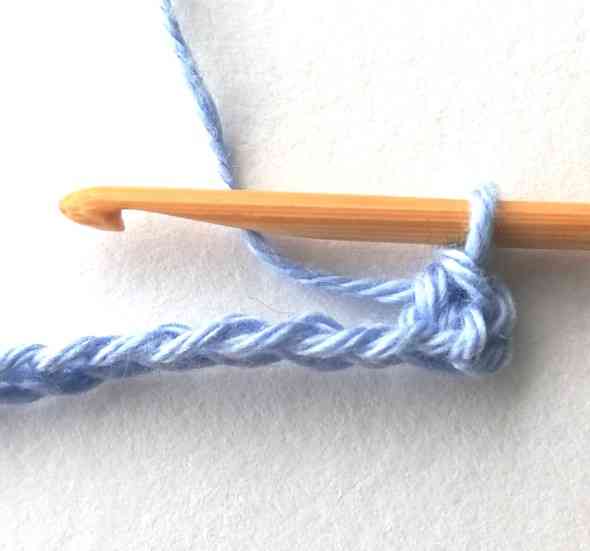

2. Insert your hook in the second chain from your hook (in the back of the chain) and make a single crochet.
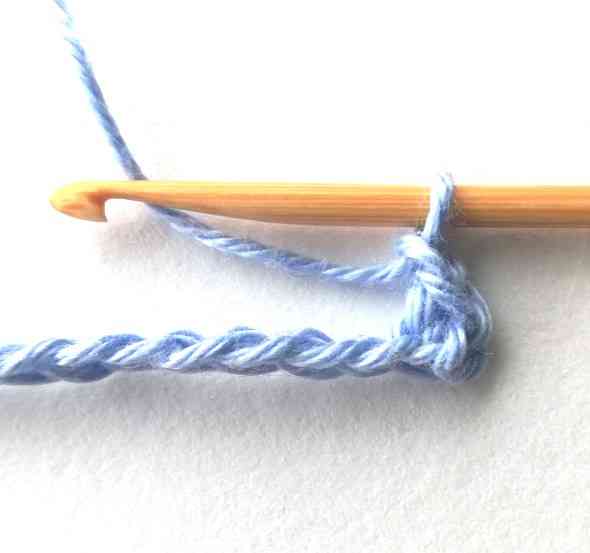

3. Then chain one.
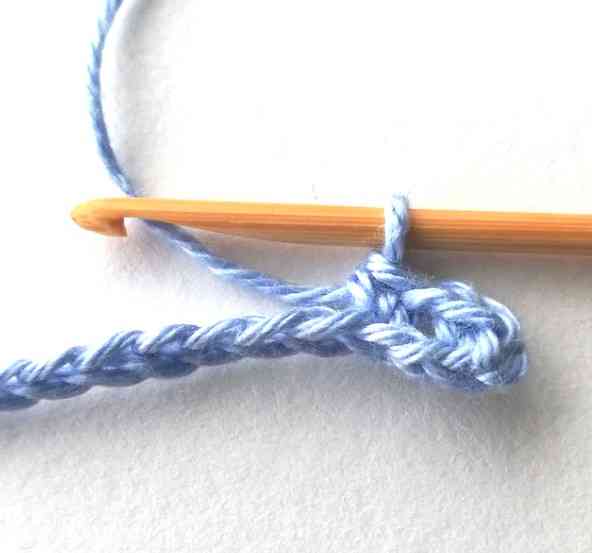

4. Skip one stitch and make a single crochet in the next one.
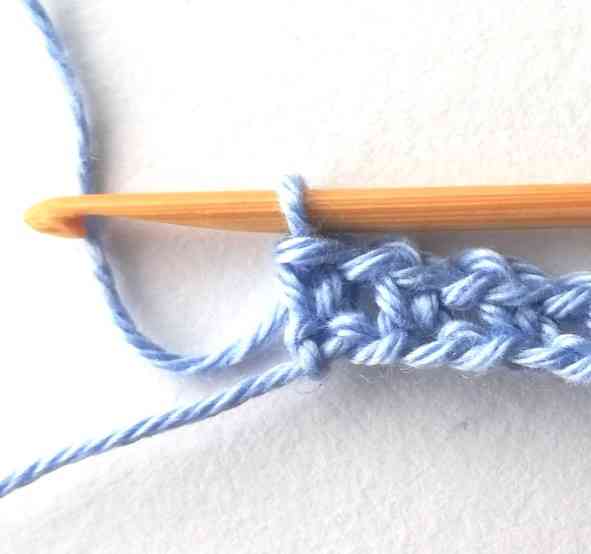

5. Keep working in the same way until the end of the row: chain one, skip one stitch and make a single crochet.
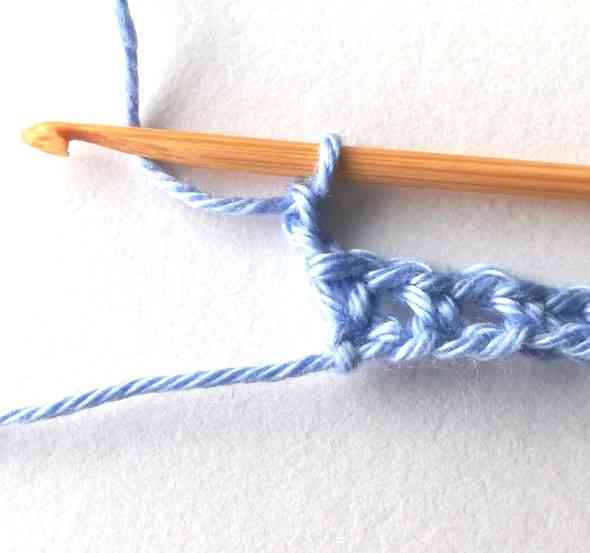

6. Then chain two.
Row 2
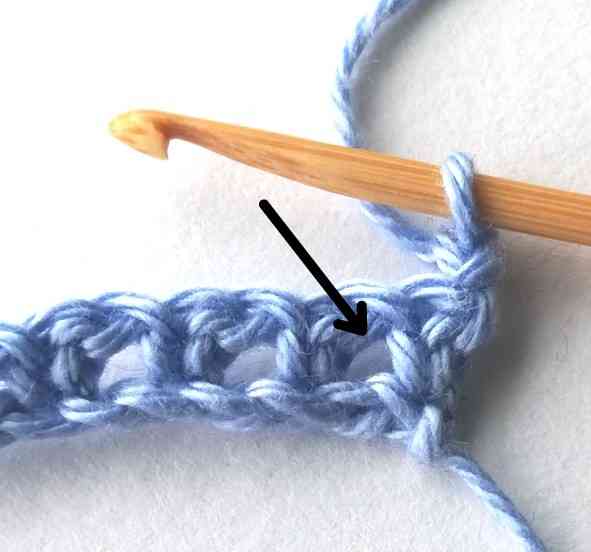

7. Turn your work around. Now you will make a puff stitch in the chain one space of the previous row like it is indicated in the picture.
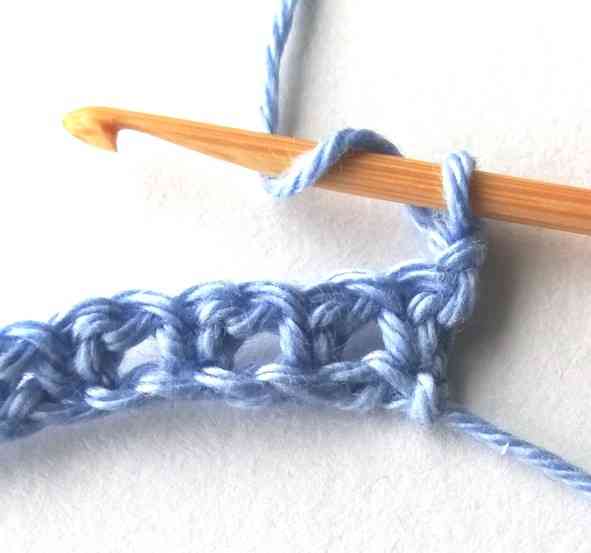

8. So, yarn over.
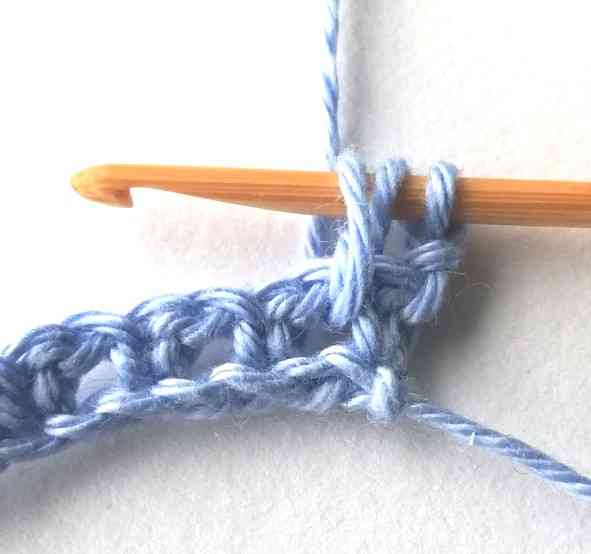

9. Insert your hook in the chain one space of the previous row, yarn over and pull the yarn through. Now you have three loops on your hook.
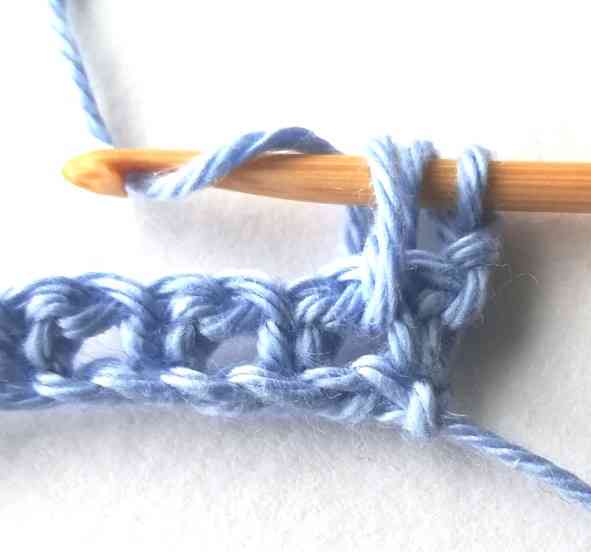

10. Yarn over.
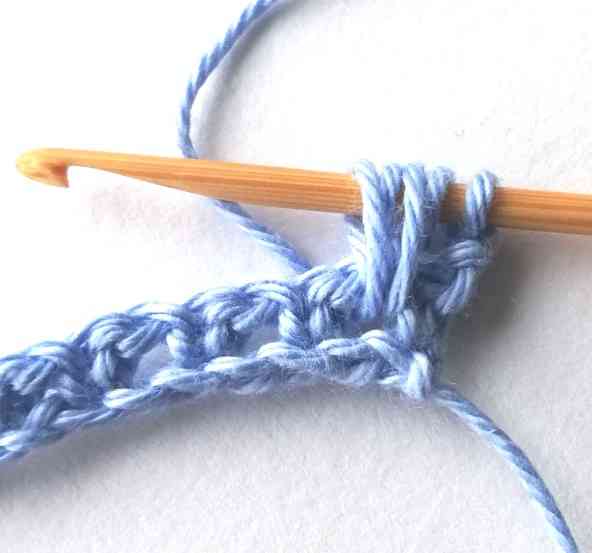

11. Insert your hook in the same chain one space, yarn over and pull the yarn through. Now you have five loops on your hook.
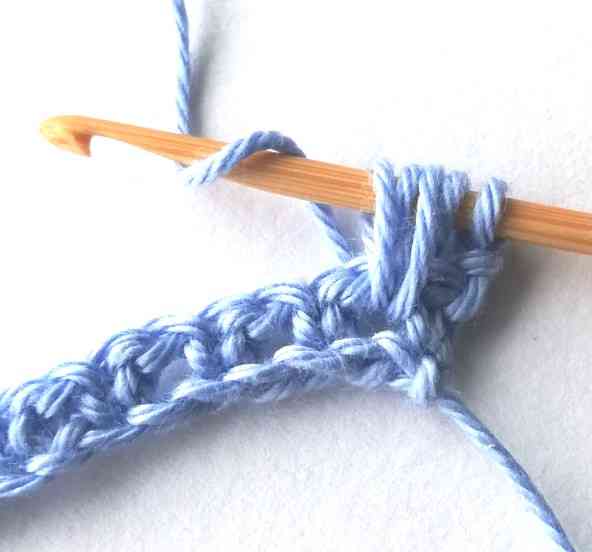

12. Yarn over.
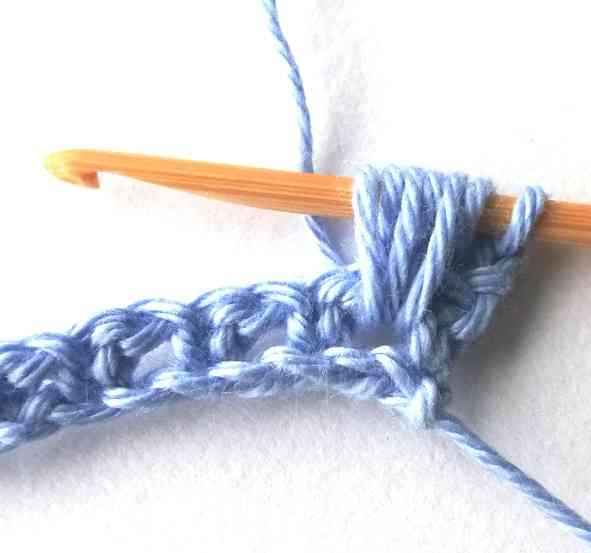

13. Insert your hook in the same chain one space, yarn over and pull the yarn through. Now you have seven loops on your hook.
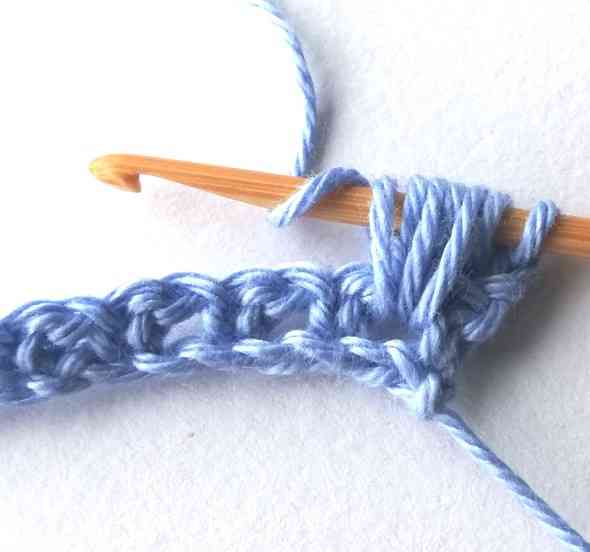

14. Yarn over again.
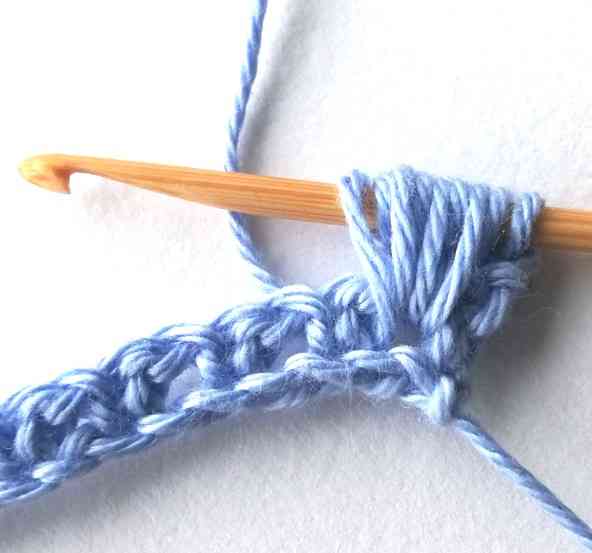

15. Insert your hook in the same chain one space, yarn over and pull the yarn through. Now you have nine loops on your hook.
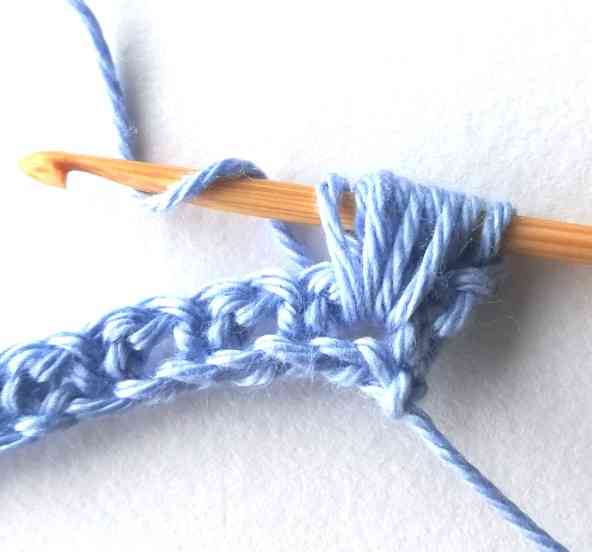

16. Yarn over.
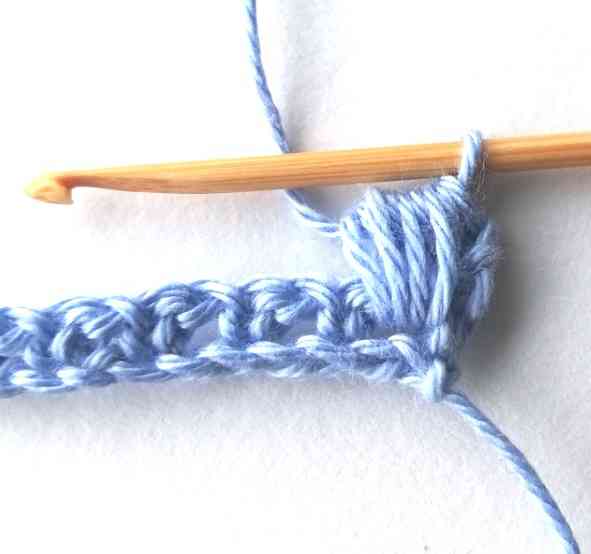

17. Pull the yarn through all nine loops on your hook.
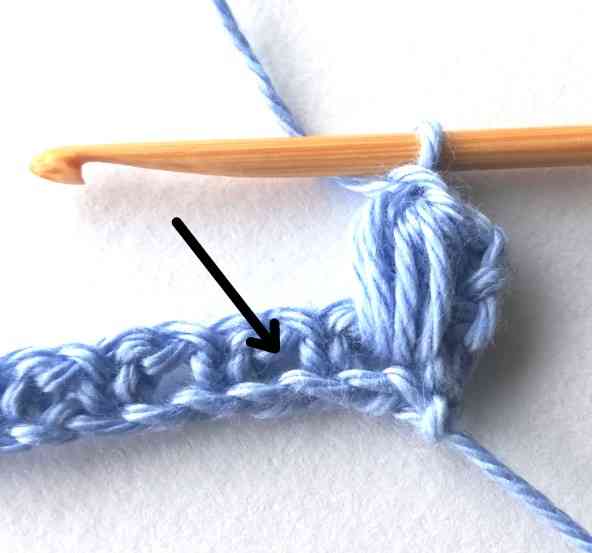

18. Then chain one to close the puff stitch. Next you will have to work in the next chain one space of the previous row like it is indicated in the picture.
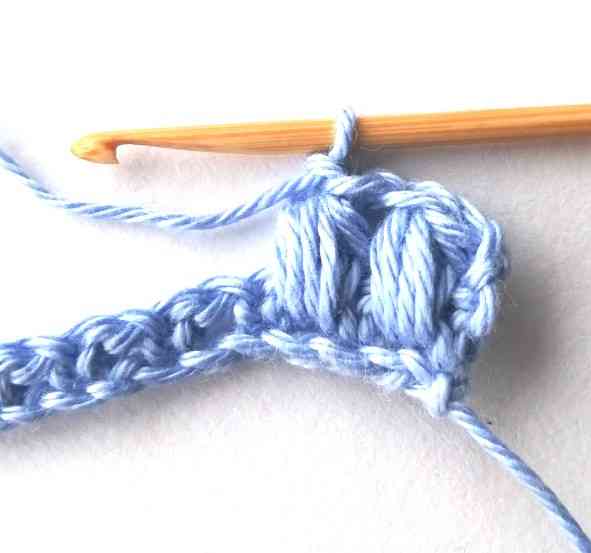

19. So, make a puff stitch in the next chain one space.
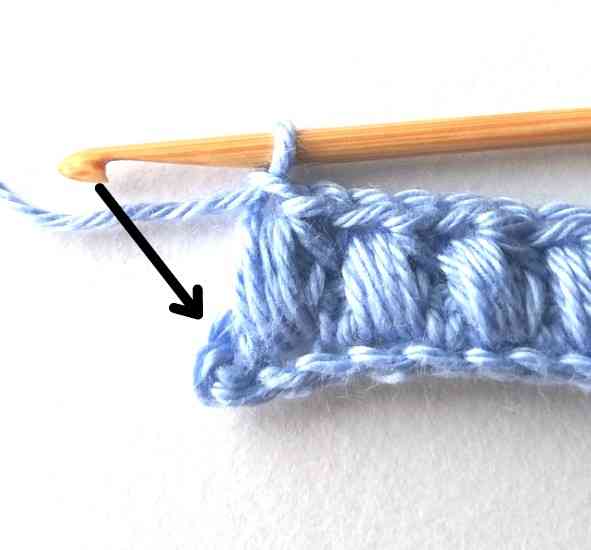

20. Keep working in the same way until the end of the row. To complete the row you will have to work in the last stitch of the row like it is indicated in the picture.
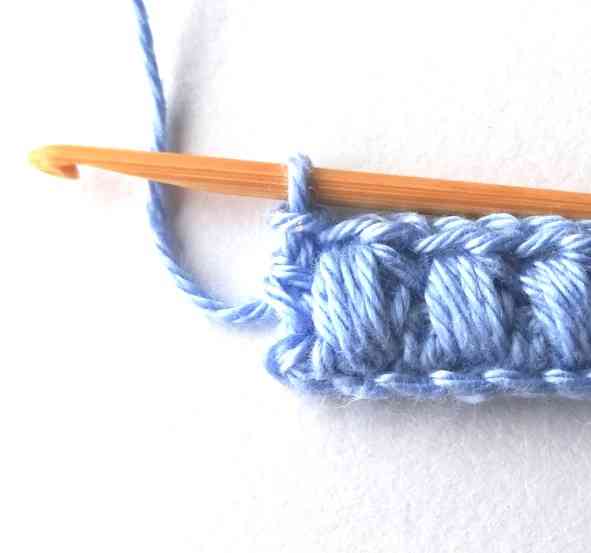

21. So, make a half double crochet in the last stitch of the row: yarn over, insert your hook in the last stitch of the row, yarn over, pull the yarn through (now you have three loops on your hook), yarn over and pull the yarn through all three loops.
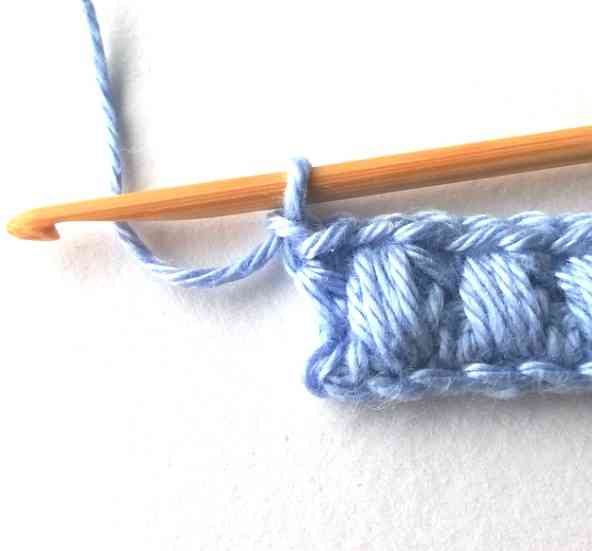

22. Then chain one.
Row 3
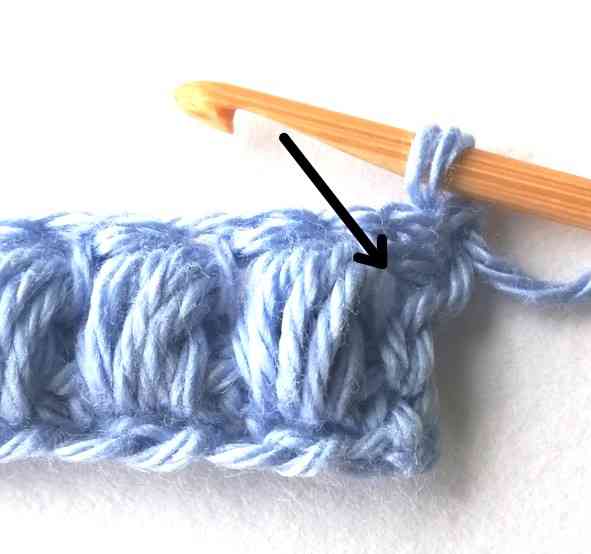

23. Turn your work around. Now you will be working in the first chain one space of the previous row like it is shown in the picture.
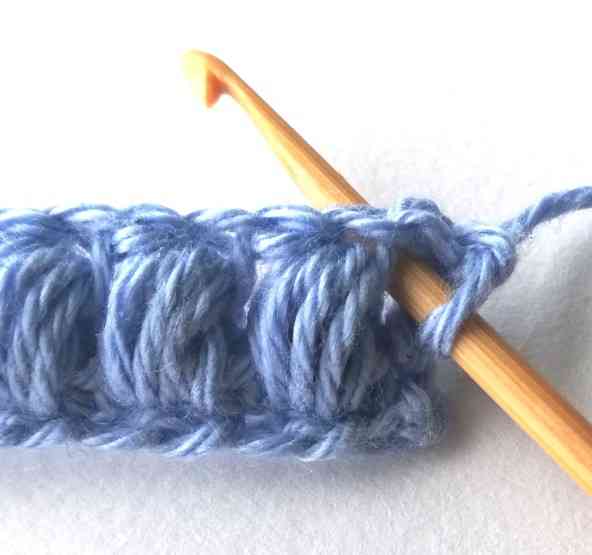

24. So, insert your hook in the first chain one space.
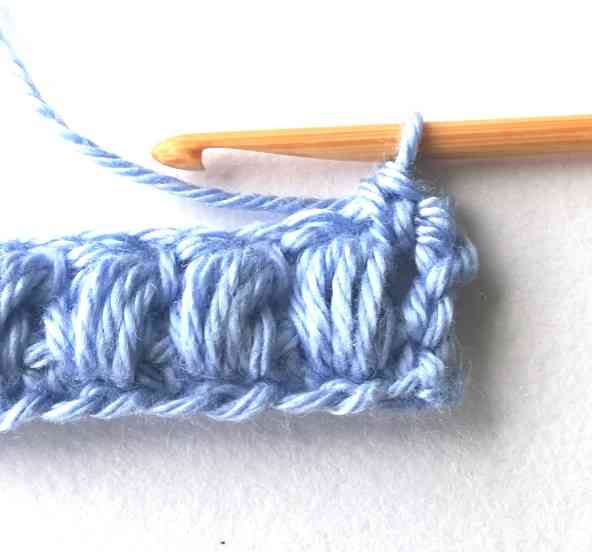

25. Make a single crochet.
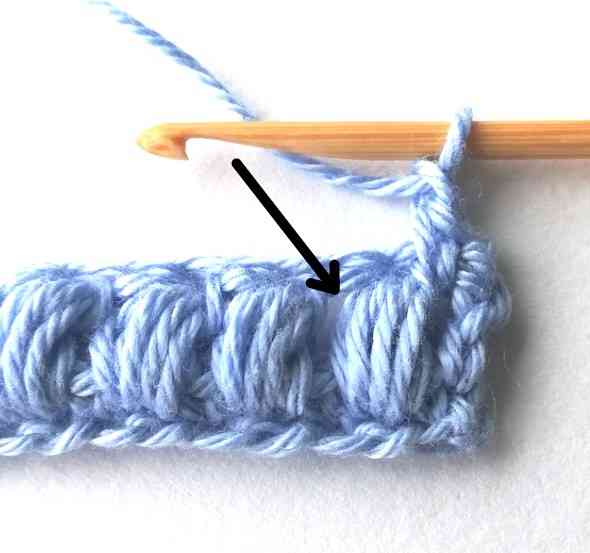

26. Then chain one. Next you will be working in the next chain one space of the previous row.
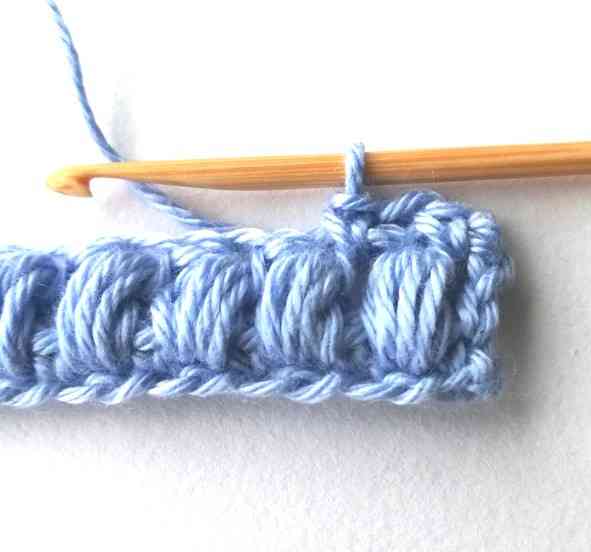

27. So, make a single crochet in the next chain one space.
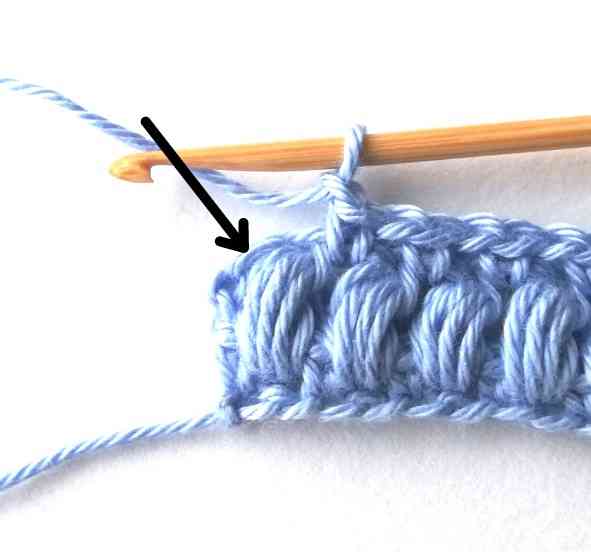

28. Keep working in the same way until the end of the row. To complete the row, you will have to chain one and make a single crochet in the second chain of the turning chain of the previous row.
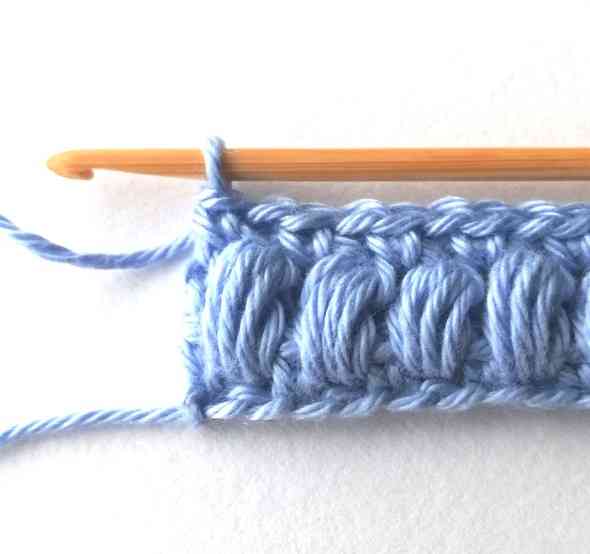

29. So, make a single crochet in the turning chain of the previous row.
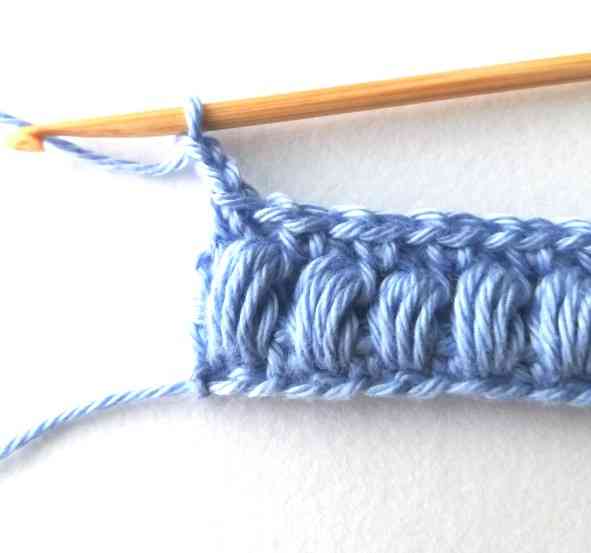

30. Then chain two.
Row 4
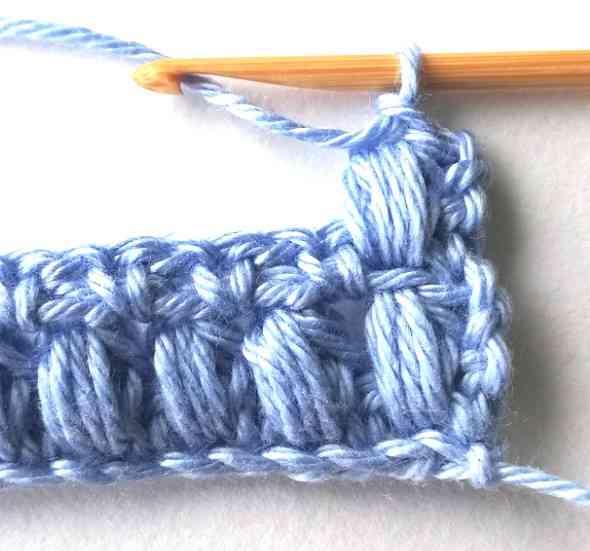

31. For the rest of the pattern repeat rows 2 and 3.
Finished aligned puff crochet stitch
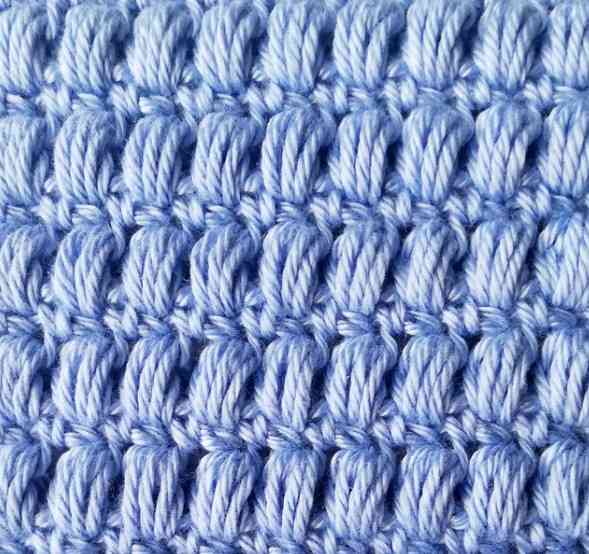

32. Done!
Save this tutorial to Pinterest here.
