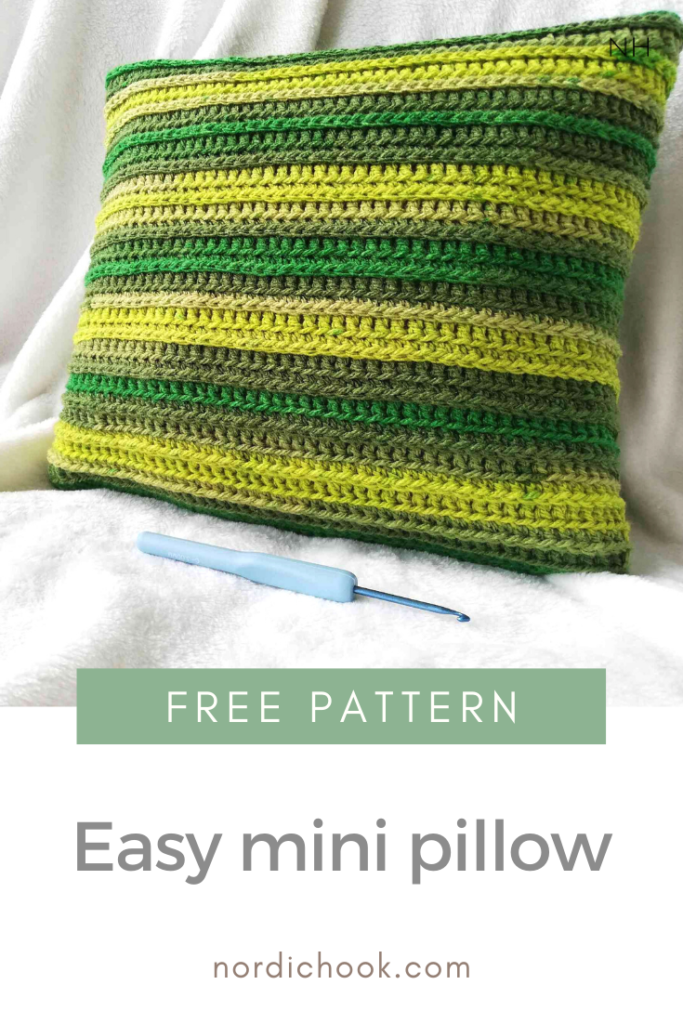
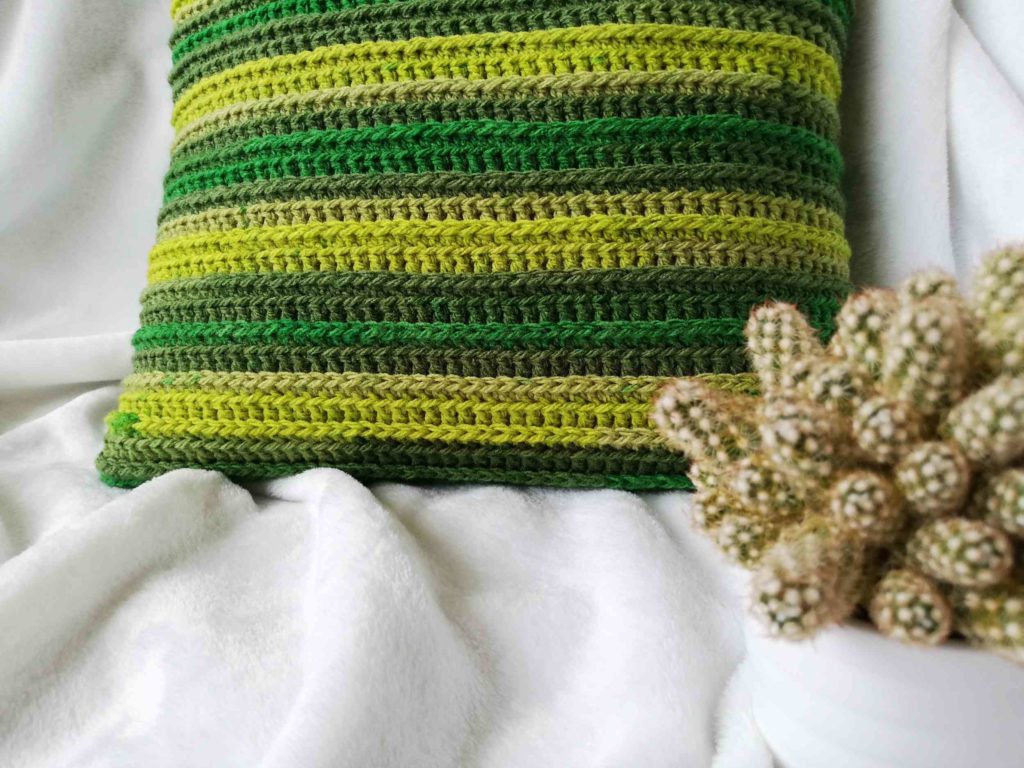
Here is a free crochet pattern for an easy mini pillow. The pattern is a repeat of two rounds, and I included links to photo tutorials for the stitches used to make this pillow. Also, I encourage you to improvise: for example, instead of a gradient yarn, you can use a couple of your favorite colors and change them every second round.
The pattern includes a list of materials, abbreviations, notes, a written pattern, and photo instructions. You can find my other free crochet patterns for pillows here and more free crochet projects here.
Printable PDF
Join Nordic Hook Club and download the PDF pattern without ads for free! By joining the Club, you also get access to one of the largest crochet stitch libraries. There you will find hundreds of ad-free downloadable crochet stitch tutorials that include detailed step-by-step photo instructions, concise written patterns and member-exclusive charts. Plus, you can download all Nordic Hook patterns, stitches and e-books for free! Read more about all the membership benefits here and sign up today.
Read more and sign up!
Easy mini pillow
Materials
- Yarn: I use 100 g (260 m) “Big Acrylic” gradient yarn from a local shop. However, any thicker yarn will work.
- Hook: I use a 4.0 mm hook. If you are using a different yarn, choose the hook size that is recommended on your yarn label.
Abbreviations (US terms)
- ch: chain
- dc: double crochet
- rnd: round
- prev: previous
- st: stitch
- sl st: slip stitch
- dc-blo: double crochet in the back loop only
- hdc-blo: half double crochet in the back loop only
- dc-3lo: double crochet in the third loop only
Notes
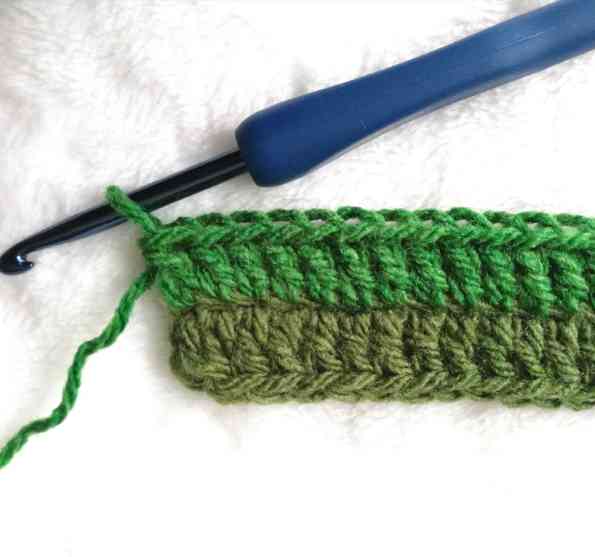
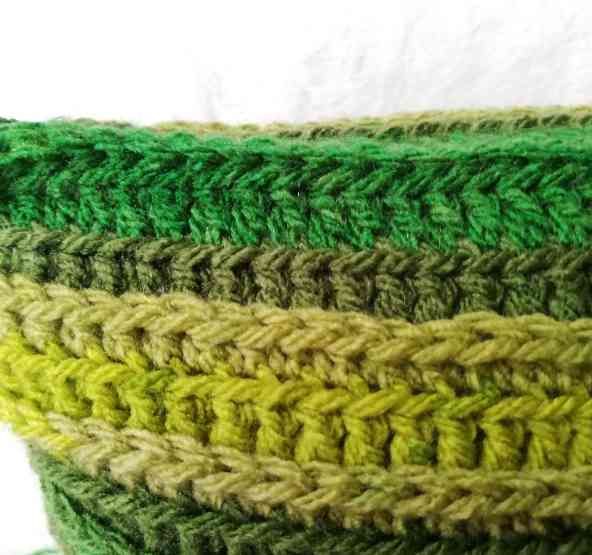
You will be working in rounds. You can repeat rnd 2-3 until you reach the desired height of your pillow. I repeated 13 times. The size of my pillow is 30×26 cm.
Pattern
Start with chaining until you reach the desired length (the width of the pillow) + 3. For my mini pillow I chained 52 + 3.
Round 1: dc in the 4th ch from the hook and in each ch till the end of the row. Now we will continue the rnd: dc one more in the last ch, turn around and continue with dc down the chain until the end. dc one more in the last ch, connect with a sl st.
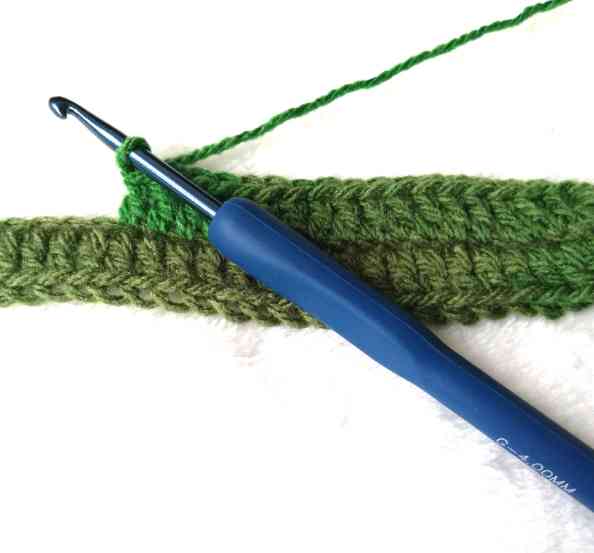
Round 2: ch 2, hdc-blo in every st of the prev rnd. Connect with a sl st.
Round 3: ch 3, dc-3lo in every st of the prev rnd. Connect with a sl st.
Round 4-29: repeat rnd 2-3 13 times.
Round 30: ch 3, dc-blo in every st of the prev rnd, connect with a sl st.
Put your pillow (or stuffing) inside your pillow cover. To close sl st through both opposite stitches of each side until you reach the end. Fasted off and weave in the ends.
Photo instructions for an easy mini pillow
Starting the pillow
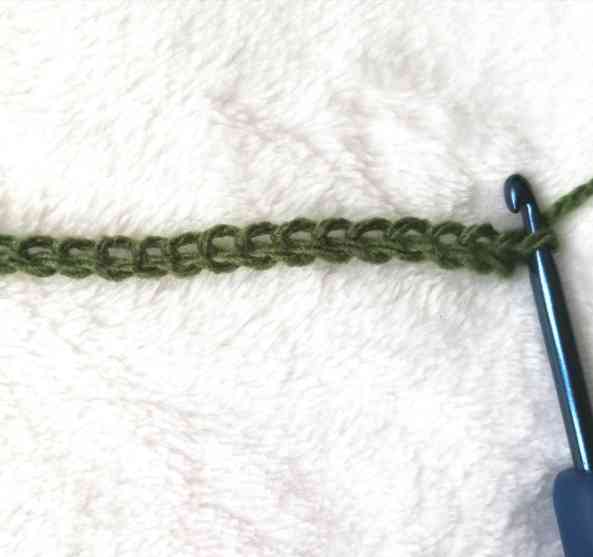
1. Start with a chain.
2. Make double crochets until the end of the row. Don’t turn around your work as usually.

3. Make one more double crochet in the end of the row.
4. Make one more double crochet in the same chain (in total you have three now).
5. Continue by working around the chain. Make double crochets in each chain until the end of the row.
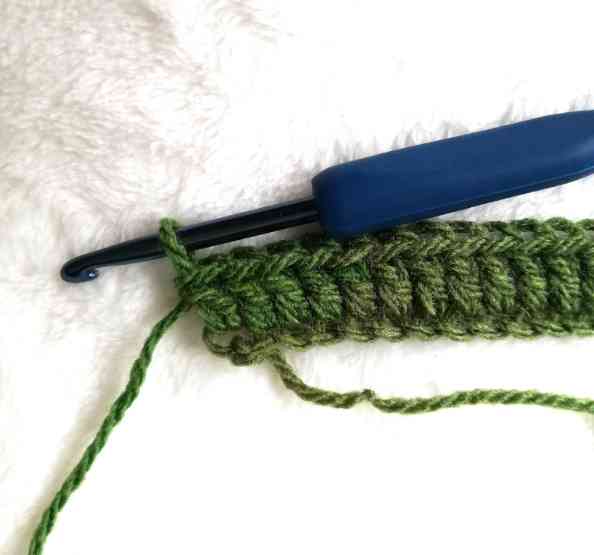
6. This is how it looks at the end of the row.

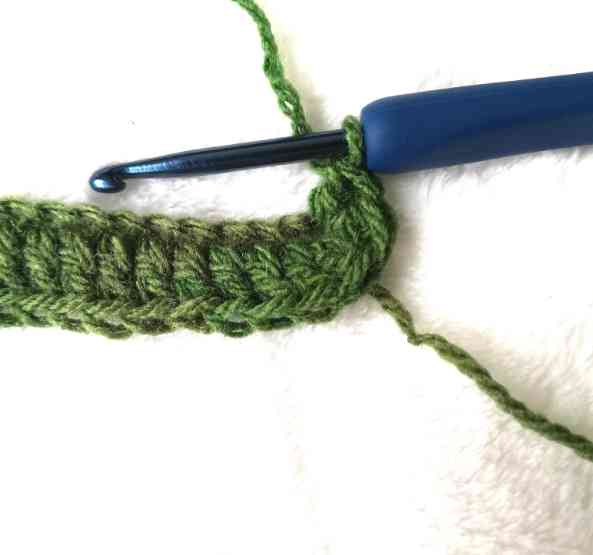
7. Make one more double crochet in the last stitch.
8. Connect the last double crochet to the first one with a slip stitch. You have just finished round one.
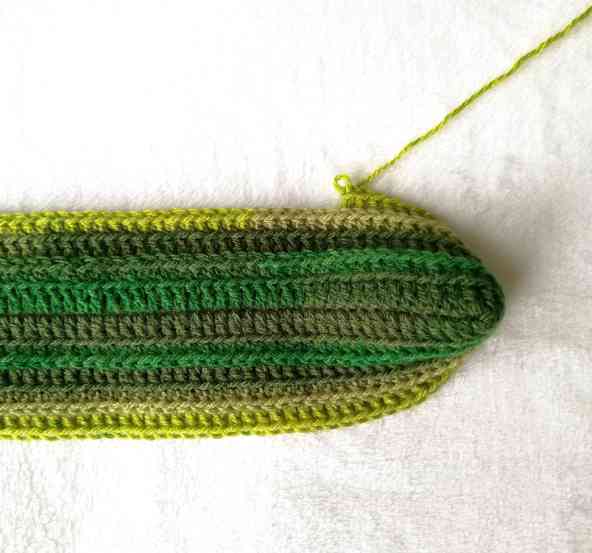
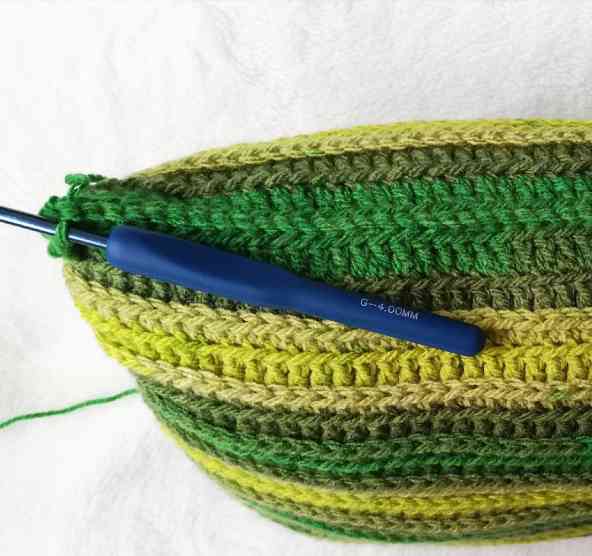
9. This is how your work looks after a few rounds.
Closing the pillow
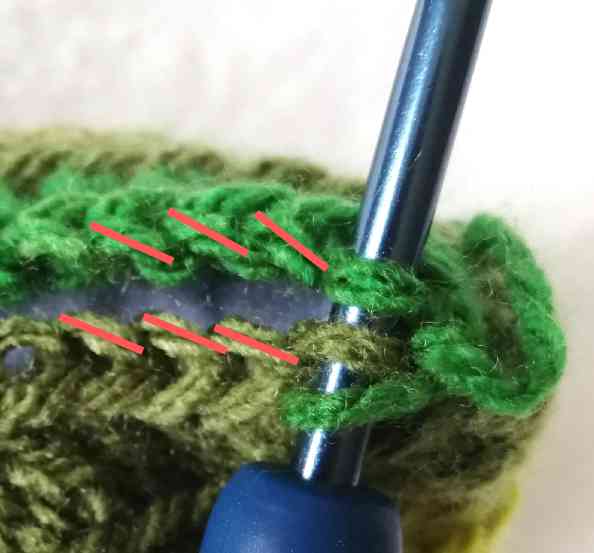
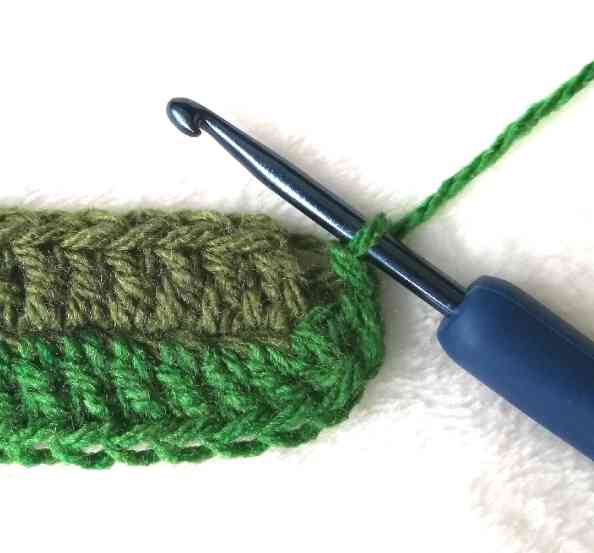
1. To close the pillow, insert the hook in the first stitch that is closer to you grabbing only the back loop of the stitch. Then insert the hook in the first stitch that is further from you grabbing the front loop of the stitch, like it is shown in the photo.
2. Yarn over.
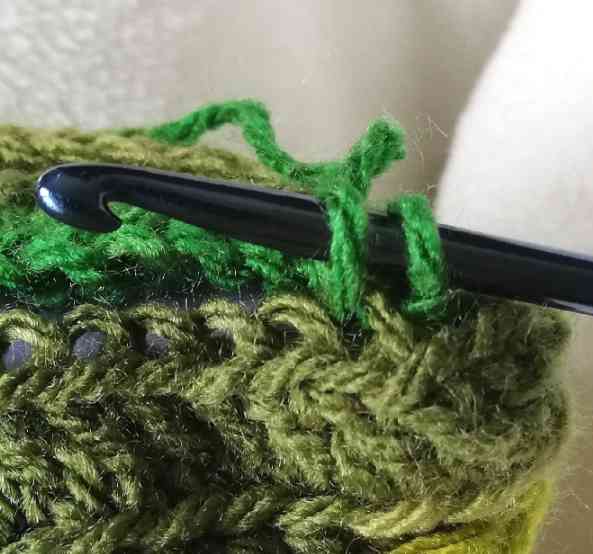
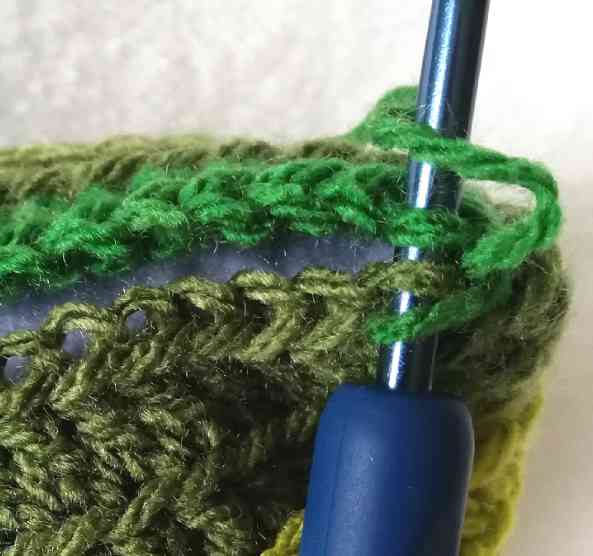
3. Pull the yarn through both stitches. Now you have two loops on your hook.
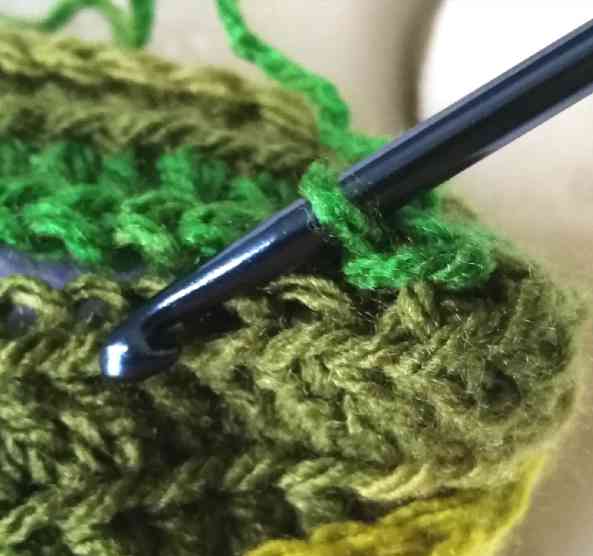
4. Pull the first loop through the second. Now you have one loop on your hook and you have just finished the first slip stitch.
5. Continue making slip stitches until you completely close the pillow.
6. Fasten off and weave in the ends. Done!
Enjoy your pillow!
You might also like
There is much more to explore:
You can save this pattern to Pinterest here.