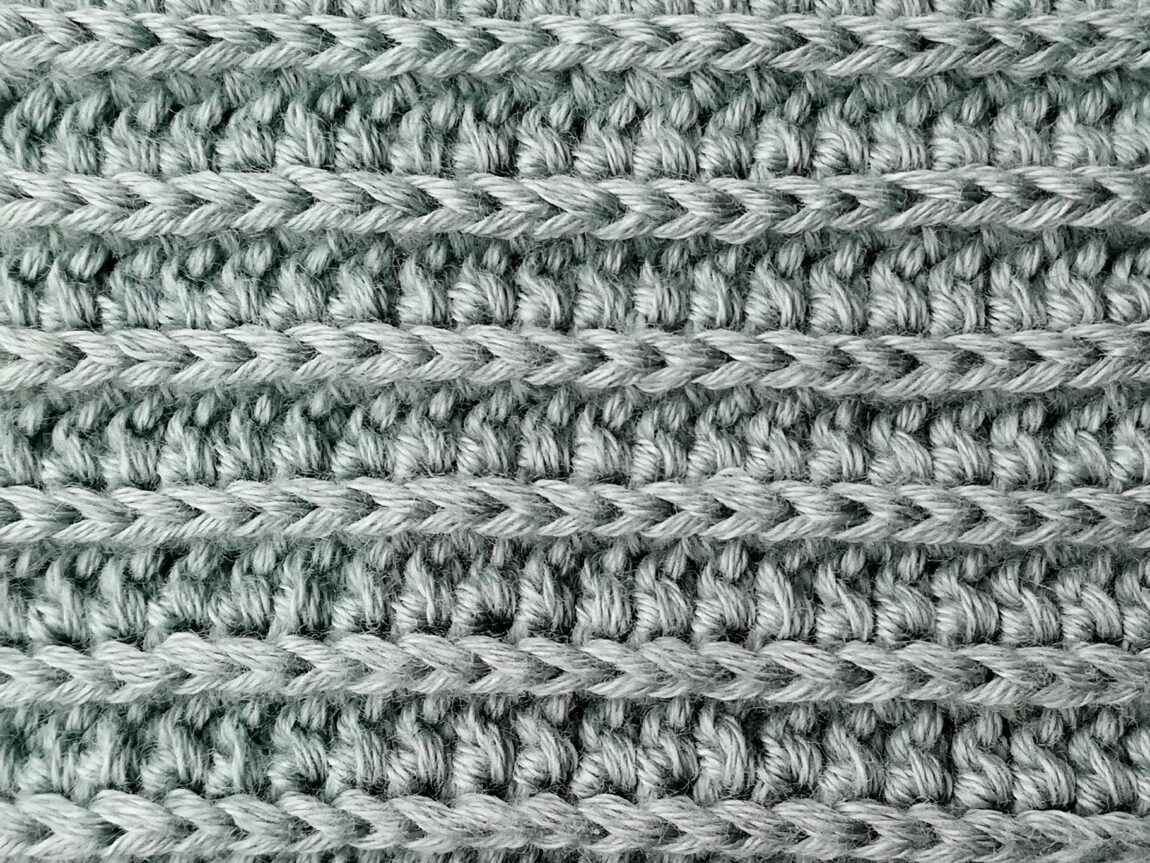
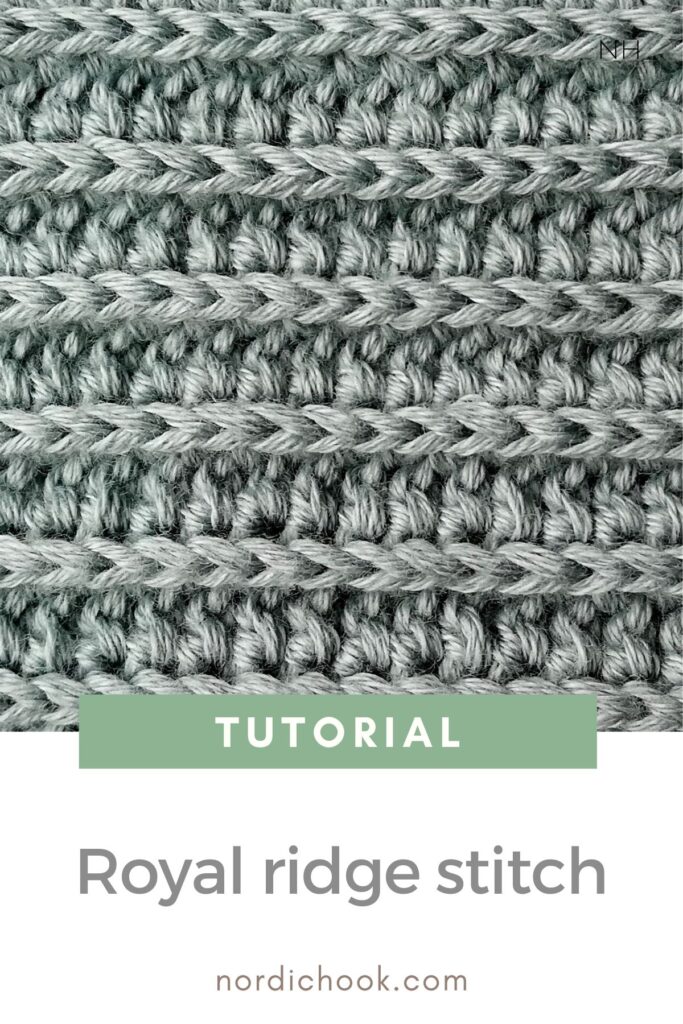
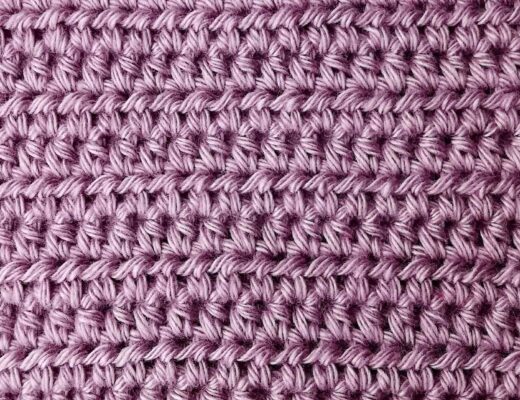
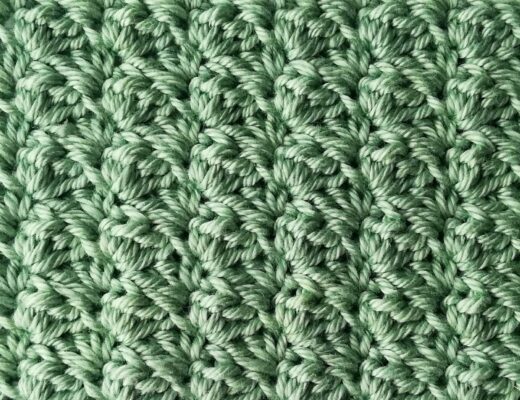
In this step-by-step crochet tutorial I show how to make the royal ridge crochet stitch. It is a very simple stitch, which is just a half double crochet worked in the third loop only in the front. Photo instructions below show how to make it. If you are not familiar with the usual half double crochet, here you can take a look at a detailed tutorial. For this stitch the fabric turns out dense, but not very thick. This stitch is reversible and looks the same on both sides. It has such a beautiful texture!
In this tutorial I use Soft FRAYA Cotton 8/4 100% Organic cotton 50g – 180 m yarn, color: blue agave, and a 2.0 mm hook.
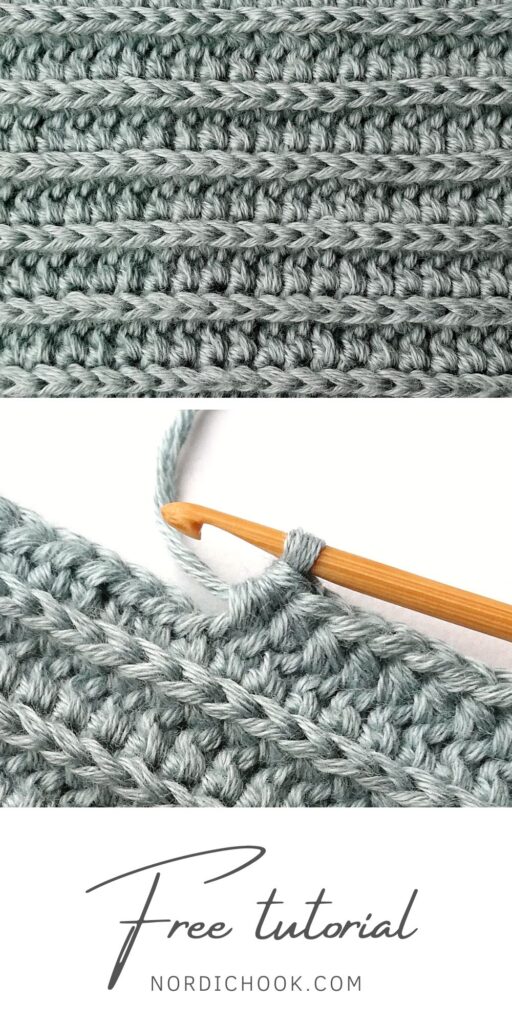

Photo instructions for the royal ridge crochet stitch
Row 1
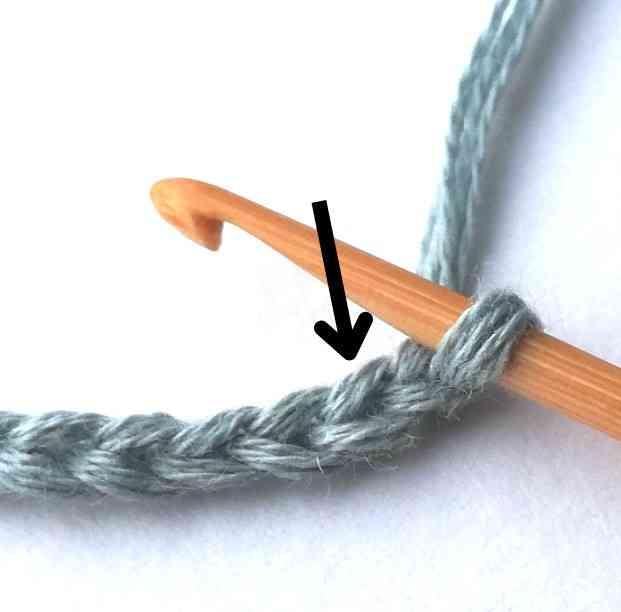

1. Start by chaining any number of chains. You will start working in the second chain from your hook.
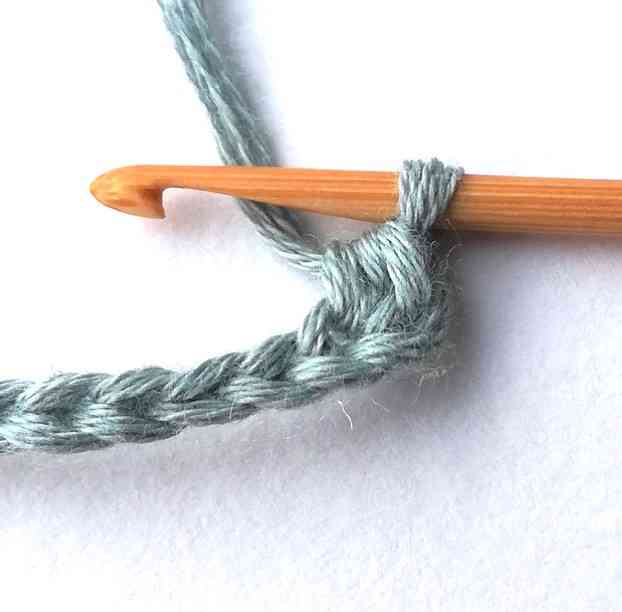

2. So, make a half double crochet in the second chain.
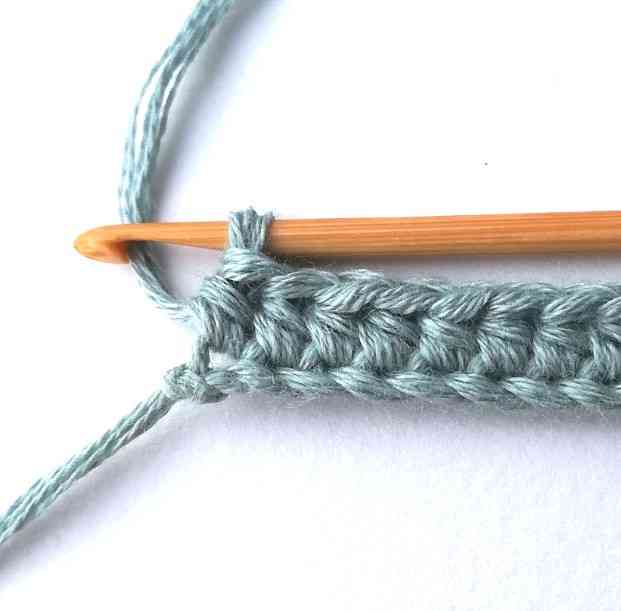

3. Continue making half double crochets in every stitch until the end of the row.
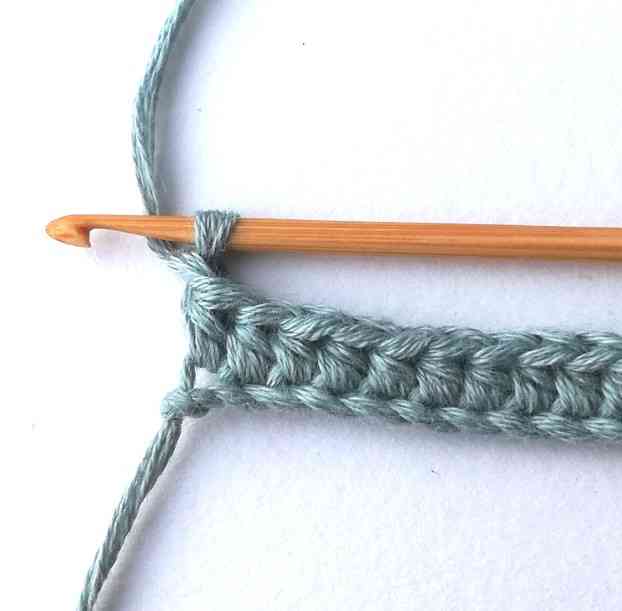

4. Chain one.
Row 2
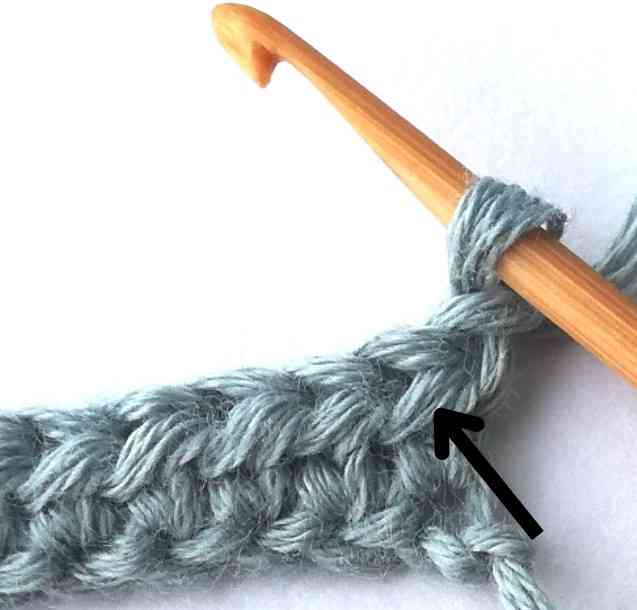

5. Turn your work around. Chain one does not count as a stitch, so you will star working in the very first stitch. You will work in the third loop of the first half double crochet in the previous row.
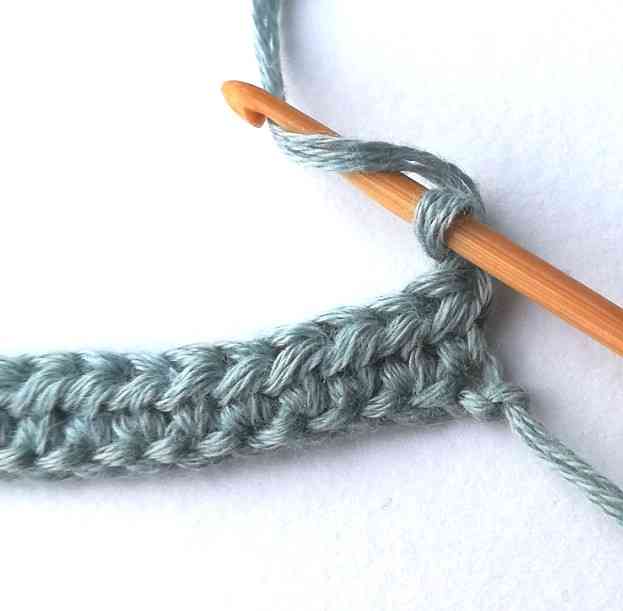

6. So, yarn over.
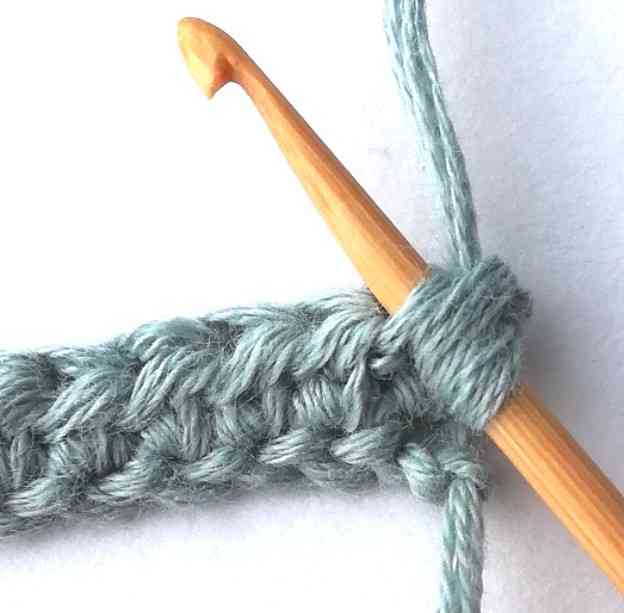

7. Insert your hook in the third loop of the half double crochet in the previous row.
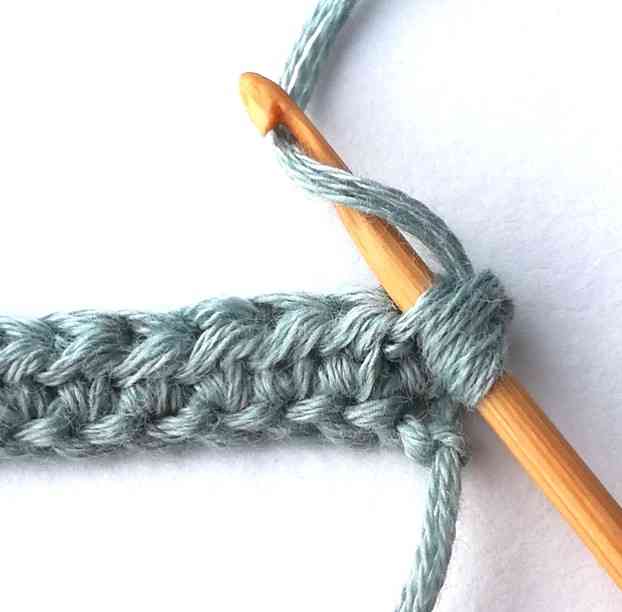

8. Yarn over.
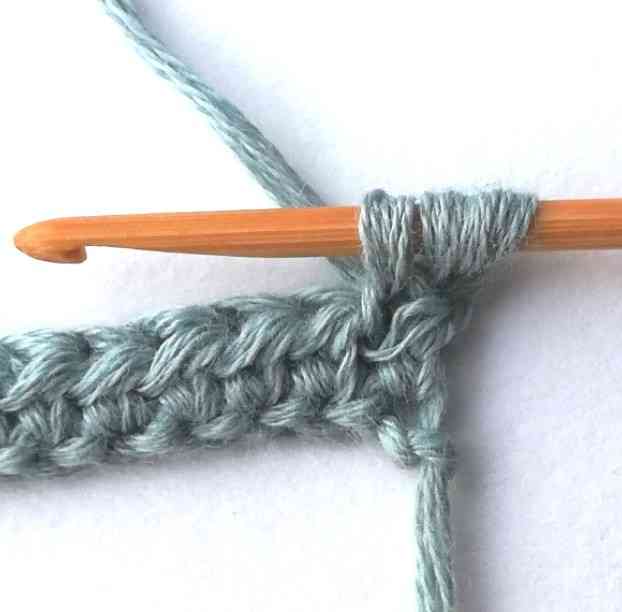

9. Pull the yarn through. Now you have three loops on your hook.
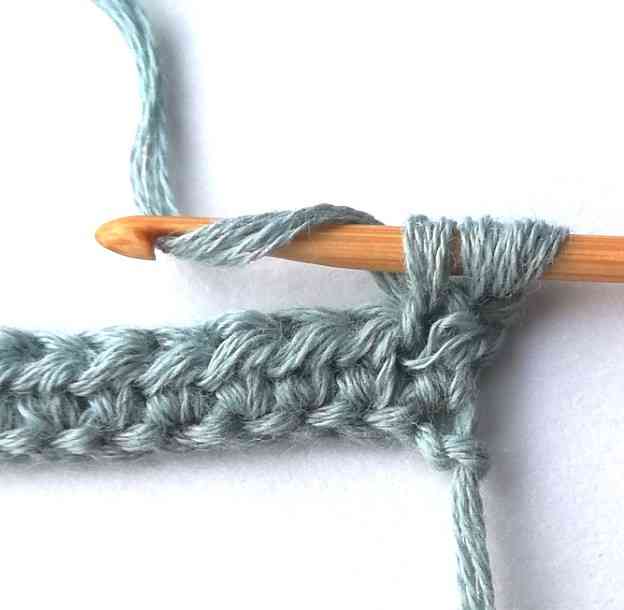

10. Yarn over.
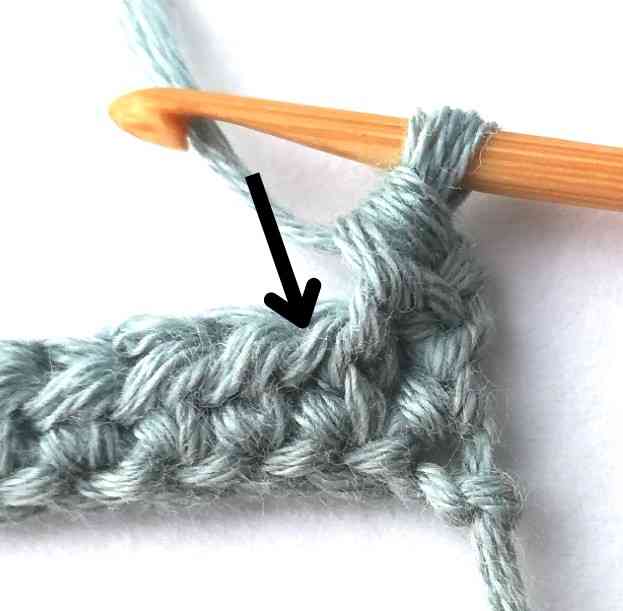

11. Pull the yarn through all three loops. You have just made a half double crochet third loop only in the front!
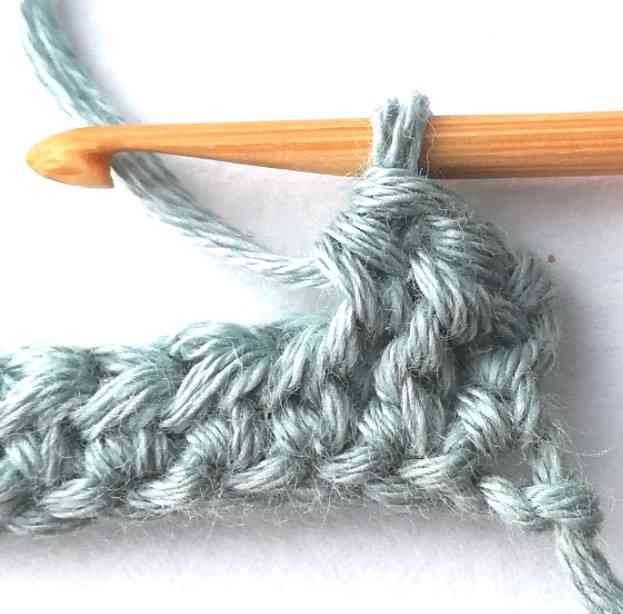

12. Now make another half double crochet third loop only in the front in the next stitch.
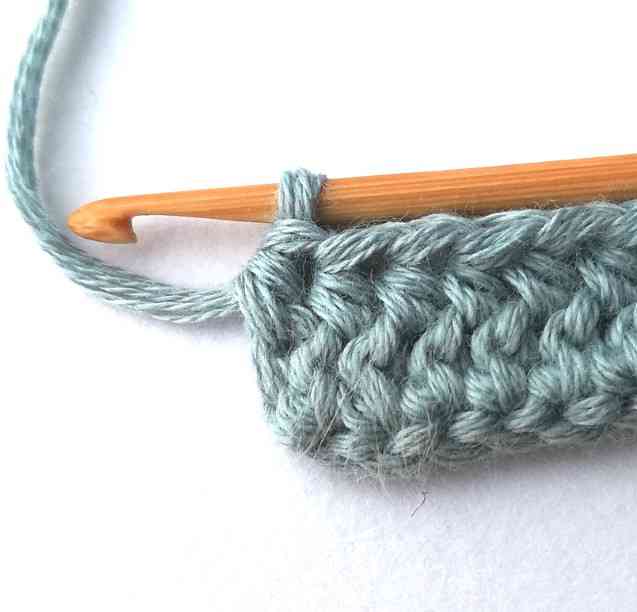

13. Continue working in the same way until the end of the row.
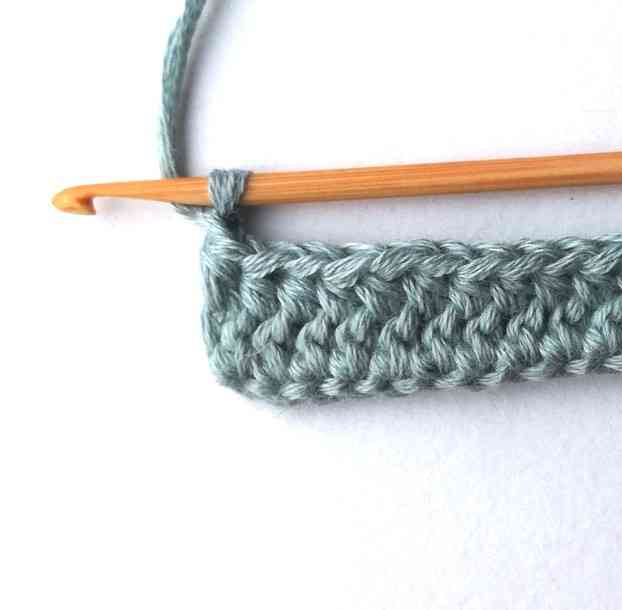

14. Chain one.
Row 3
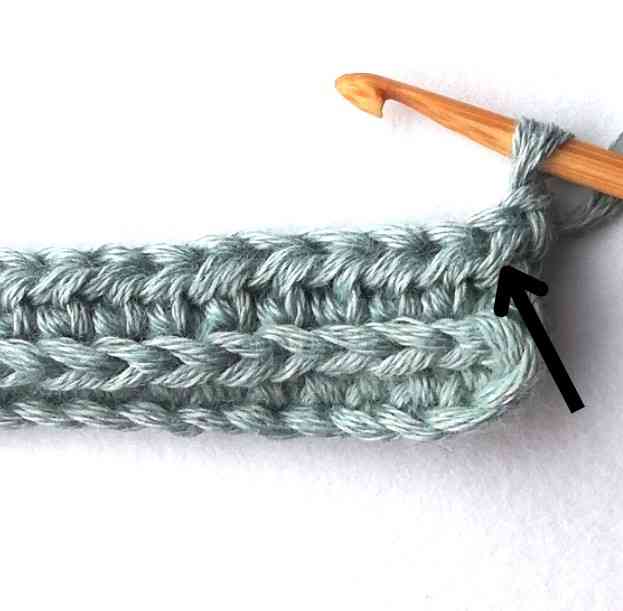

15. Turn your work around. Notice how the chain of the previous row is brought to the front. For the rest of the pattern repeat row 2.
Finished royal ridge crochet stitch
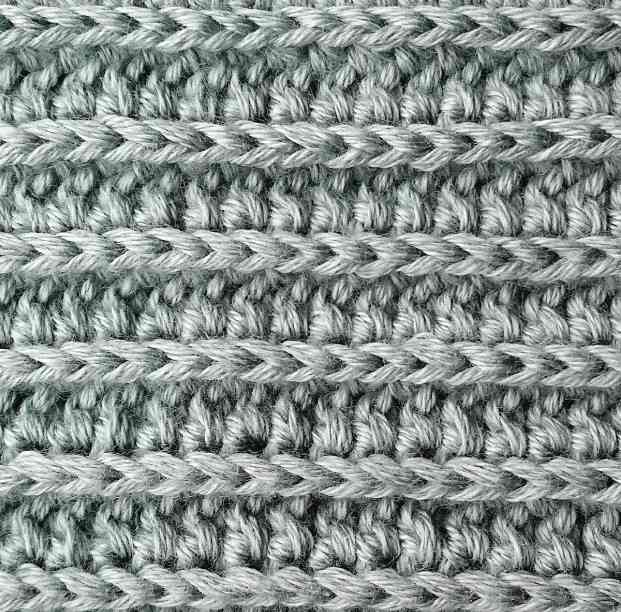

16. Done!
Save this tutorial to your Pinterest crochet board here.

