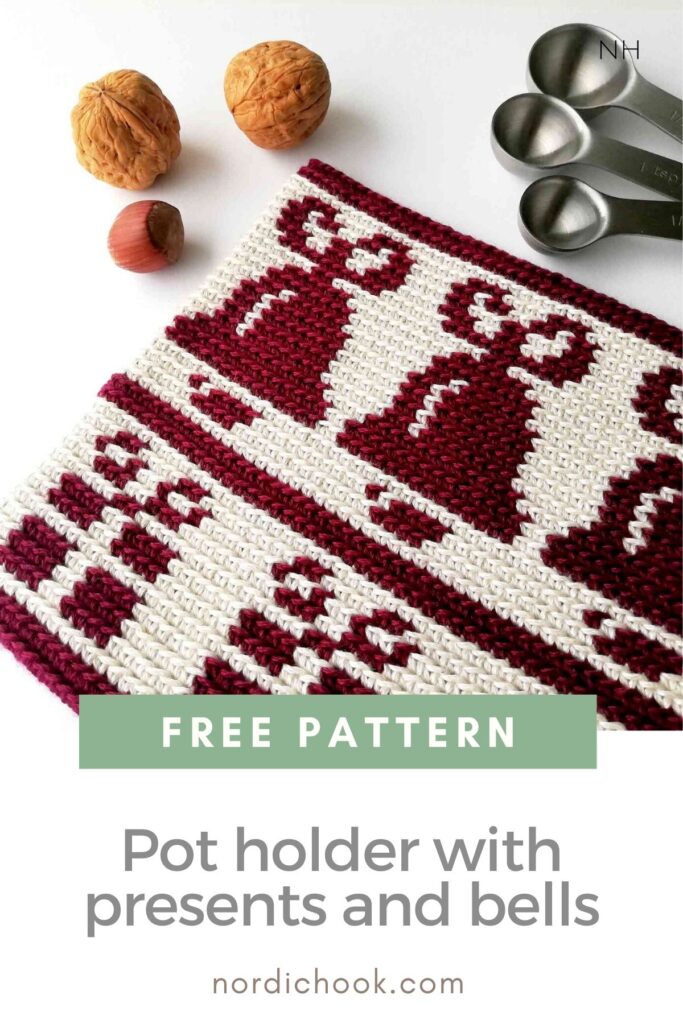
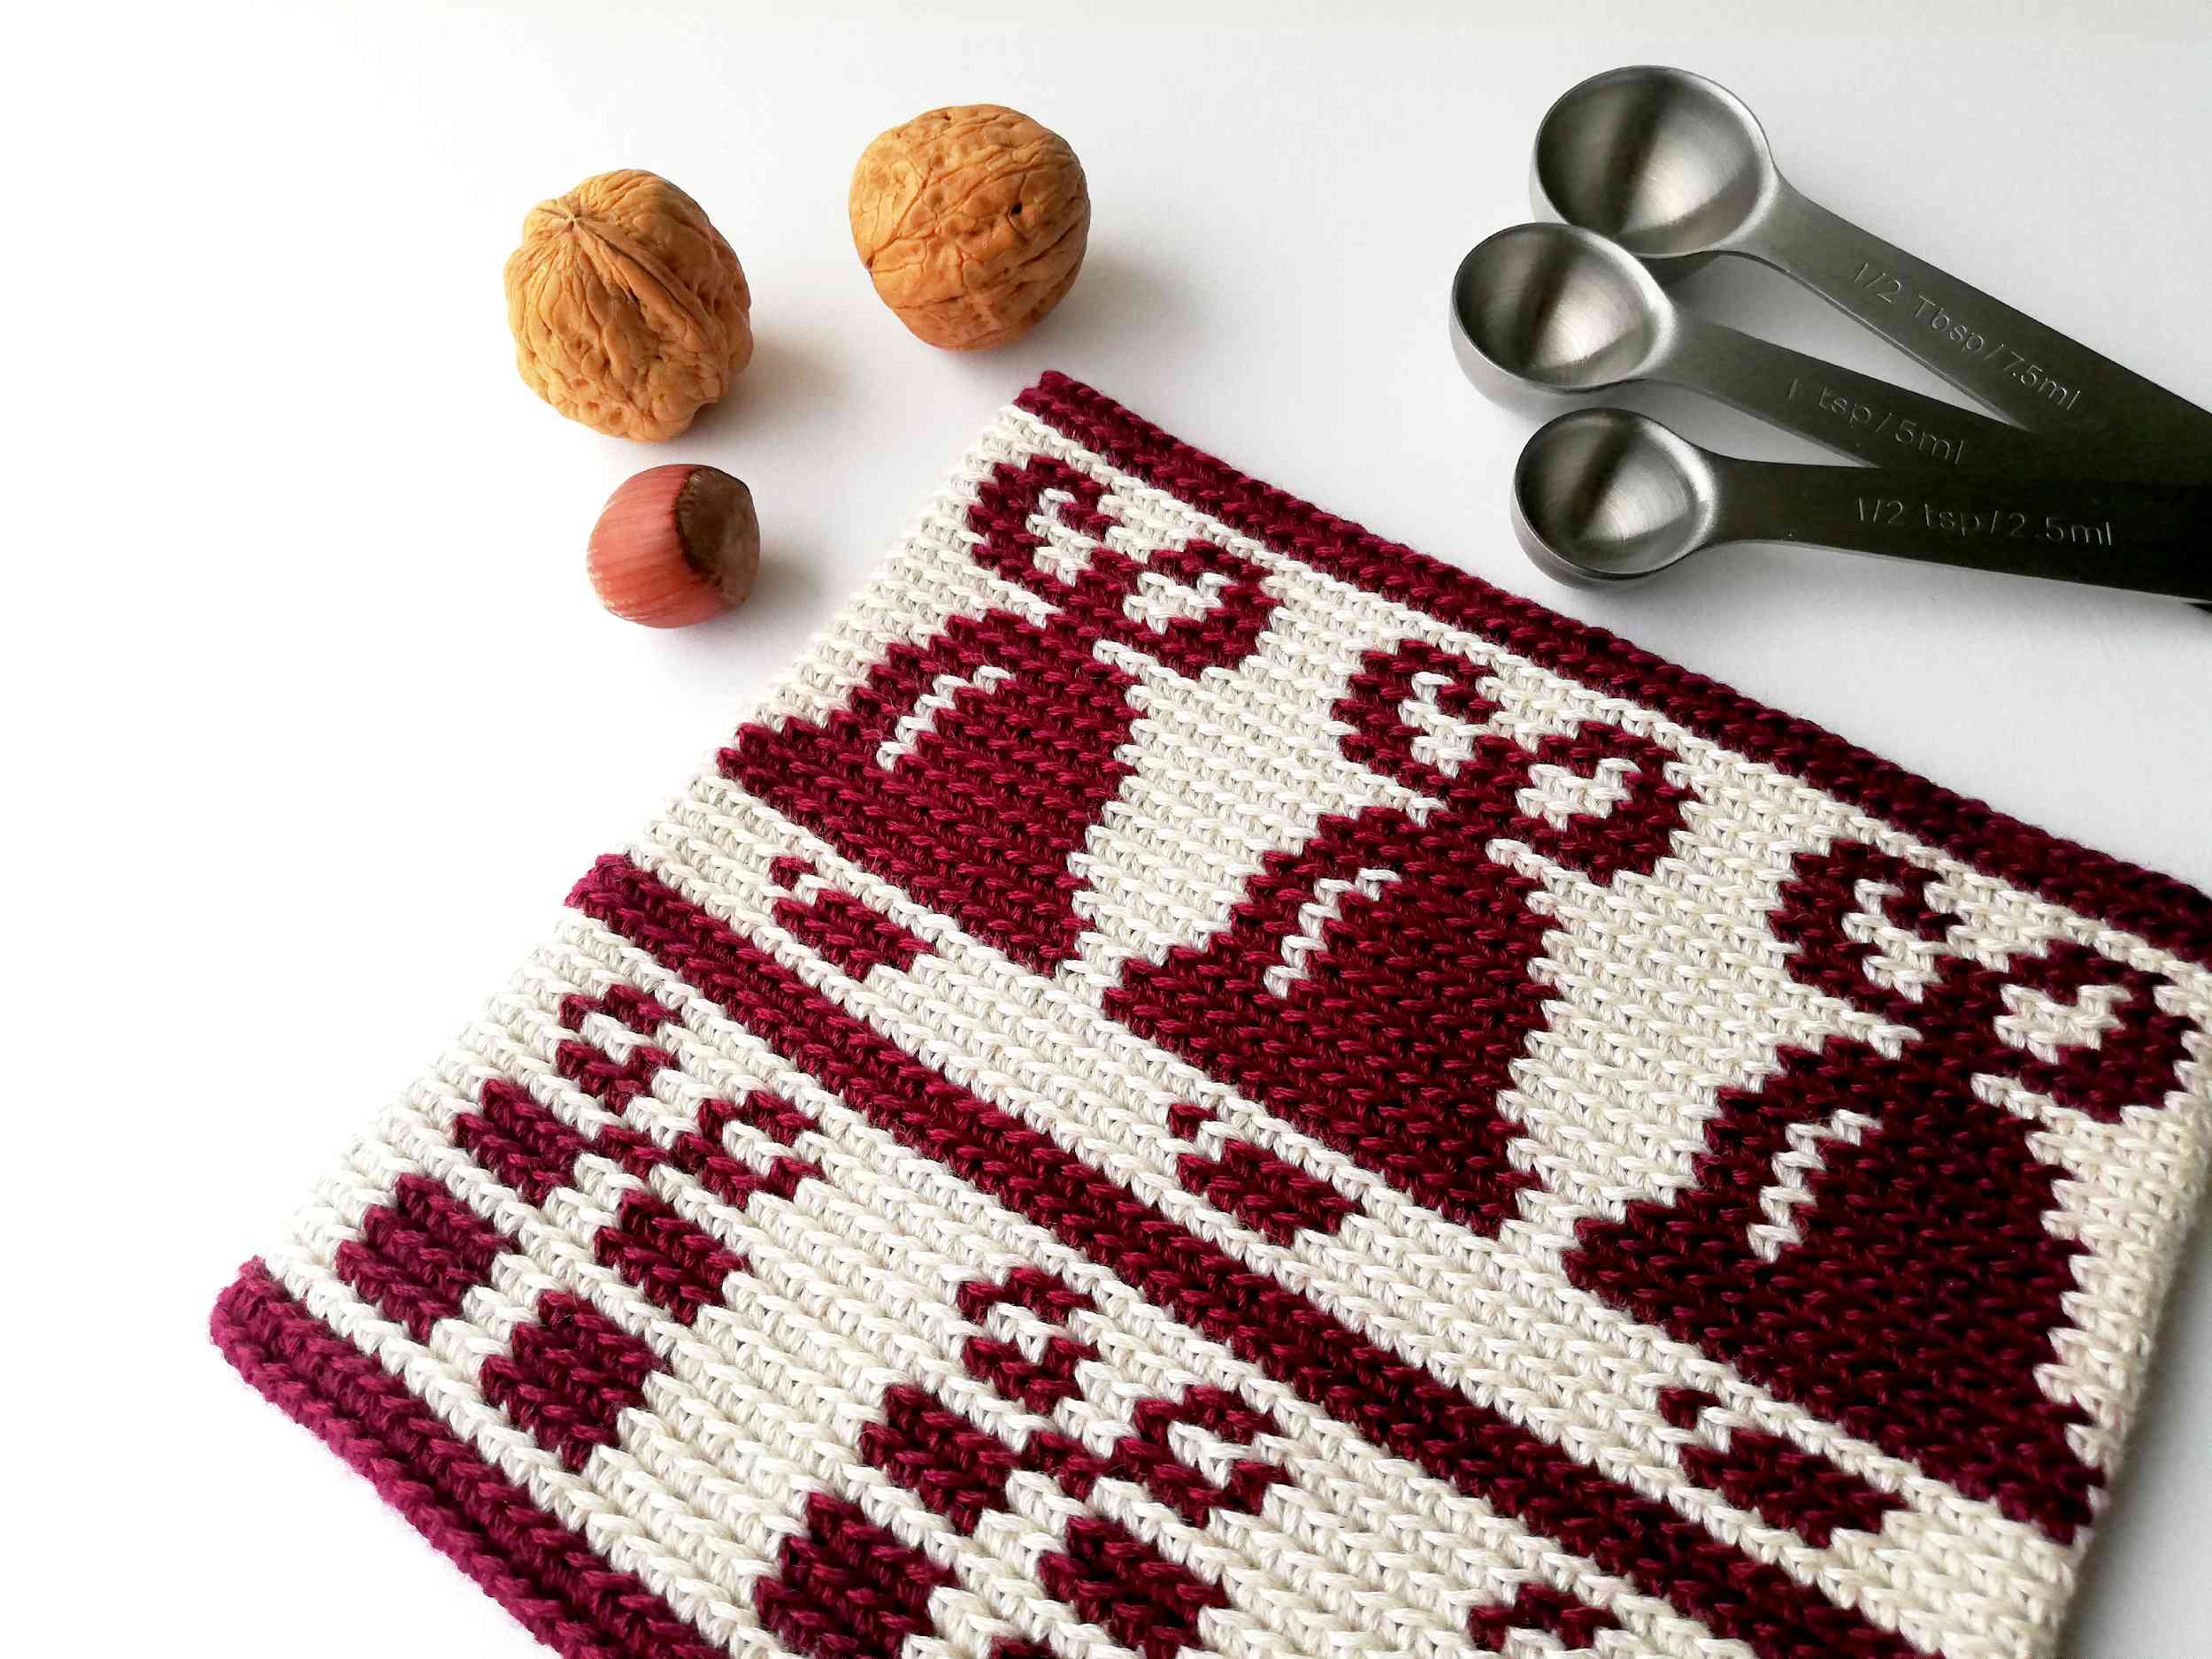
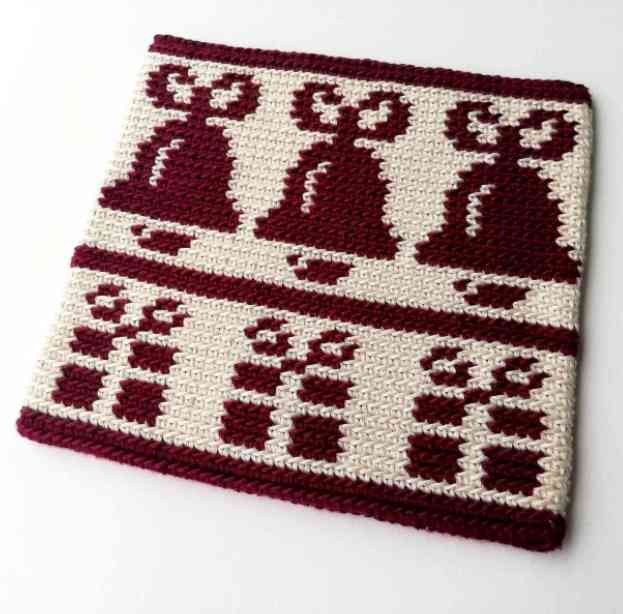
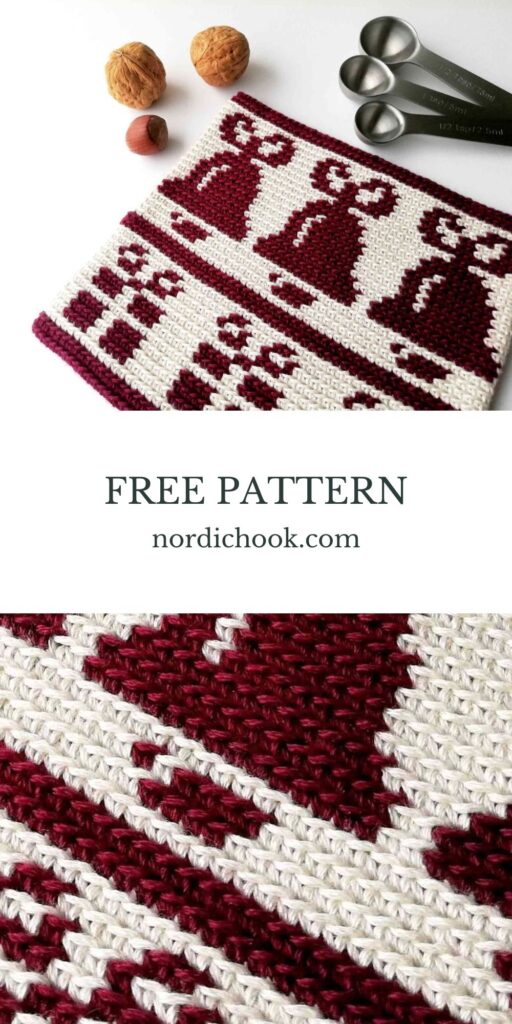
This is the fifth pattern from my Christmas Tales collection: a pot holder with presents and bells. It could be a great addition to your kitchen. This pot holder is double sided and quite thick. However, if you would like to make it even thicker, just add some fabric inside before closing it up.
This post is a part of the Nordic Hook Advent calendar. From December 1 to December 24 I will be posting one free Christmas crochet pattern per day. So stay tuned! 😉
Good luck!
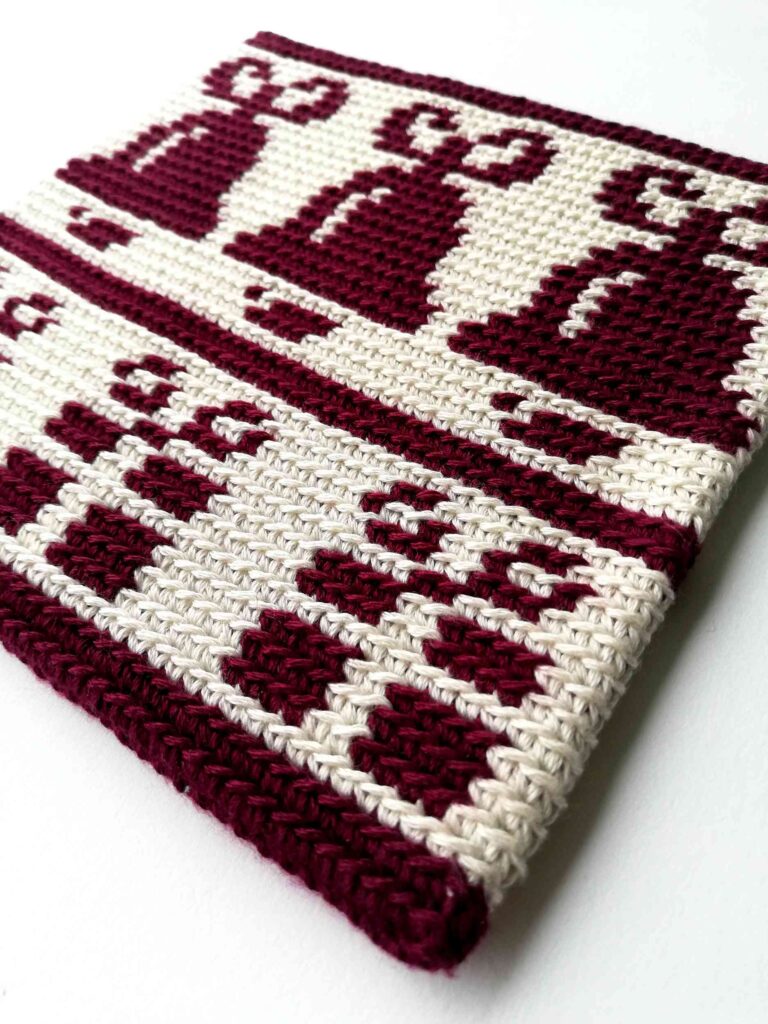

Pot holder with presents and bells
Pinterest: You can save this to Pinterest for later here.
Materials
- Yarn: any thin yarn will work (mercerized cotton works great in tapestry crochet projects). I used Tencel 100% lyocell, 50 g = 141 m, colors: red (318291) and white (318290).
- Hook: as suggested on your yarn label. I used hook size 2.0 mm.
Abbreviations (US terms)
- ch: chain
- sl st: slip stitch
- sc: single crochet
- msc: modified single crochet
- prev: previous
- st: stitch
- rep **: repeat from * to *
Notes
The size of my pot holder is 15.5 x 15.0 cm. You will be working in rounds. For this pattern you should be familiar with the tapestry crochet (you can find the tutorial here). Photo instructions below show the main steps how to make a pot holder. This pattern uses a modified single crochet: make a single crochet back loop only, just instead of yarning over for the last step, yarn under (see the tutorial here).
For this pattern you will work in continuous rounds, which means that in the end of a round you don’t join with a slip stitch, but instead continue making modified single crochets in the top of the first stitch of the round. Remember to use a marker showing the beginning of each round. Follow the color chart showing how you should change colors.

Pattern
Start by chaining 48 with red yarn.
Round 1: To make the first round, you will be working down the chain, then turn and work in the other side of the chain. Make sc in every st of the chain starting from the second chain from your hook. Turn. 1 sc in the end of the chain, make sc in every st (starting with the one you have just worked into; now that st has 3 sc in total) until you come back to the beginning of the chain. 1 sc in the end of the chain. In total you should have 96 st. Don’t join with a sl st, instead continue with the next round.
Introduce the white yarn.
Round 2-39: msc in every st of the prev round. (96 st)
Even out the edge by making 4 sl st in the back loop only, fasten off and close the pot holder.
Color chart
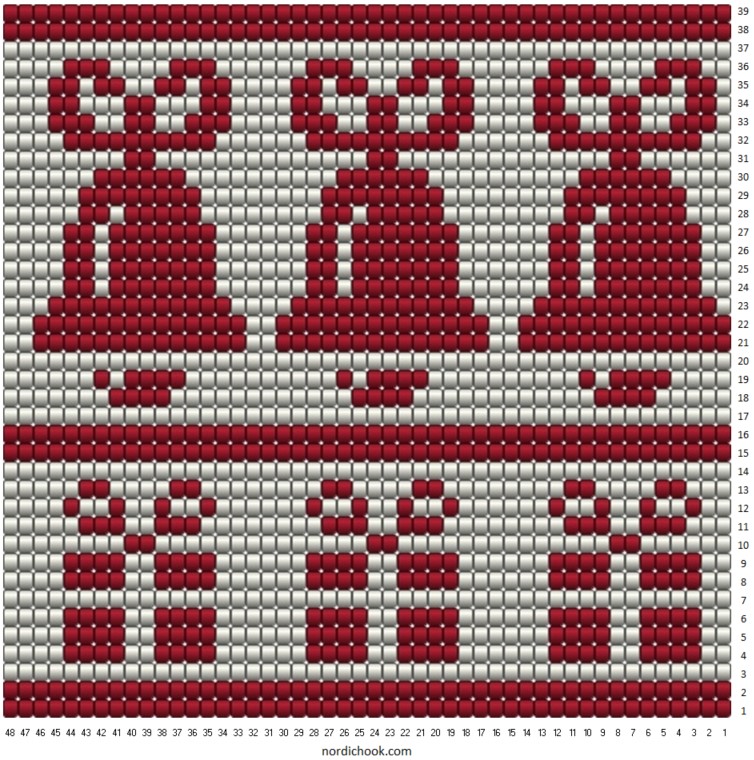

How to read the chart
Each square represents a stitch and its color. The chart represents a half of the pattern: the first 48 stitches (48 columns in the chart) in a round. Stitches 49-96 are the same as 1-48. Rows represent rounds (there are 39 rounds). For each round you have to read the row in the chart from right to left.
You can find a more detailed tutorial explaining how to read a color chart and when and how to change yarn color here.
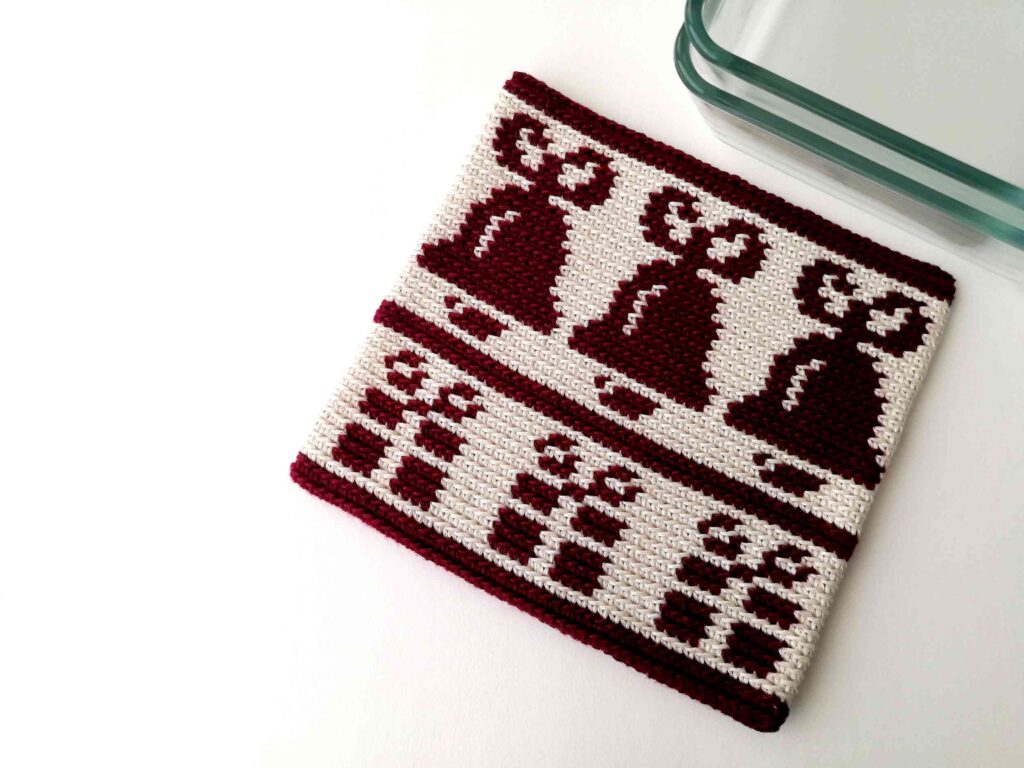

Photo instructions for the pot holder with presents and bells
Round 2
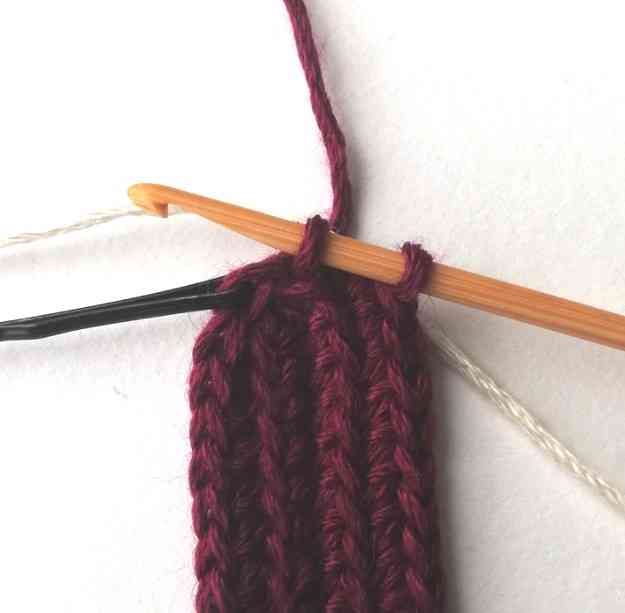

1. See general photo instructions showing how to start a pot holder here and the instructions showing how to introduce yarn here. The first stitch in round 3 is white, therefore don’t complete the last stitch in round 2, stop when you have 2 loops on your hook.
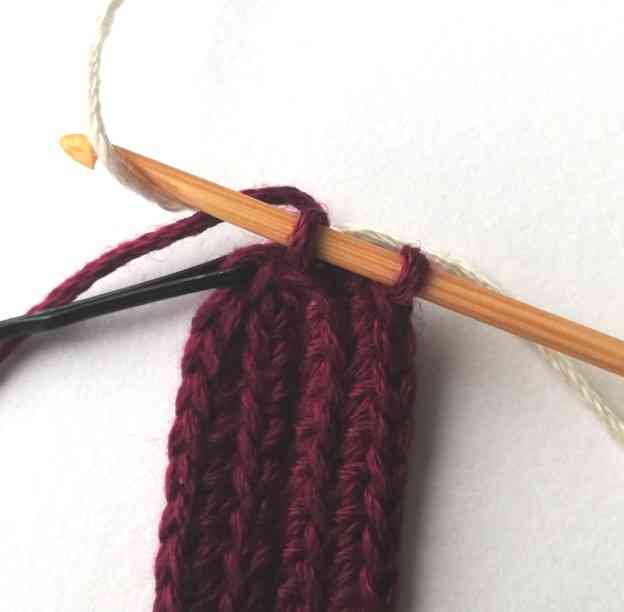

2. Then move the white yarn up and yarn under.
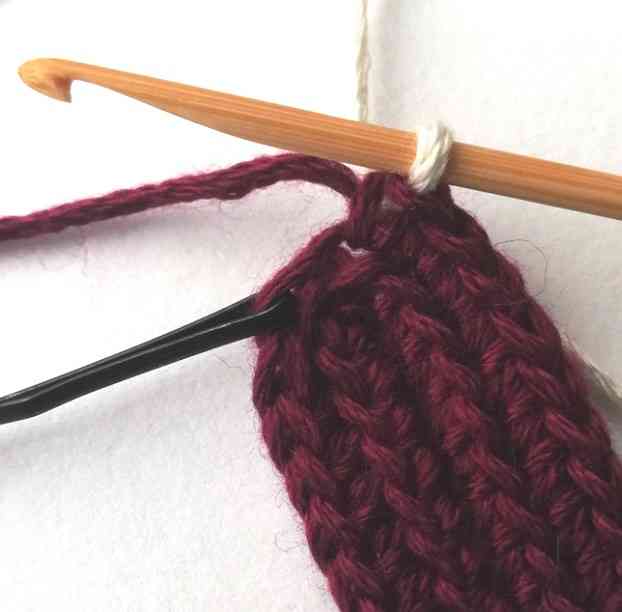

3. Pull the yarn through. Now the white yarn is ready to be used.
Round 3
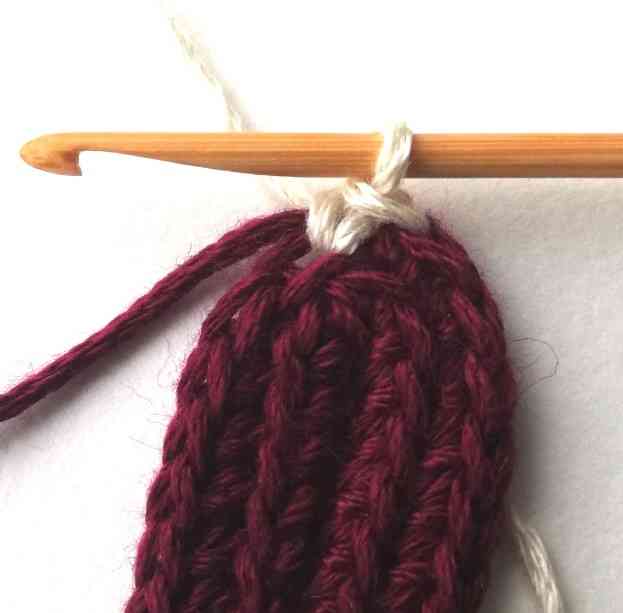

4. Make the first stitch in round 3 with the white yarn. Continue to work with the white yarn.
Round 4
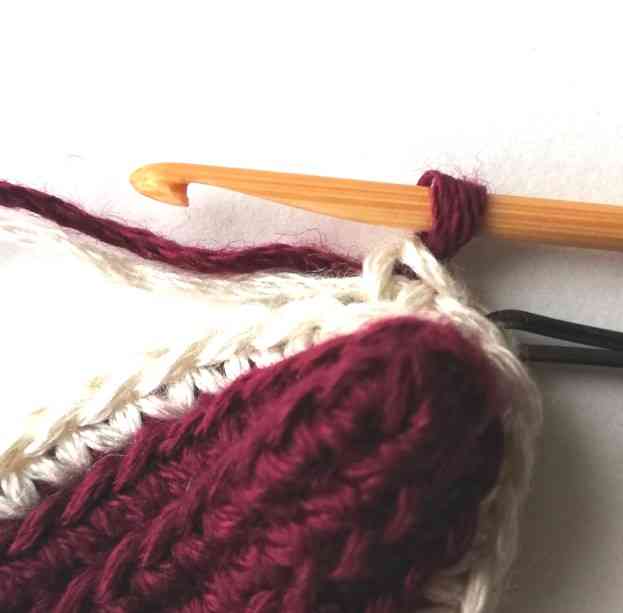

5. The third stitch in round 4 should be red. So, complete the second stitch with the red yarn.
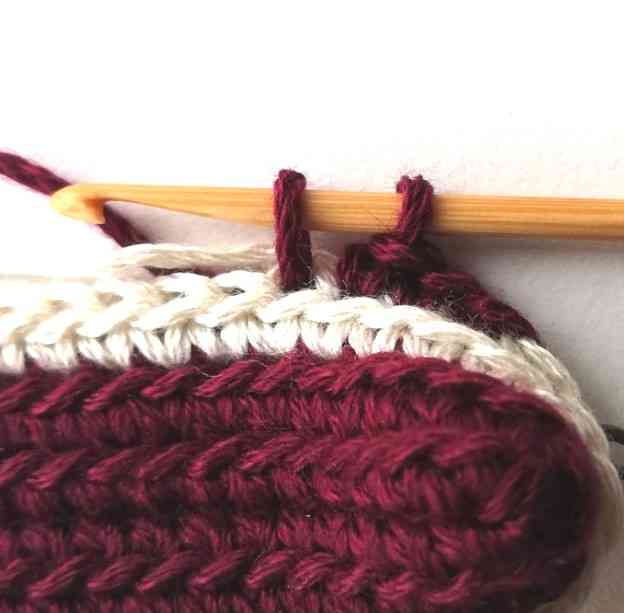

6. Then make three full mscs with the red yarn, start making the fourth one, but stop when you have two loops on your hook.
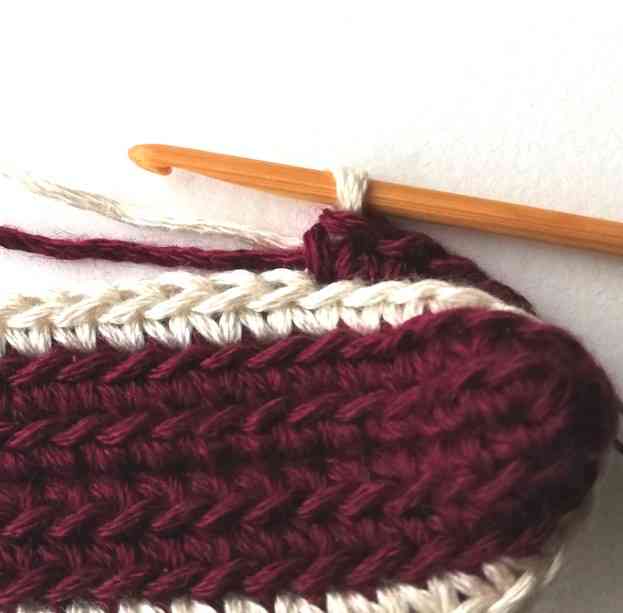

7. Complete the sixth stitch with the white yarn, because the next stitch should be white again.
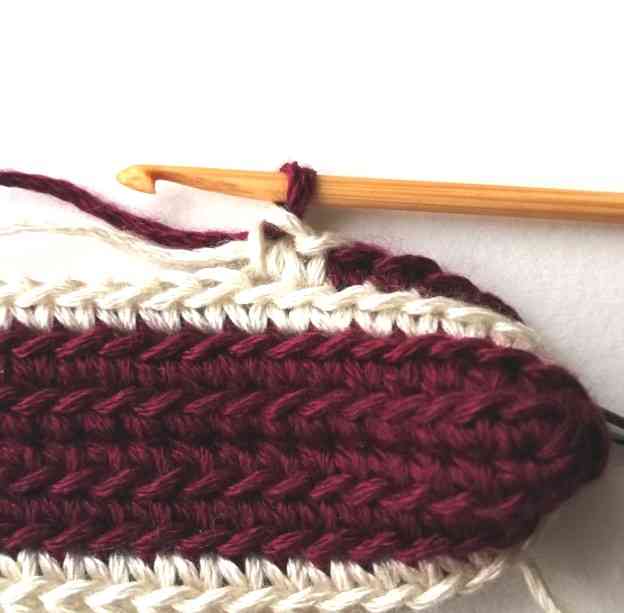

8. Continue to follow the color chart.
Round 25
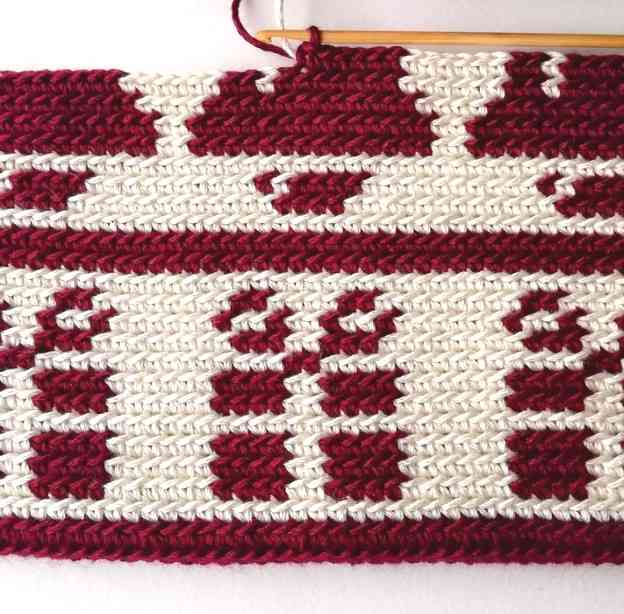

9. After a while the pot holder will look like this.
Enjoy your pot holder with presents and bells!
If you would like to have the whole collection as a book in PDF format right now, you can purchase it here.
You can save this pattern to your Pinterest crochet board here.
