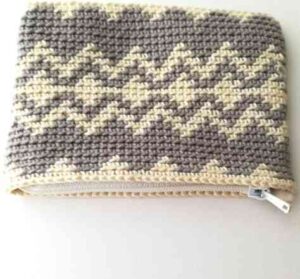
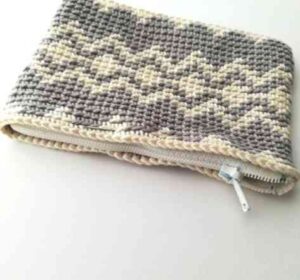
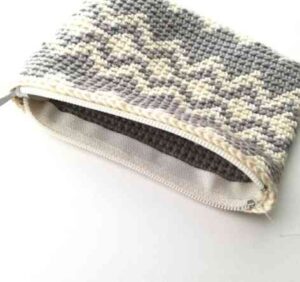
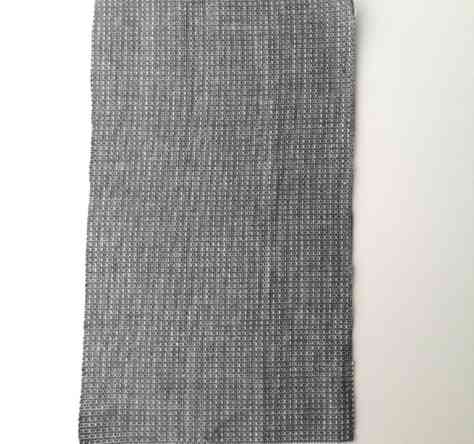
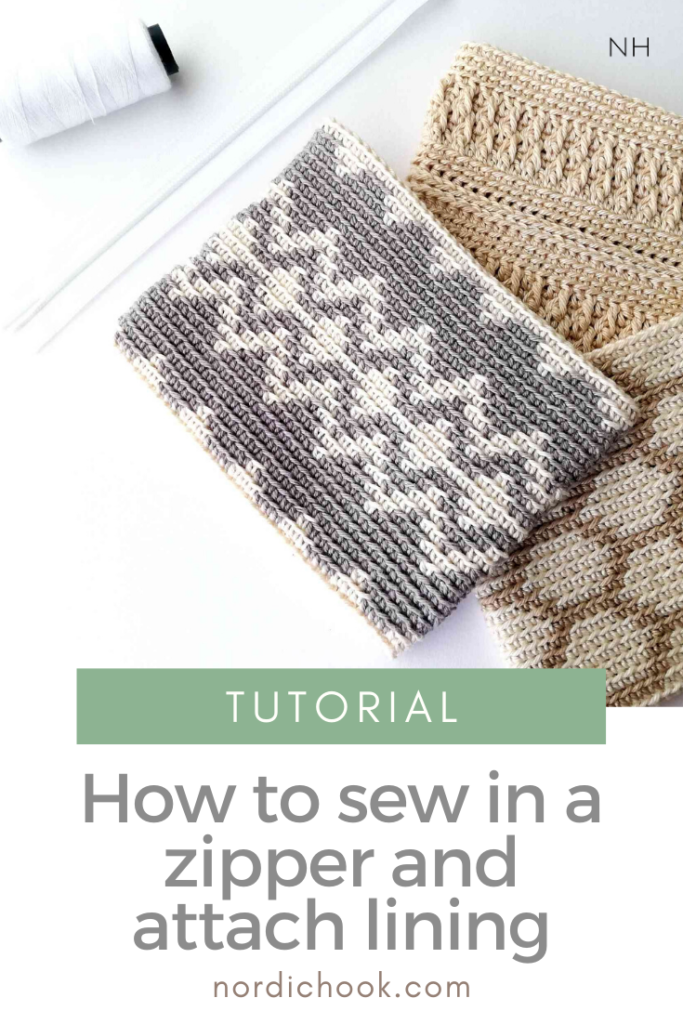
In this step-by-step tutorial it is shown how to sew in a zipper in a crochet pouch and attach lining to your beautiful pouch. For this tutorial you don’t need a sewing machine, everything is done by hand and the result looks great. All you need is a crochet pouch, a zipper, a needle, a thread, a few pins and some fabric. The tutorial is suitable for beginners.
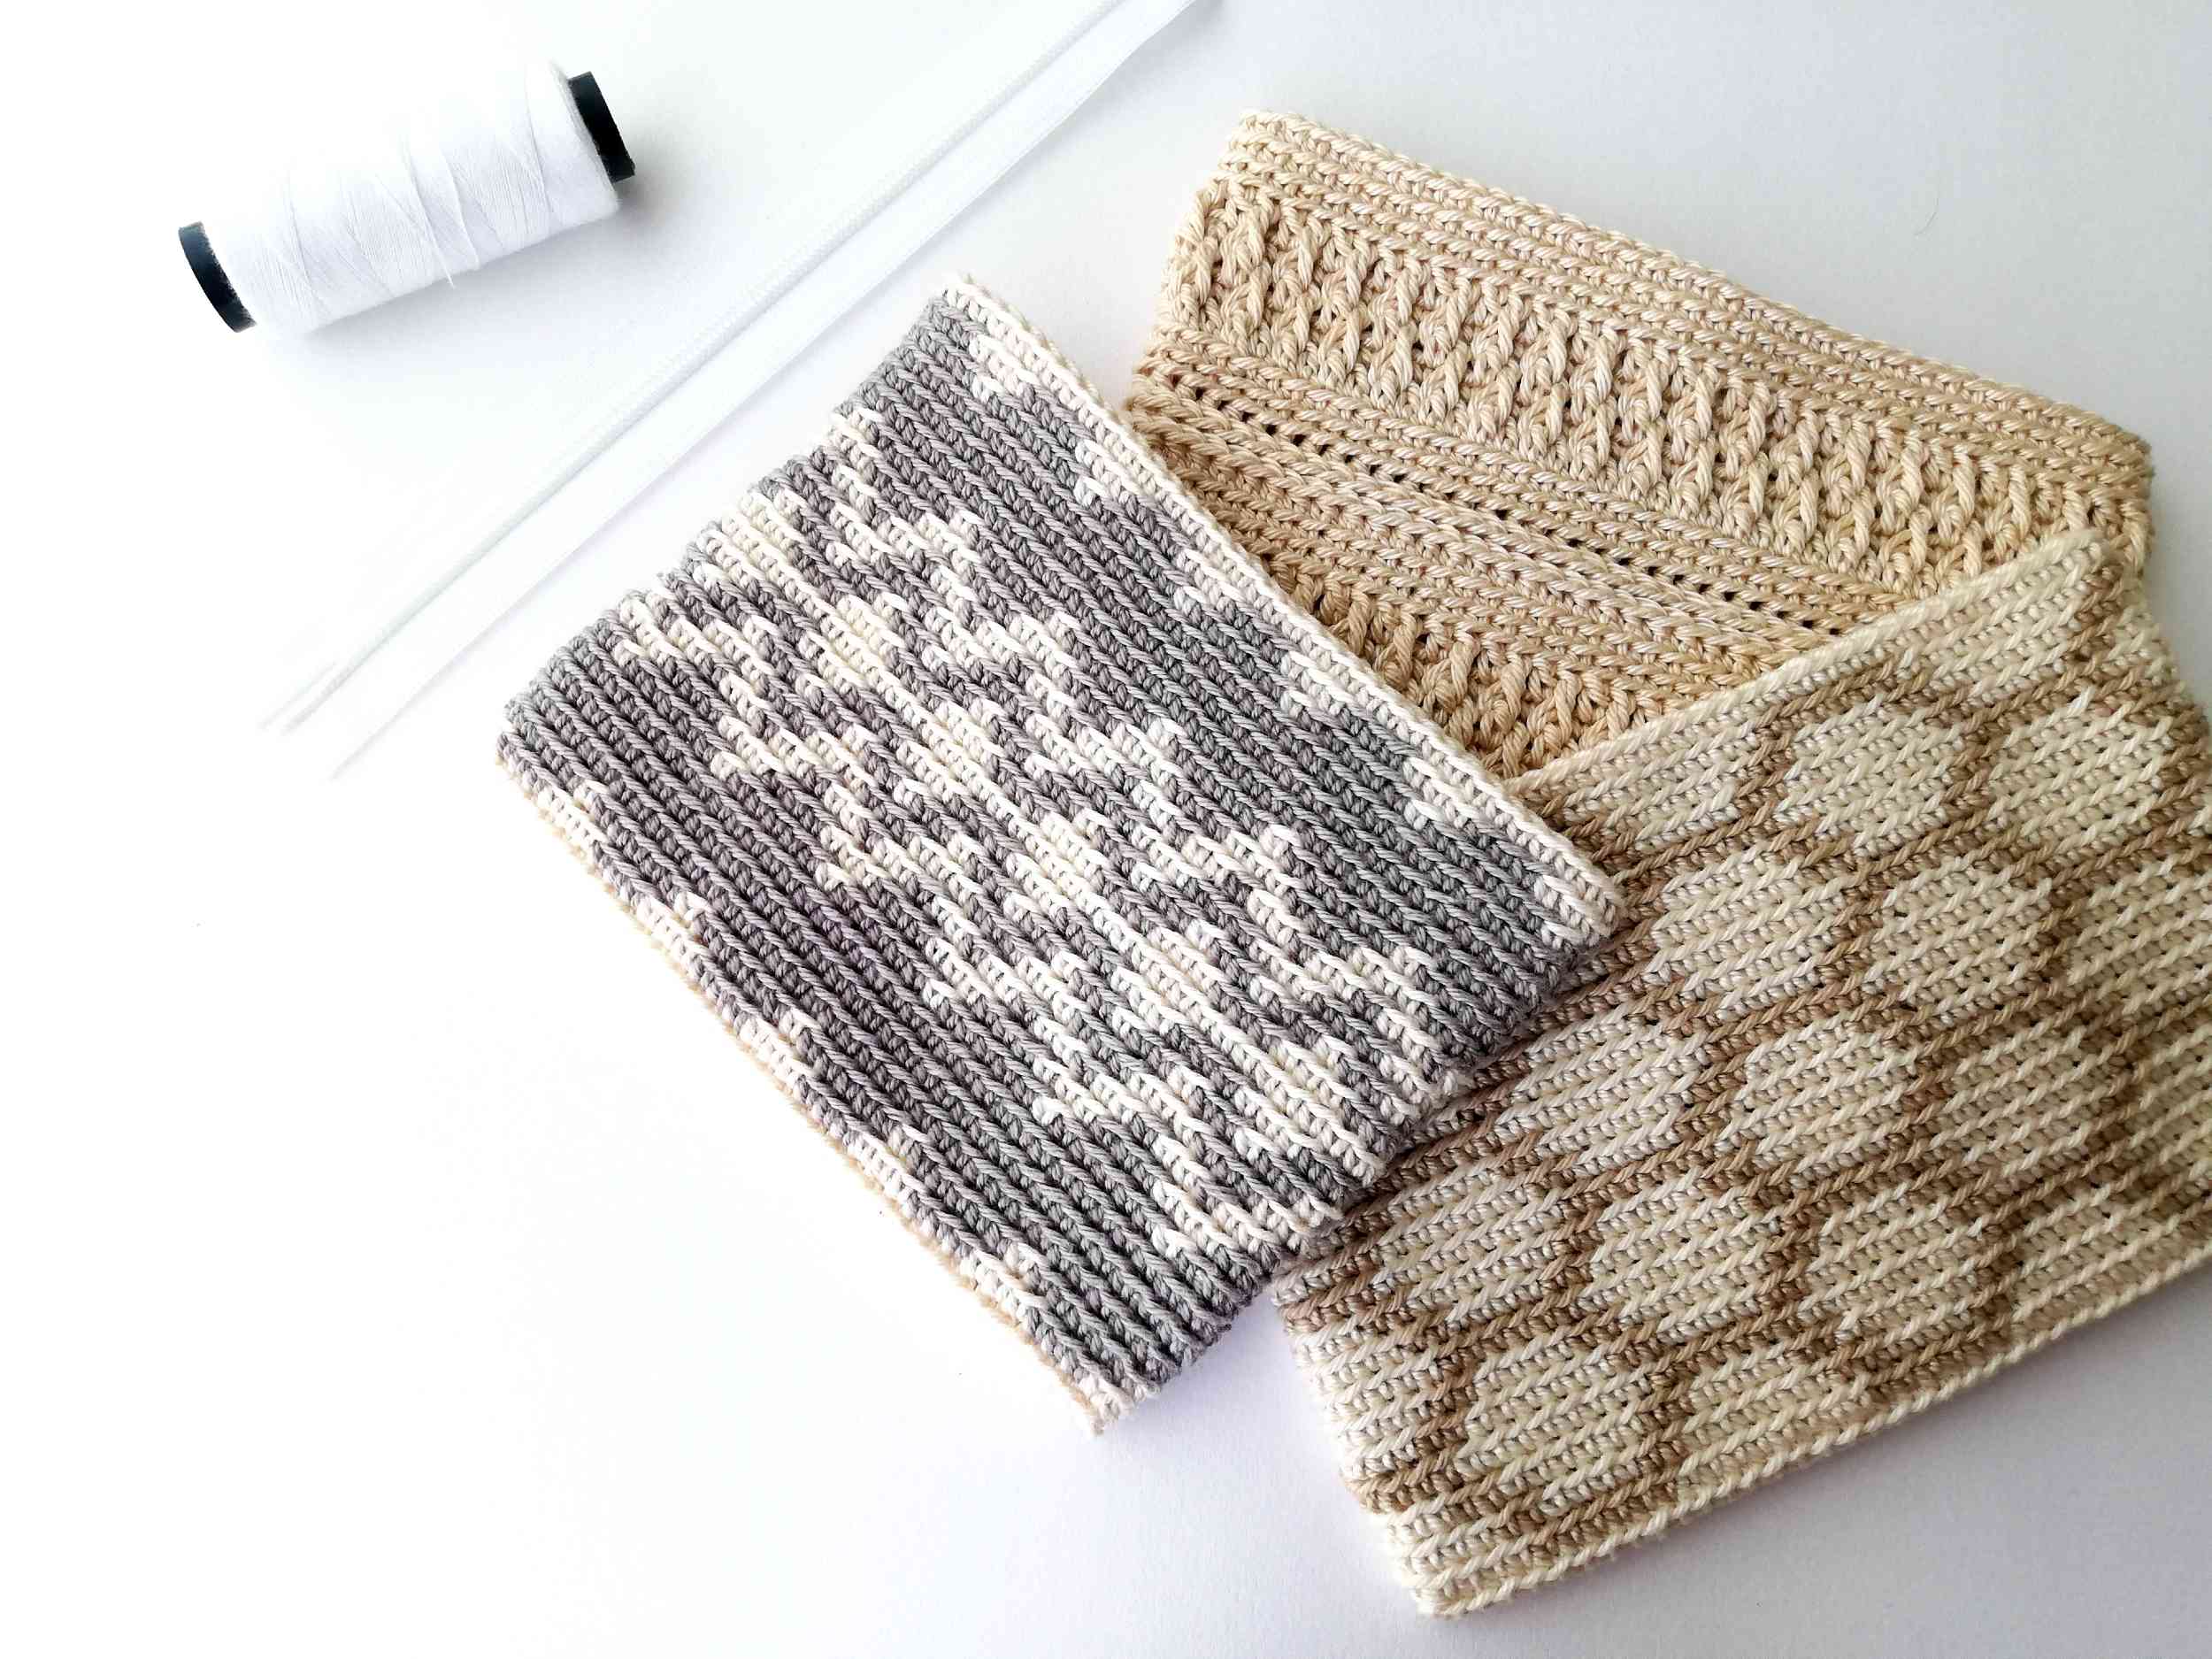
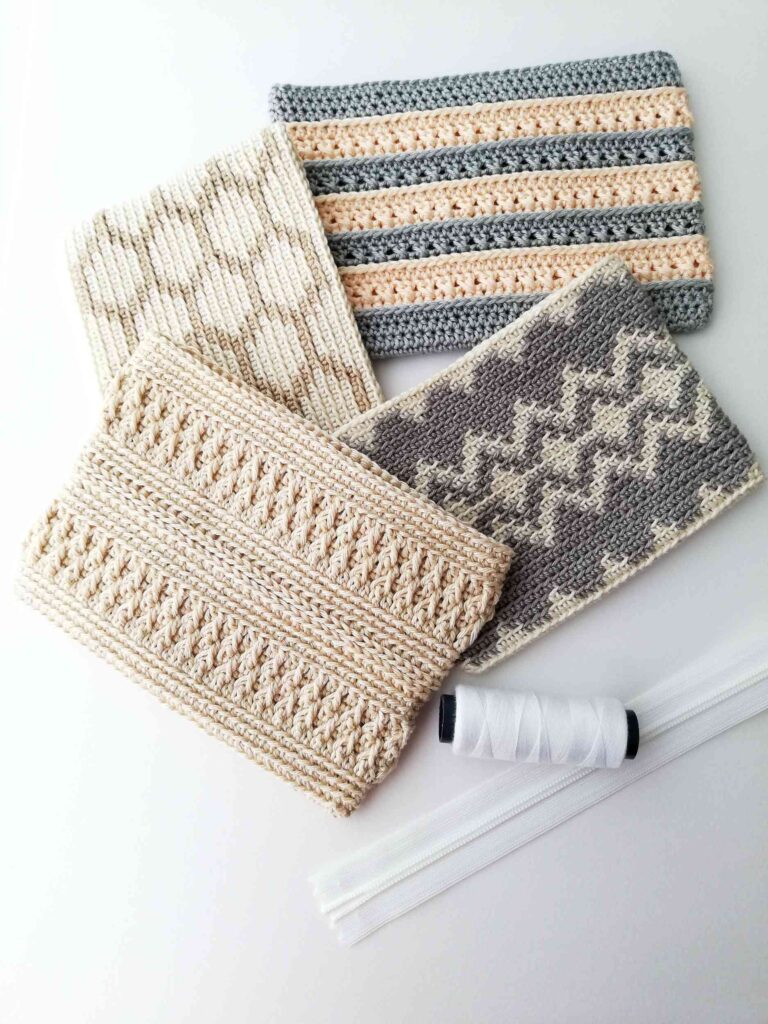
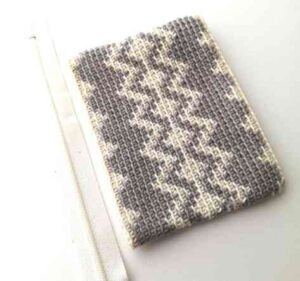
If you don’t have a crochet pouch ready, you can take a look at my free crochet patterns for a zigzag diamond crochet pouch, a honey pouch, an alpine stitch pouch, a cross stitch pouch and a textured striped pouch.
Nordic Hook Club
Join Nordic Hook Club and get access to one of the largest crochet stitch libraries! There you will find hundreds of ad-free downloadable crochet stitch tutorials that include detailed step-by-step photo instructions, concise written patterns and member-exclusive charts. Plus, you can download all Nordic Hook patterns, stitches and e-books for free! Read more about all the membership benefits here and sign up today.
Read more and sign up!You can save this tutorial to Pinterest for later here.
How to sew in a zipper in a crochet pouch
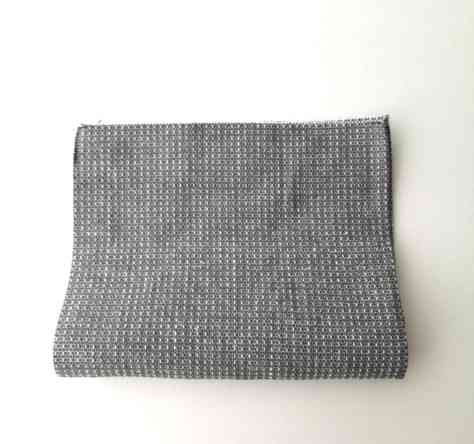
1. Start by taking your crochet pouch and a zipper. If your zipper is longer than the pouch, don’t worry, it can be adjusted.
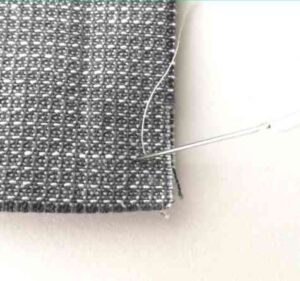
2. To adjust the length of the zipper, put it next to your pouch and decide where you want your zipper to end. Then take a needle with thread and insert it where your zipper should end like it is shown in the picture.
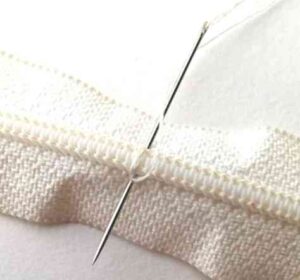
3. Make several loops (be generous) to secure the new end of the zipper.
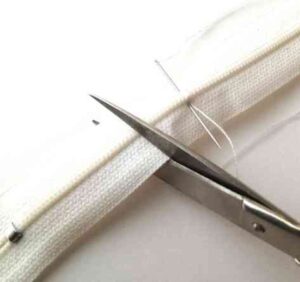
4. Cut the rest of the zipper that you don’t need. I suggest to leave at least about 1 cm from the place you were securing the end.
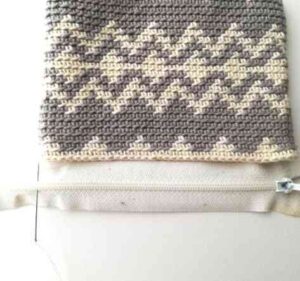
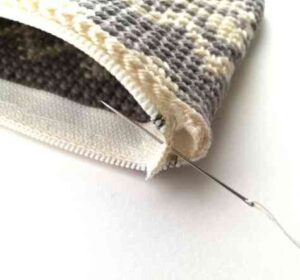
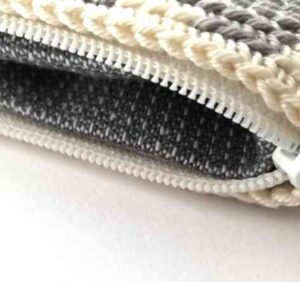
5. When the zipper is the right length and ready to use, insert its end in the pouch as it is shown in the picture.
6. Next fold it to align with the pouch.
7. Now you have to fold in the sides of the zipper and insert it in the pouch. This part can be a bit tricky, but have patience and take your time.
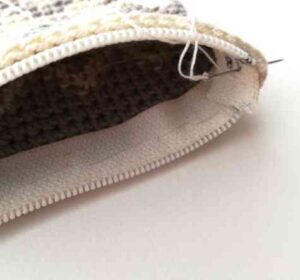
8. When the zipper is in place, secure it with pins on both sides of the pouch.
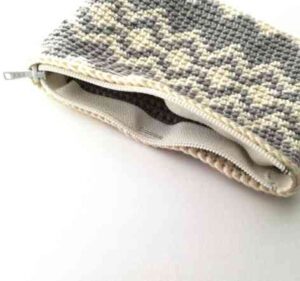
9. Open the pouch.
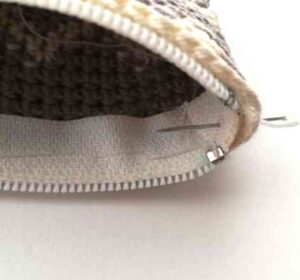
10. Take the needle with thread and sew around in big steps to secure the zipper. You don’t have to be very delicate, it is just for securing the zipper, you will remove this tread later.
11. When your zipper is secured with that thread, you can remove the pins. Check if you can close and open your pouch easily and if it is not twisting. If you are happy with the result, move to the next step. If not, remove the thread and try once again.
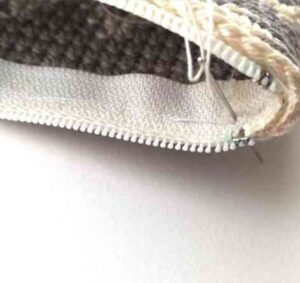
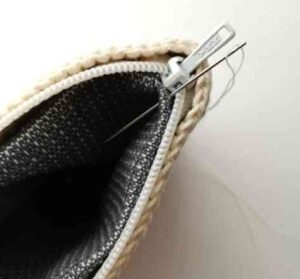
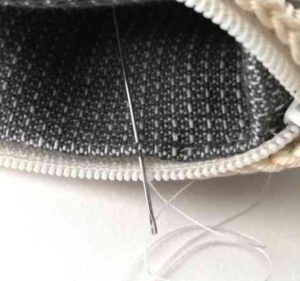
12. Next you will sew the zipper to the pouch. Choose the thread that is in a similar color to your pouch. For me, simple white thread works well for this pouch. If you don’t have a thread in the color you need, you can separate the yarn that you used for crocheting the pouch to make it a bit thinner and less noticeable. When you have the needle with thread ready, insert it in the end of the zipper from the “bad” side to hide the knot.
13. Pull the thread through and insert the needle from the “good” side and go through the zipper and the pouch to the other side.
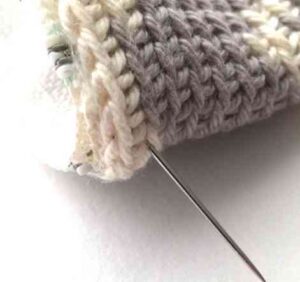
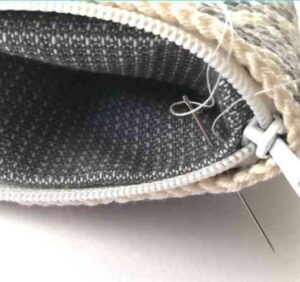
14. When you do that, try to insert the needle between the rows of the pouch. In this way the thread will be less noticeable.
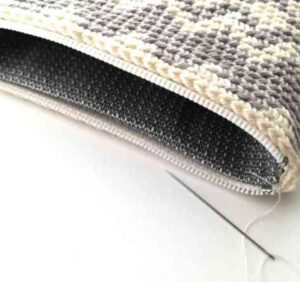
15. Now you should work in small steps around the pouch. So, insert the needle and go through the pouch and the zipper.
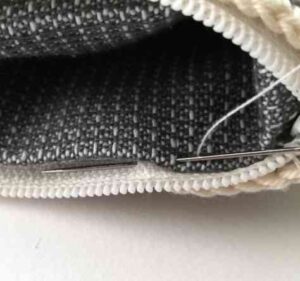
16. Keep working in small steps.
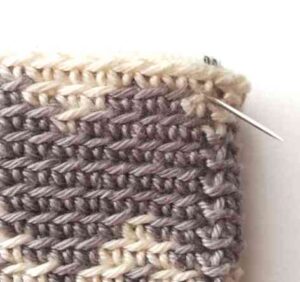
17. Remember to insert the needle in between rows.
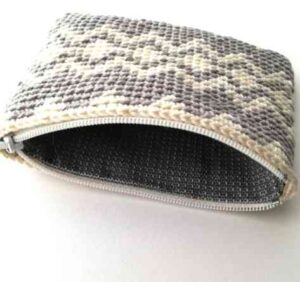
18. Keep going until you reach the end of this side. Then turn the pouch and keep going on the other side. Secure the thread (make a knot and cut the thread). Now you can remove the previous thread that you used for keeping the zipper in place.
How to attach lining to a crochet pouch
19. To attach the lining, start with cutting the fabric. You need a rectangle. The width of the rectangle is equal to the width of your pouch. The height of the rectangle is equal to the height of your pouch times two plus 2 cm. For example, the size of my pouch is 12.5 x 9.5 cm, thus, the size of my rectangle is 12.5 x 21.0 cm, because 9.5 x 2 + 2 = 21.
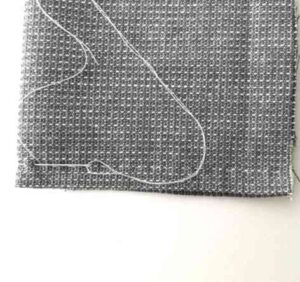
20. Fold the rectangle in two like it is shown in the picture.
21. Next, fold outwards 1.5 cm of each side like it is shown in the picture. You can iron the folds to keep a clear line for folding.
22. Now fold both sides back as it was before. You can see the line for folding, we will need it later. Now you have to sew the sides of this rectangle to make it look like a pouch. So, insert the needle like it is shown in the picture leaving about 6-8 mm from the edge.
23. Work in small steps along the edge.
24. Keep working until the end of this side. Secure the thread. Now do the same on the other side.
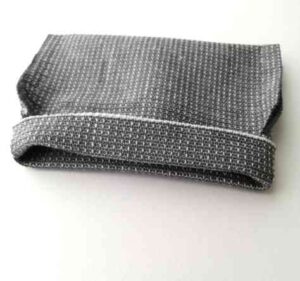
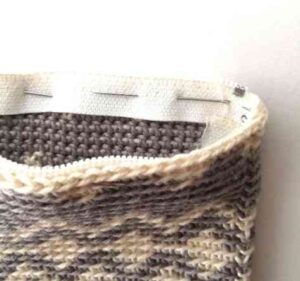
25. When both sides are sewn, fold the fabric along the line that you ironed before. It should look like a pocket and be a bit smaller than your pouch so it would fit inside.
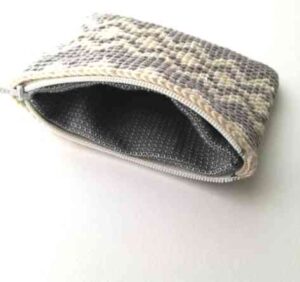
26. Next insert the lining in the pouch.
27. Try to align it nicely with the zipper, going just a bit below leaving enough space for the zipper to close.
28. Take the needle with thread and insert it from the “bad” side of lining to hide the knot.
29. Then you have two options how to proceed. The first method is to sew going through all three layers (the lining, the zipper and the pouch). In this case you insert the needle going all the way to the other side (again, try to go in between your crochet rows). You would choose this method if your thread blends in well with your pouch.
30. The second method is when you don’t go through all three layers but instead just grab the lining and the zipper like it is shown in the picture.
31. Go back to the inside of the pouch as it is shown in the picture.

32. Keep working in small steps until the end of this side.
33. Then turn the pouch and work the same way on the other side. Secure the thread.
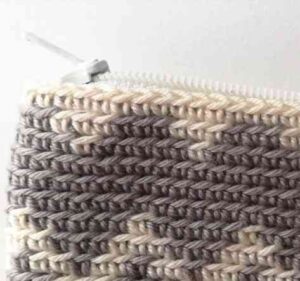
34. Done!
You might also like
There is much more to explore:
You can save this tutorial to Pinterest here.
Such a useful tutorial, thank you so much! Was looking for something like this.
I am glad that it was useful 🙂
Was very helpful for my first attempt at making a bag. Thank you so much!!!!!
You are most welcome, I am glad that it was helpful 🙂
This is a wonderful tutorial, I appreciated that it was for hand sewing 🙂
Thank you so much, I am glad it was useful 🙂