
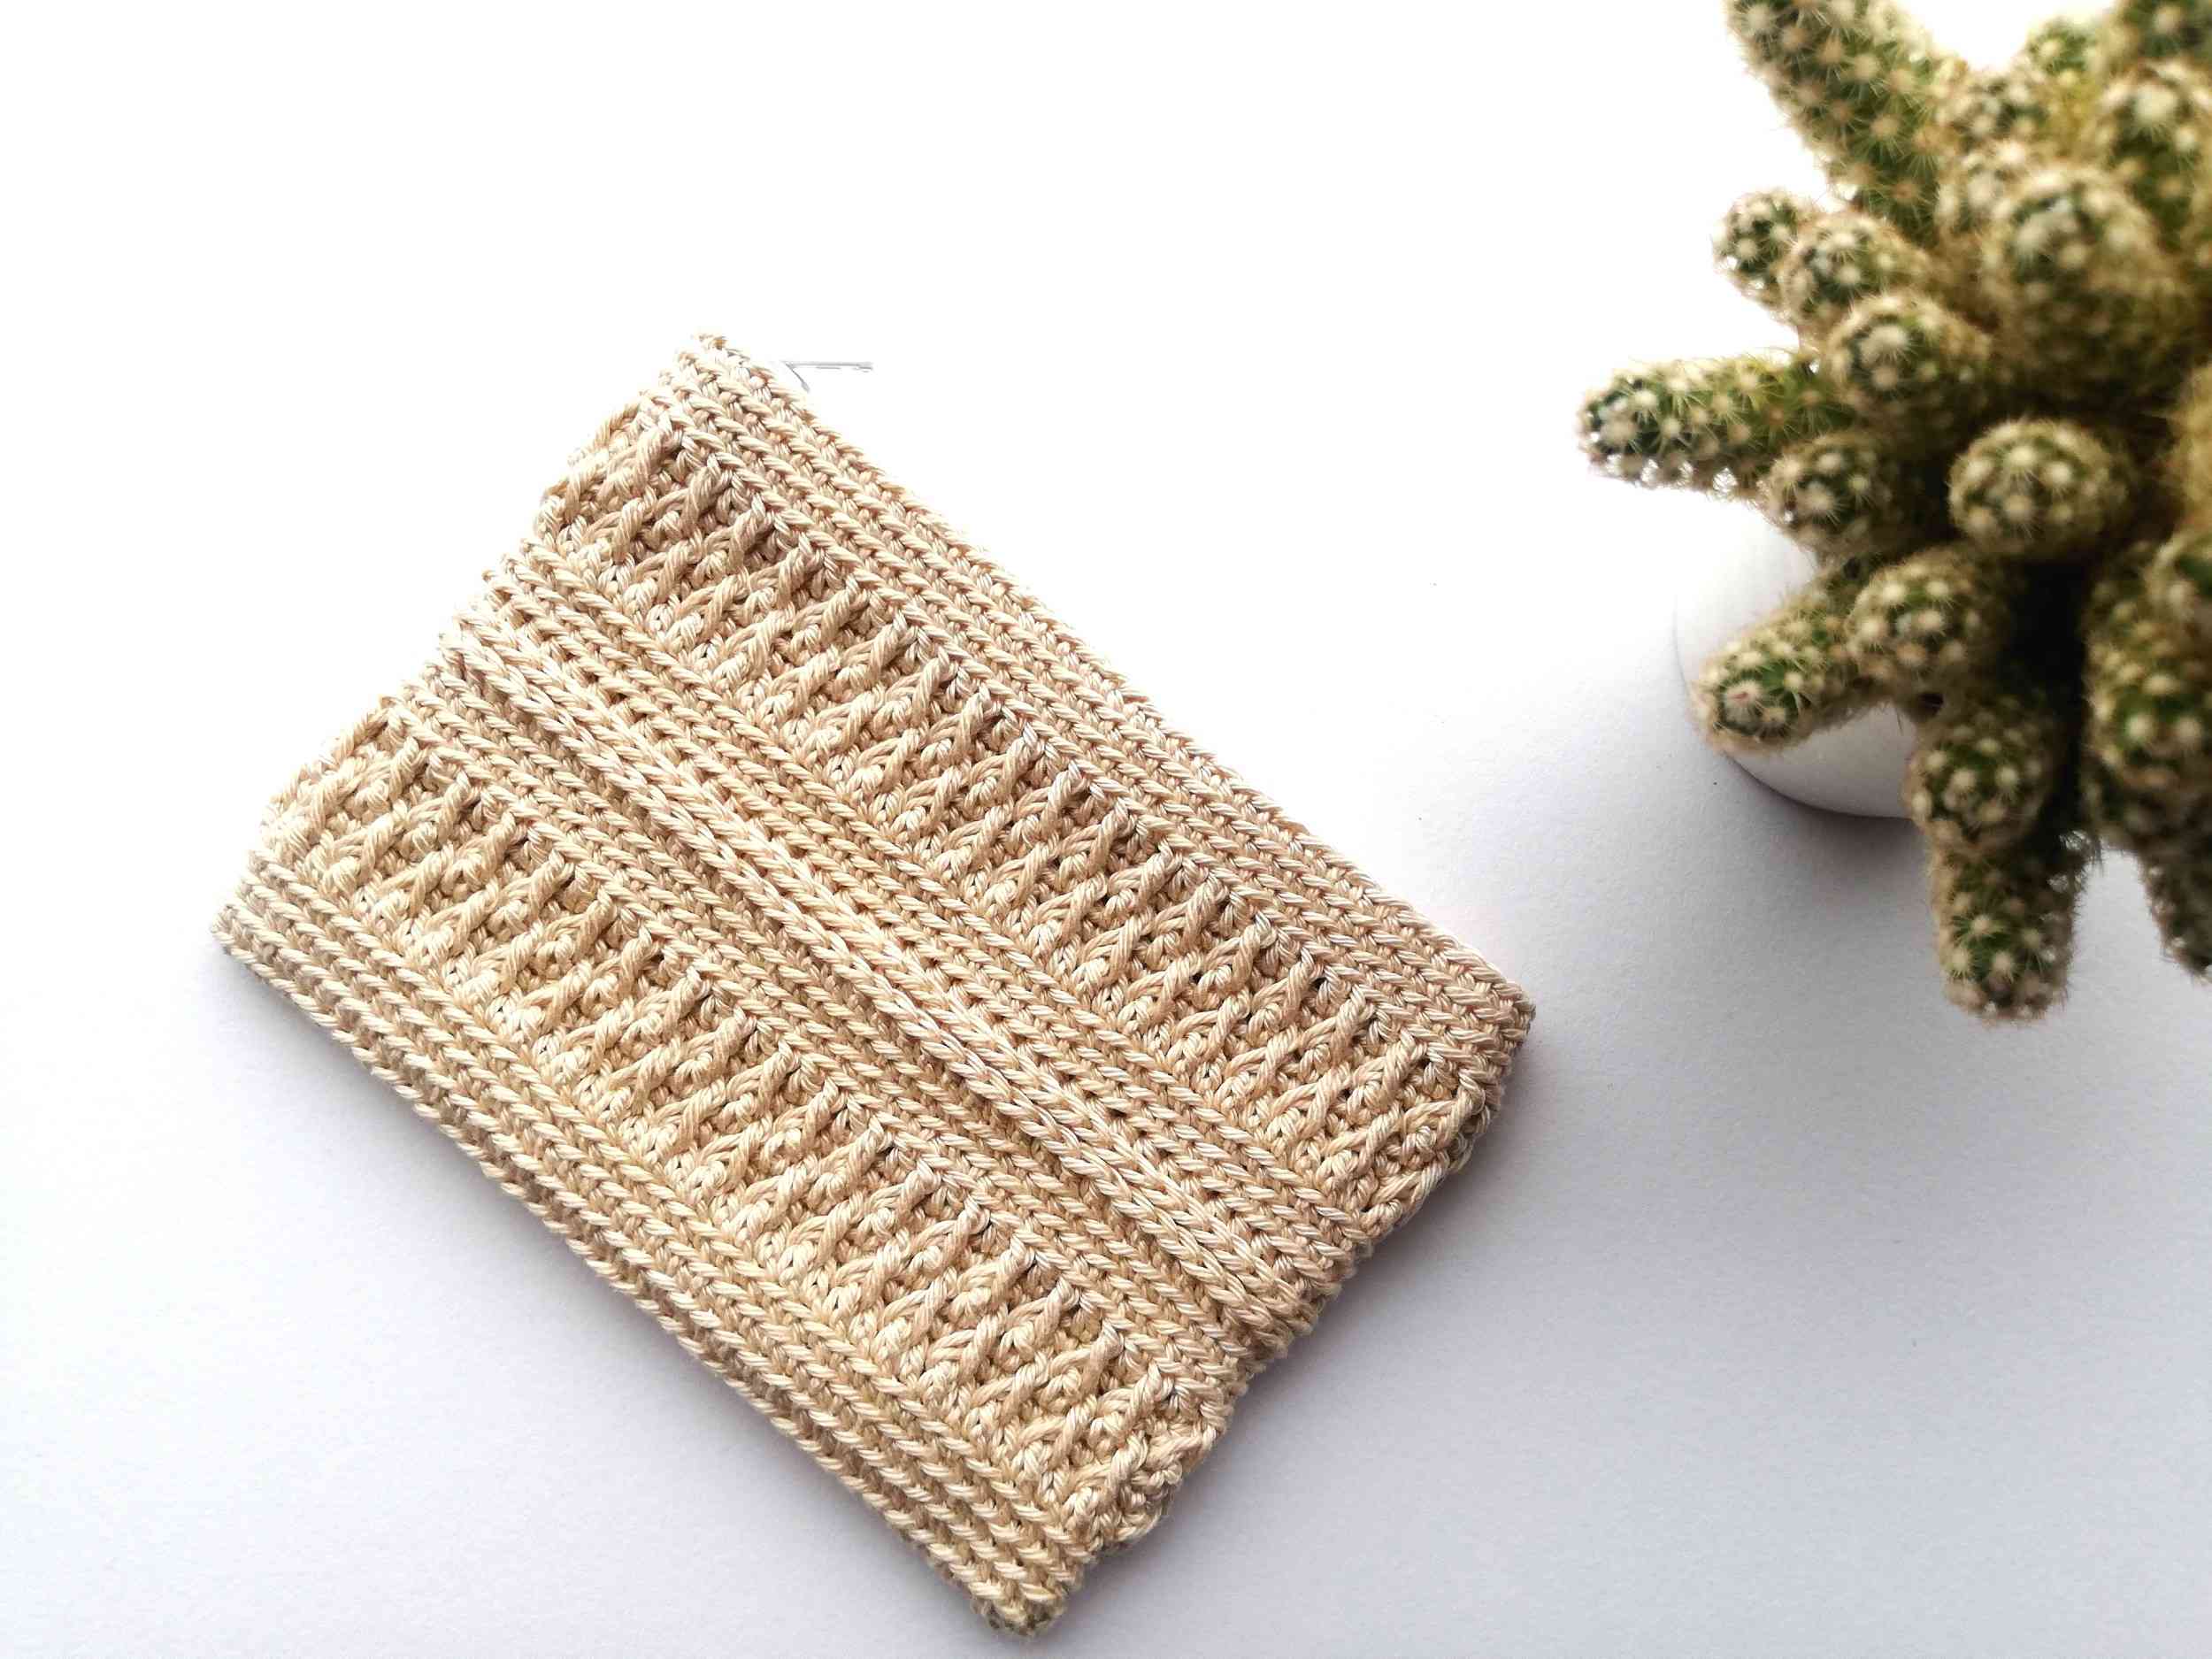
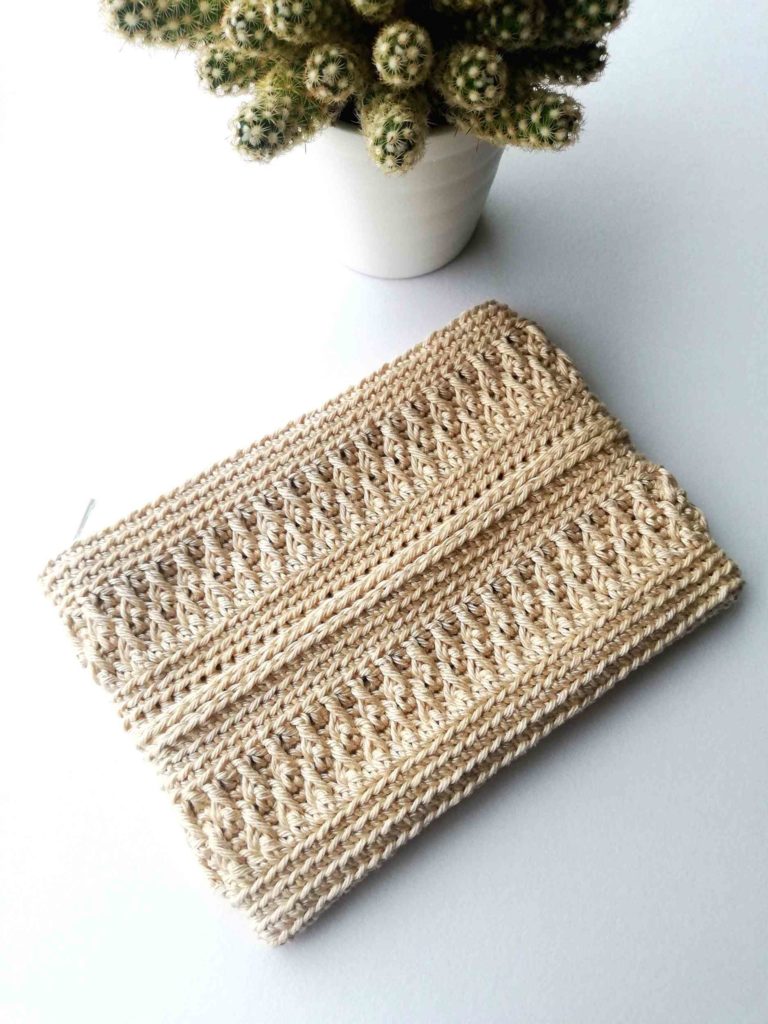
Here is a free crochet pattern for an alpine stitch bag. I used the alpine stitch some time ago for my small alpine stitch bag (you can find it here). This time I made a pouch with a zipper that you can use for cards, coins or makeup. Even though I combined several stitches, the pattern is quite easy and suitable for beginners. Also, you could experiment with colors and, for example, make the alpine stitch part in a different color.
The pattern includes a list of materials, abbreviations, notes, and a written pattern. If you would like to learn more about this technique, you can take a look at my tutorial here.
You can find my other free crochet patterns for bags and pouches here and more free crochet projects here.
Printable PDF
Join Nordic Hook Club and download the PDF pattern without ads for free! By joining the Club, you also get access to one of the largest crochet stitch libraries. There you will find hundreds of ad-free downloadable crochet stitch tutorials that include detailed step-by-step photo instructions, concise written patterns and member-exclusive charts. Plus, you can download all Nordic Hook patterns, stitches and e-books for free! Read more about all the membership benefits here and sign up today.
Read more and sign up!
Alpine stitch pouch
Materials
- Yarn: I use Madame tricote Almina 8/4 100% cotton yarn 50 g (sand). However, any thin cotton yarn will work.
- Hook: I use a 2.0 mm hook. If you are using a different yarn, choose the hook size that is recommended on your yarn label.
- A zipper and lining (if you wish to attach it).
Abbreviations (US terms)
- sl st: slip stitch
- ch: chain
- sc: single crochet
- sc-blo: single crochet back loop only
- hdc: half double crochet
- hdc-3lo: half double crochet third loop only
- dc: double crochet
- fpdc: front post double crochet
- dc-blo: double crochet back loop only
- hdc-blo: half double crochet back loop only
- prev: previous
- st: stitch
Notes
The size of my pouch is 14 x 10 cm. You will be working in rounds. You will start by making a chain and then you will crochet around it to make the first round (you can take a look at the photo tutorial how to do that here). To keep the line where you join each round with a sl st straight, alternate where you make your first st of the round: in the first st of the prev round or in the second stitch. Remember that each round must contain the same number of stitches. This pattern uses the alpine stitch, which consists of double crochets, front post double crochets, and single crochets.
Pattern
Start by chaining 37 + 1 .
Round 1: You will be working down the chain, then turn and work in the other side of the chain. Make sc in every st of the chain starting from the second chain from your hook. Turn. 1 sc in the end of the chain, make sc in every st until you come back to the beginning of the chain. 1 sc in the end of the chain. Join with a sl st to close the round.
Round 2: ch 1, sc-blo in every st of the prev round, join with a sl st.
Round 3-4: repeat round 2.
The start of the alpine stitch:
Round 5: ch 2 (it counts as a st), dc-blo in every sc of the prev round starting from the second sc of the prev row. Join with a sl st.
Round 6: ch 1 (it does NOT count as a st), sc in every st of the prev round starting with the ch2 of the prev round. Join with a sl st.
Round 7: ch 2 (it counts as a st), make a fpdc in the second dc of round 5 (skip the ch2 of round 5 which counts as the first dc), dc in the third sc of the prev round. Make fpdc in the fourth dc of round 5, dc in the fifth sc of the prev round. Keep alternating fpdc and dc until the end of the round. Join with a sl st.
Round 8: ch 1 (it does NOT count as a st), sc in every st of the prev round starting with the ch2 of the prev round. Join with a sl st.
Round 9: ch 2 (it does NOT count as a st), fpdc in the ch2 of round 7, dc in the second sc of the prev round, skip the fpdc of round 7 and fpdc in the following dc of round 7. Dc in the fourth sc of the prev round. Keep alternating fpdc and dc until the end of the round. Join with a sl st.
The end of the first alpine stitch part.
Round 10-11: ch 1, sc-blo in every st of the prev round, join with a sl st.
Round 12: ch 2, hdc-blo in every st of the prev round, join with a sl st.
Round 13-14: ch 2, hdc-3lo in every st of the prev round, join with a sl st.
Round 15-16: ch 1, sc-blo in every st of the prev round, join with a sl st.
Round 17-21: repeat rounds 5-9.
Round 22-24: ch 1, sc-blo in every st of the prev round, join with a sl st.
Fasten off. Sew in a zipper.
Enjoy your pouch!
You might also like
There is much more to explore:
You can save this pattern to Pinterest here.

I’m struggling a lot with this pattern and I don’t know what I am doing wrong. I finally figured out the alpine stitch, but I think I am using the slip stitch in the wrong place because the pouch is getting wider with each row. Can you help me please?
I am sorry to hear that you are struggling with the pattern. You are right: if the pouch is getting wider with each row, it might be that you are connecting with a slip stitch in the wrong place. It might also be that you are making one additional stitch in the beginning of each row. For example, in round 5 ch 2 counts as a stitch. It means that you should make dc-blo not in the first st of the previous round, but in the second. In the end of round 5 you should connect with a sl st to the ch2, because we count it as a st. However, in round 6 ch 1 does not count as a st. In this case, you will make an sc in the very first st of the previous round and in the end of round 6 you will connect with a sl st to the top of your first sc (not ch 1 that you made in the beginning). Where the pattern does not say if the ch in the beginning of a round counts as a st, you can choose yourself. The most important thing is to start making stitches and connect with a sl st in the right places, like in the example I described above. I hope that this helps, but if you are still not sure, please let me know and we will figure it out.
Muito útil, muito bonito!
Muchas gracias!
Hello! Did you use only 1 50g skein for this project?
Hello! 🙂 Yes, I used only one 50 g skein.
Hi, thank you for this beautiful pattern =) i have a question : when i did the sc blo of the round 15,the v pattern of the hdc 3lo of the round 14 disappear on the wrong side. Are the sc instead on the front loop of the hdc 3lo of the round 14?
I don’t understand why the v pattern disappear…
Thank you for your help.
Emilie
Hi Emilie! Thank you for writing and sorry for my late reply. You are doing everything right, when you make sc blo in round 15, the v pattern disappears in round 14. You should get the same look as in the picture. Even though you make three rounds of hdcs (round 12 with hdc blo and rounds 13 and 14 with hdc 3lo), you get two lines of chains in the middle of the pouch (on the good side). Those two lines of chains are formed by hdcs that are in round 12 and round 13. So it is fine that when you make sc blo in round 15 the line of chains disappears (you would get the third line of chains if you would make sc 3lo in round 15, but it would be a different look than in the picture). I hope that my explanation is clear. If no, please let me know 🙂 Have a nice day!